30
30
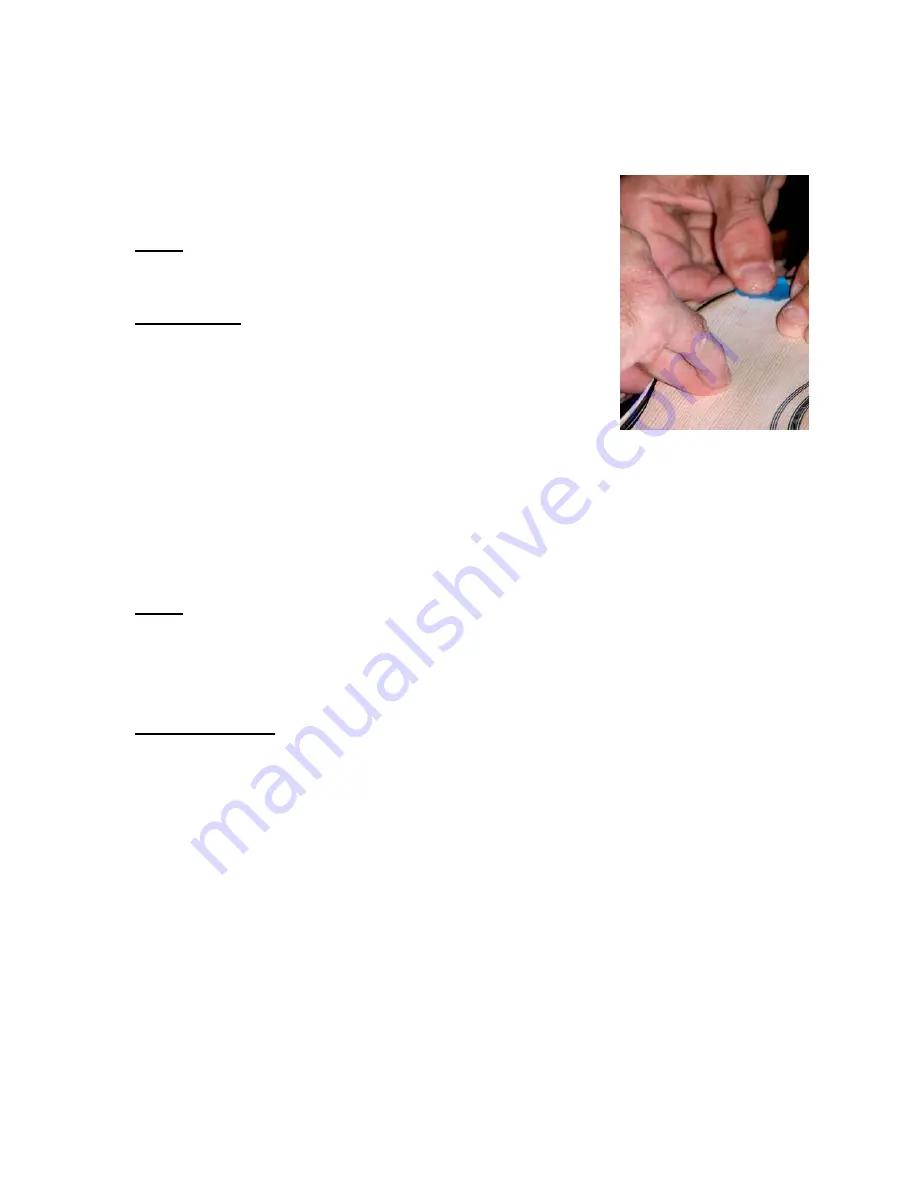
gaps between the body and binding, and then check again. Proceed
around the guitar, and finish where you started, cutting a tight butt
joint to hide the joint. (See Special Tip)
8)
Allow the glue to dry overnight.
Note:
The gluing section must be completed in a single
session.
Special Tip:
Pour enough acetone to cover a small pile
of binding shavings in a small container. The acetone
will melt the binding shavings and can be
poured/placed in the butt joint seam if you have a gap.
Allow it to dry and sand flush for a vanishing joint.
9)
Remove tape and scrape binding flush with the back and sides.
Instruction sheet available for reference.
This will take a good amount of time and where the most noticeable
details can be found on your instrument. So, take your time.
Note:
While scraping, be sure to scrape only the binding and
NOT
the sides
or back veneer. The veneer is thin and scraping through will leave you with
a noticeable mistake. Some finishing tricks can be performed to hide a small
problem but try not to do this.
Important Note:
When scraping the sides be sure you visually look at the
thickness of the binding looking at the front and back views. Pay particular
attention to ensure that you do not thin out the binding thickness to a very
thin line in some areas. Using a scraper that has been rounded on the end
will allow you to scrape precisely at the joint between the wood of the side
and where the binding starts. Basically, you can cheat this a little where you
are only scraping this one spot and not at the edge of the binding closest to
the back.
Содержание Cutaway
Страница 12: ...12 12 Marking and Scalloping a Tone Brace...


