USER GUIDE
SAFETY
•
INSTALLATION & INTEGRATION
OPERATING INSTRUCTIONS
MAINTENANCE
SERVICE
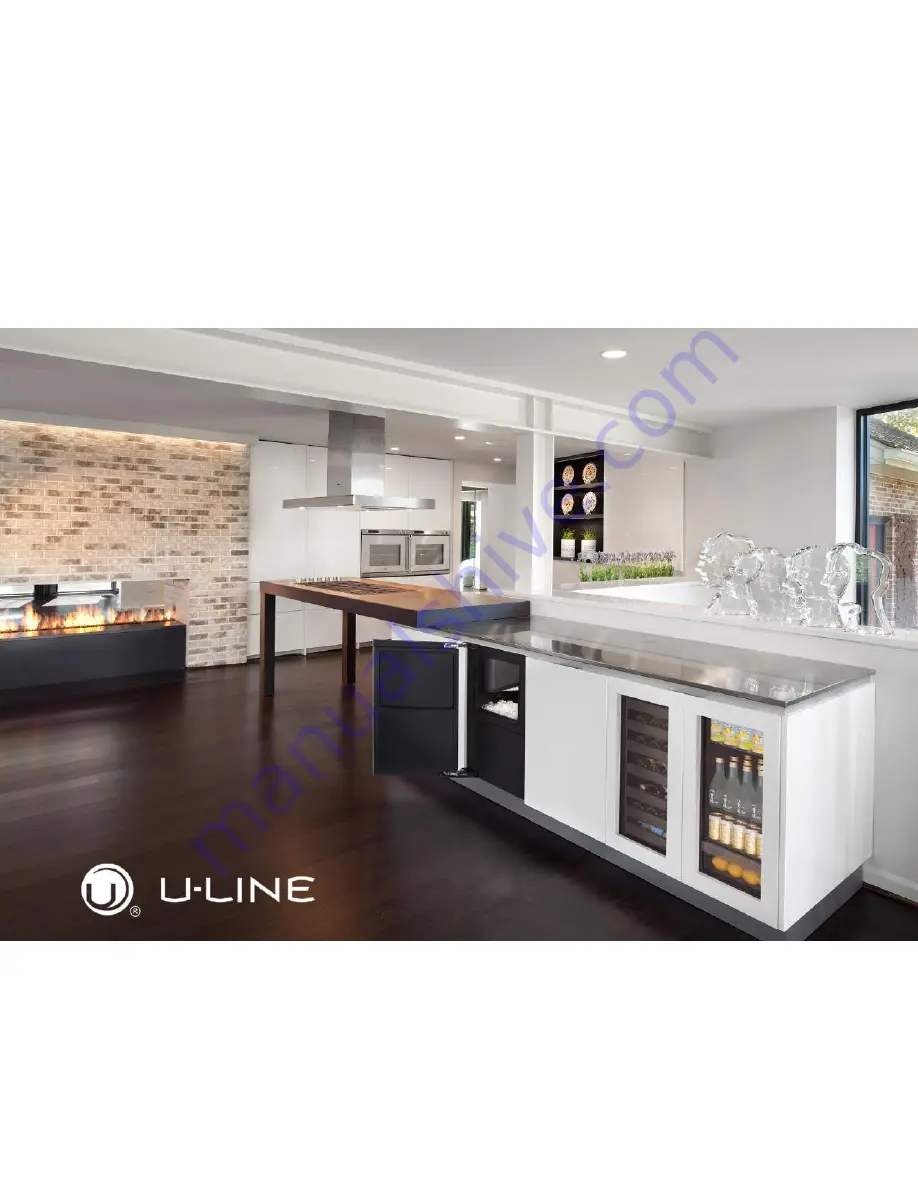
Modular 3000 Series
3018RGL
18" Glass Door Refrigerator
RIGHT PRODUCT. RIGHT PLACE. RIGHT TEMPERATURE. SINCE 1962.
Страница 1: ...USER GUIDE SAFETY INSTALLATION INTEGRATION OPERATING INSTRUCTIONS MAINTENANCE SERVICE Modular 3000 Series 3018RGL 18 Glass Door Refrigerator RIGHT PRODUCT RIGHT PLACE RIGHT TEMPERATURE SINCE 1962...
Страница 2: ...ions Grille Plinth Installation Door Swing Door Stop Door Adjust Operating Instructions First Use Control Operation Sabbath Mode Airflow and Product Loading Interior Shelves Refrigerator Bins Crisper...
Страница 3: ...ship to you PRODUCT INFORMATION Looking for additional information on your product User Guides Quick Reference Guides CAD Drawings Compliance Documentation and Product Warranty information are all ava...
Страница 4: ...jury or death WARNING Warning means that failure to follow this safety statement could result in serious personal injury or death CAUTION Caution means that failure to follow this safety statement may...
Страница 5: ...freezer take off the doors and leave shelves in place so children may not easily climb inside If the unit is being removed from service for disposal check and obey all federal state and local regulati...
Страница 6: ...F 10 C and 100 F 38 C Higher ambient temperatures may reduce the unit s ability to reach low temperatures and or reduce ice production on applicable models For best performance keep the unit out of di...
Страница 7: ...use an extension cord to connect power to the unit Always keep your working area dry NOTICE Electrical installation must observe all state and local codes This unit requires connection to a grounded...
Страница 8: ...Adjustable doors leveling legs and grille will assist in fine tuning the installation All 3000 Series models fully integrate into overlay face frame inset or European frameless cabinet styles and inst...
Страница 9: ...s 1 u line com SAFETY INSTALLATION INTEGRATION OPERATING INSTRUCTIONS MAINTENANCE SERVICE Product Dimensions 33 11 16 to 34 11 16 856 mm to 881 mm 17 3 4 450 mm 3 5 8 to 4 5 8 92 mm to 118 mm Not Incl...
Страница 10: ...out Dimensions in each unit s Installation Guide Each door can be opened individually one at a time without interference However to ensure unobstructed door swing opening both doors at the same time 1...
Страница 11: ...using a 2 Phillips head screwdriver 3 Completely slide the unit into its position in the cabinet Be certain unit height is properly adjusted See GENERAL INSTALLATION 4 Open door completely Make certa...
Страница 12: ...EGRATION OPERATING INSTRUCTIONS MAINTENANCE SERVICE 5 Using a 3 32 drill bit drill 3 pilot holes 5 8 16 mm deep into cabinetry frame using the anti tip bracket as a template 6 Install the 3 remaining...
Страница 13: ...tal unit rear height of 1 8 3 mm less than the opening s rear height Shorten the unit height in the front by adjusting the front legs This allows the unit to be gently tipped into the opening Adjust t...
Страница 14: ...or stain your grille plinth strip base fascia panel to match your surrounding furniture Finish front back and edges to prevent warping Carefully follow the manufacturer s recommendations for finish ap...
Страница 15: ...th strip base fascia rail with screw heads in base of unit 2 Push grille plinth strip base fascia rails towards the center of the unit and set rails over screw head 3 Slide grille plinth strip base fa...
Страница 16: ...allow the door to open 90 Allow for additional space for any knobs or pulls installed on the integrated panel frame Stainless Steel models that are installed adjacent to a wall require 2 1 4 57 mm do...
Страница 17: ...approximately 90 2 Remove hinge cover by lifting top and bottom of hinge cover and sliding the cover inwards to remove from hinge 3 Once cover is removed slide hinge pin into hole as shown Pin should...
Страница 18: ...to ensure that it is firmly in contact with the cabinet Also make sure the door gasket is not pinched on the hinge side of the door CAUTION Do not attempt to use the door to raise or pivot your unit T...
Страница 19: ...E Alignment and Adjustment Procedure 1 Using a T 25 Torx Bit loosen each pair of Torx head screws on both the upper and lower hinge plates 2 Square and align door as necessary 3 Tighten Torx head scre...
Страница 20: ...commends allowing the unit to run overnight before loading with product When plugged in the unit will begin operating under the factory default setting Follow the on screen prompt for language selecti...
Страница 21: ...p Press to select mode Press to set temperature Press to confirm temperature or wait 5 seconds Adjust lighting Press to adjust lighting Press to set low medium or high Light ON OFF with door Press to...
Страница 22: ...mperature It is important to only initiate quick chill modes when the Refrigerator or Wine Captain have been fully loaded with warm product Failure to follow this notice could result in food or bevera...
Страница 23: ...ID Description Solution No Comm Unit lost communication to the display Disconnect and reconnect power to unit Contact Customer Care if persistent L R Zone T Open Left or right zone thermistor circuit...
Страница 24: ...ew actual temperature select Actual Temps from the Customer Menu 2 Press or to scroll through available information 3 To return to the Customer Menu press Energy Saver Mode Energy Saver Mode reduces o...
Страница 25: ...and Off To select a new sound level enter the Sound Level Menu from the Customer Menu 1 Press to select the current sound level 2 Press The current setting will begin to flash 3 Press or to select a d...
Страница 26: ...oring while settings are restored When restoration is complete Restoring will return to Restore To exit Factory Default press to select Return to Menu and press to confirm Help To access the Help Menu...
Страница 27: ...l still maintain internal temperatures and set points To enable Sabbath Mode 1 Open the unit s door to activate the display 2 To access the Customer Menu hold for 5 seconds 3 Press or to scroll throug...
Страница 28: ...leave space between the internal fans or vents and product loaded Anything blocking the required airflow circulation will result in uneven temperature distribution in the cabinet and can also freeze...
Страница 29: ...lf Height Shelf height may be adjusted to accommodate a broad range of product To alter your shelf spacing follow the instructions below 1 Remove the 4 Shelf clips from the shelf clip holes 2 Move she...
Страница 30: ...ip of the bin and raise the bin off the racks 3 Lift the rear of the bin off its seat on the rack 4 Pull the bin up and away from the racks To Reinstall 5 Fully extend the empty rack from within the c...
Страница 31: ...lems Using abrasive pads such as Scotchbrite will cause the graining in the stainless steel to become blurred Rust not cleaned up promptly can penetrate the surface of the stainless steel and complete...
Страница 32: ...he drain pan and possibly damaging water sensitive flooring the unit must be removed from cabinetry To defrost 1 Disconnect power to the unit 2 Remove all products from the interior 3 Prop the door in...
Страница 33: ...hen necessary Depending on environmental conditions more or less frequent cleaning may be necessary WARNING Disconnect electric current to the unit before cleaning the condenser NOTICE DO NOT use any...
Страница 34: ...it is returned to service 3 If ice is on the evaporator allow ice to thaw naturally 4 Clean and dry the interior of the unit Ensure all water has been removed from the unit 5 The door must remain open...
Страница 35: ...are common refrigeration components with a brief description of the normal operating sounds they make NOTE Your product may not contain all the components listed Compressor The compressor makes a hum...
Страница 36: ...rature to a cooler set point Ensure unit is not located in excessive ambient temperatures or in direct sunlight Ensure the door is closing and sealing properly Ensure nothing is blocking the front gri...
Страница 37: ...a small increment see CONTROL OPERATION Causes which affect the internal temperatures of the cabinet include Temperature setting Ambient temperature where installed Installation in direct sunlight or...
Страница 38: ...r you can register on line at www u lineservice com 3 The warranty listed above does not apply to floor display models The warranty for these models shall be 30 days from the date of retail purchase a...
Страница 39: ...able warranty period 8 THIS LIMITED WARRANTY IS IN LIEU OF ANY AND ALL OTHER WARRANTIES EXPRESS OR IMPLIED INCLUDING ANY IMPLIED WARRANTY OF MERCHANTABILITY OR IMPLIED WARRANTY OF FITNESS FOR A PARTIC...
Страница 40: ...LIGHT BLUE 220 240V TO COMPRESSOR 1 10 CONTROL BOARD ZONE TEMP FUSE TO DISPLAY 115 VOLT PLUG 220 240 VOLT PLUG 16 8 9 1 NEUTRAL WHITE 115v DARK BLUE 220 240v TO COMPRESSOR 6 1 10 5 TO USB ZONE EVAP D...
Страница 41: ...roduct equipped with a drain pump the drain pump must be returned along with the unit regardless of the drain pump manufacturer To complete the damage claim process for the customer please forward the...
Страница 42: ...dashes 12 represents the production month In most cases warranty status can be verified by the production date information within the serial number Alternatively a Proof of Purchase or equivalent may...
Страница 43: ...r U Line confirms warranty status Please provide the model serial number part number and part description Some parts will require color or voltage information If U Line requires the return of original...
Страница 44: ...ge Lower than normal Warm near room temperature Hot Warm Warm Extremely cold near inlet Outlet below room temperature Lower than normal Partial Restriction Somewhat lower than normal vacuum Warm near...
Страница 45: ...ist strap that is grounded to an electrical ground or grounded water pipe Handle circuit boards carefully and avoid touching components To measure the start winding resistance measure across the C and...
Страница 46: ...his section is some diagnostic tips and as always if additional help is required please contact the U Line Corp Customer Care Facility at 1 800 779 2547 for assistance MAIN CONTROL The main control bo...
Страница 47: ...rtant to allow the compressor at least 5 minutes off time between relay cycles 2 Toggle the relay Its related component should activate deactivate with the switching of the relay Inputs The main contr...
Страница 48: ...necessary Inspect wire harness from main control board for pinch points or damage Repair split or pinched cabling Amb Thrm Short Inspect thermistor cable for pinch points or damage Replace if necessa...
Страница 49: ...nd dry Whenever opening a thermistor connection be sure to apply a fresh dab of die electric grease System Condition Suction Pressure Suction Line Compressor Discharge Condenser Capillary Tube Evapora...
Страница 50: ...e front grille internal fans or vents at any time or the unit will not perform as expected Do not install the unit behind a door Quick Chill CAUTION Quick chill is designed to quickly pull warm bevera...
Страница 51: ...delay at the beginning of a cooling cycle This delay gives the evaporator time to cool properly before warm air is passed over it The fan will continue to run for an additional 2 minutes at the end o...
Страница 52: ...necessary Zone T Open Zone thermistor circuit open Check connection Replace if necessary Evap T Open Evaporator thermistor circuit open Check connection Replace if necessary Amb Thrm Open Ambient the...
Страница 53: ...select Sabbath Mode from the Customer Menu 2 Press to select Off 3 Press Off will begin to flash 4 Press or to change Off to On 5 Press to confirm your selection The display will fade out as the unit...
Страница 54: ...fective replace entire door Zone T Open Left or right zone thermistor circuit open Check connection Replace if necessary Amb Thrm Open Ambient thermistor circuit open Check connection Replace if neces...
Страница 55: ...OLLS THROUGH ZONES MODES TEMPERATURES AND OTHER FEATURES TOUCH AND HOLD TO EXIT SHOWROOM MODE SCROLL DOWN TO EXIT TOUCH AND RELEASE TO EXIT SERVICE MODE CONFIGURES THE ON BOARD USB PORT FOR FLASH DRIV...
Страница 56: ...ication cable from the user interface Check the black to red conductors looking for 5 VDC If voltage is present replace the user interface If no voltage is present check for 5 VDC at the main board wh...
Страница 57: ...s are valid replace the thermistor Temp Hi 6H Zone temperature 10 C over set point for over 6 hours Is condenser coil clean Is condenser fan operating Check zone thermistor for correct resistance Veri...
Страница 58: ...e current state of each available input as well as the current USB connection state Note USB status show current connection state In order to make a successful connection USB connection type must be p...
Страница 59: ...hen used by the control board to determine cooling and defrost cycle times Offsets have a range of 10 C Corrected values may be viewed through the customer All Temps menu or TTY output To access Offse...
Страница 60: ...ough 10 The table below shows the effect of differentials on cooling cycles with a set point of 45 Note Air temperature does not reflect product temperatures The graph below shows a unit s cooling cyc...
Страница 61: ...to select Return to Menu and press Select to confirm Re Select Model NOTICE Before altering model selection U Line customer service must be notified Failure to notify customer service will result in...
Страница 62: ...To access Fan Delay 1 Use Down to select Fan Delay 2 Press Select To alter fan settings 3 Use Down to select either Fan Delay On or Fan Delay Off and press Select The chosen option will begin to flas...
Страница 63: ...and press Select Off will begin to flash 4 Press Up or Down to toggle between off and on 5 Press Select to confirm If set to on showroom mode will begin immediately To exit showroom mode press and hol...
Страница 64: ...nheit Celsius F C Defrost Duration Minutes 12 Next Defrost Hours 4 Thermistor Four OFFSET 0 Thermistor Three OFFSET 0 Thermistor Two OFFSET 0 Thermistor One OFFSET 7 Thermistor One Differential Up 1 T...
Страница 65: ...RIVE RETURN TO MENU SHOWROOM MODE OFF FAN DELAY USB PORT SHOWROOM MODE EXIT RANDOMLY SCROLLS THROUGH ZONES MODES TEMPERATURES AND OTHER FEATURES TOUCH AND HOLD TO EXIT SHOWROOM MODE SCROLL DOWN TO EXI...
Страница 66: ...errors and their respective descriptions To access All Errors follow the steps below 1 Use Down to select All Errors 2 Press Select 3 Use Up and Down to scroll through available information Up Select...
Страница 67: ...TOGGLE Relay toggle is used to manually switch the state of each relay to test for proper operation In addition to the AC relays DC outputs may also be toggled Relay toggle can also be used to force t...
Страница 68: ...3 Use Up and Down to scroll through available information To exit the Input Status menu use Up to select Return to Menu and press Select to confirm Outputs Outputs is used to monitor the state of DC o...
Страница 69: ...offset value 3 Press Select to confirm setting To exit the Offset menu use Up to select Return to Menu and press Select to confirm Self Test Self test is used to initiate a self diagnostic report Any...
Страница 70: ...estored When restoration is complete Restoring will return to Restore To exit Factory Default use Up to select Return to Menu and press Select to confirm Re Select Model NOTICE Before altering model s...
Страница 71: ...e flash disk In the event the file already exists new data will automatically be appended to the end of the existing file The file is output in a comma delineated text format and may be viewed in a wi...
Страница 72: ...and allows the unit to be powered on without running the cooling system To toggle showroom mode 1 Use Down to select Showroom Mode 2 Press Select 3 Use Down to select Off and press Select Off will beg...
Страница 73: ...0 45 Field 31 32 33 34 35 36 37 ID Comp Timer Comp Cum Timer Defrost Timer Fan 1 Timer Fan 2 Timer Lamp OFF 1 Timer Lamp OFF 2 Timer Sample Data 500 0 0 0 0 0 Field Value Field Value 1 Time in seconds...
Страница 74: ...nit has two thermistors Thermistor one is located along the right hand side wall inside of the unit and is used to maintain temperature within the unit Thermistor two is located on the back of the eva...
Страница 75: ...SERVICE Defrost These units are frost free technology Model Hrs Between Defrost Time Length Minutes Stop Point 2218R WC 12 45 42 2224BEV R WC 12 45 42 3018R WC 12 45 40 1224DWR 12 45 42 1224WC 12 45 4...
Страница 76: ...le or if not currently cooling the fan will run for 1 minute to circulate air and clear any condensation that may have appeared on glass doors and shelves Note If the unit is set to sabbath mode the e...
Страница 77: ...an wire NOTICE Fan must be oriented to pull air in through lower evaporator cover vents and push air out at fan mounting location 15 Installation is the reverse of removal 16 Care must be taken to ass...