


Doc
No.
FM0665
issue
D
Page
18
6.5
CALIBRATE
THE
TOUCHSCREEN
From
the
System
Utility
screen
touch
the
button
Press
your
finger
on
the
target
cross
in
the
centre
of
the
screen
and
hold
until
it
moves
Repeat
the
above
procedure
(i.e.
touch
and
hold
the
target
)
for
all
4
corners
of
the
screen
After
the
last
corner,
touch
the
screen
anywhere
to
save
the
new
settings
The
display
will
return
to
the
System
Utility
screen
Follow
the
instructions
given
above,
ignore
the
on
‐
screen
prompts
relating
to
using
a
Stylus
and
pressing
Enter/Esc
keys
7.
MEMORY
CARD
MANAGEMENT
The
System
Utility
screen
will
show
the
Available
SD
Memory:
e.g
999211008
When
the
memory
gets
down
to
20000000
(20MB)
or
less
the
panel
will
display
a
warning
message
every
day
at
10:00
AM
Contact
your
Service
Engineer
to
archive
data
from
the
SD
memory
card
7.1
ARCHIVING
MEMORY
CARD
DATA
Close
the
Managers
Panel
Application
as
described
in
section
6.3
Switch
the
Managers
Panel
off
at
the
mains
supply
Remove
the
SD
card
from
the
bottom
edge
of
the
Managers
Panel
Place
the
SD
card
into
a
PC
and
view
the
contents
using
Windows
Explorer
Each
days
Event
Log
is
stored
as
a
separate
file
e.g.
09_02_12.txt
(date.txt)
Cut
the
required
files
from
the
SD
card
and
save
them
to
an
archive
file
on
the
PC
Replace
the
SD
card
into
the
Managers
Panel
and
switch
on
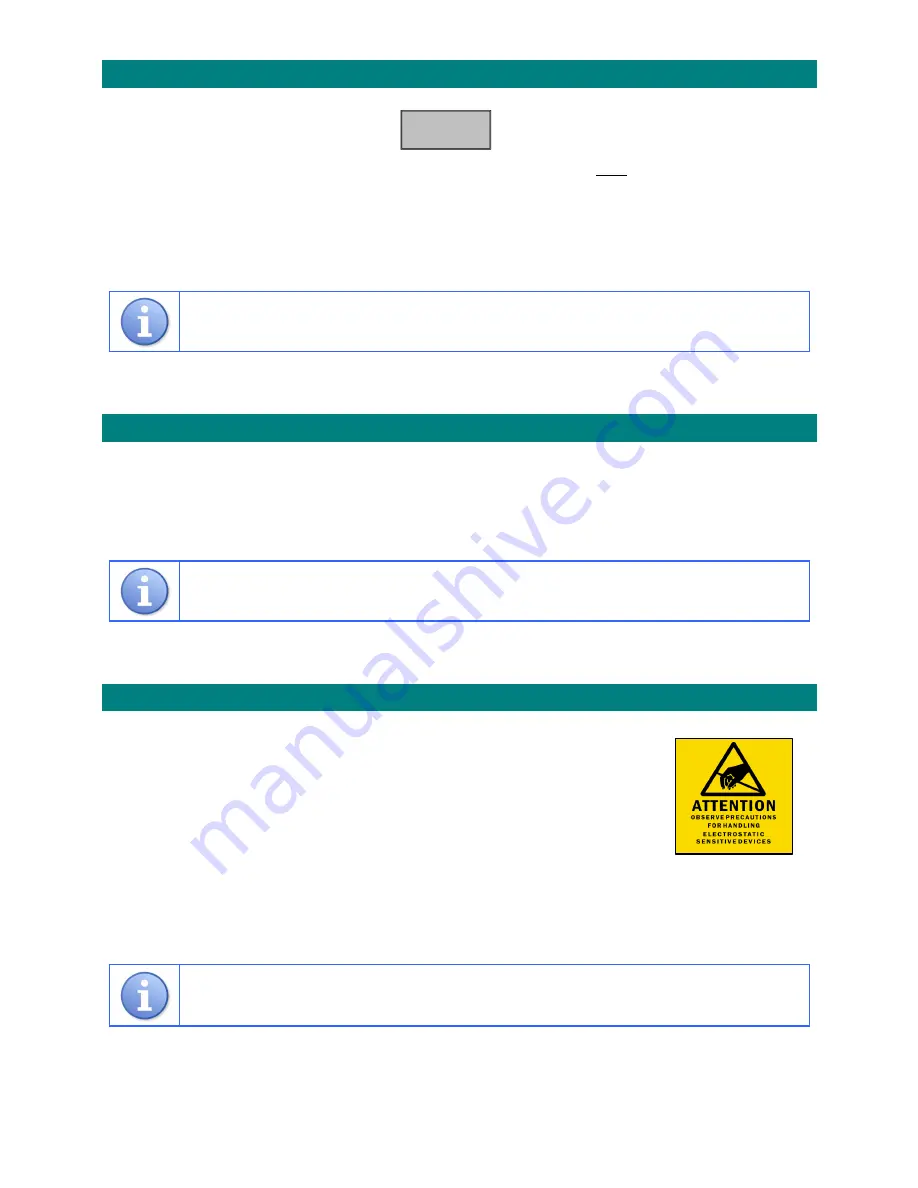
Always
observe
electrostatic
precautions
when
handling
the
SD
memory
card
Care
must
be
taken
not
to
delete
the
.exe
file
from
the
SD
memory
card
Calibrate


