Illustra Pro Series 5MP, 3MP & 2MP Mini Dome Series
10
Flush Mount using Locking Arms (Indoor)
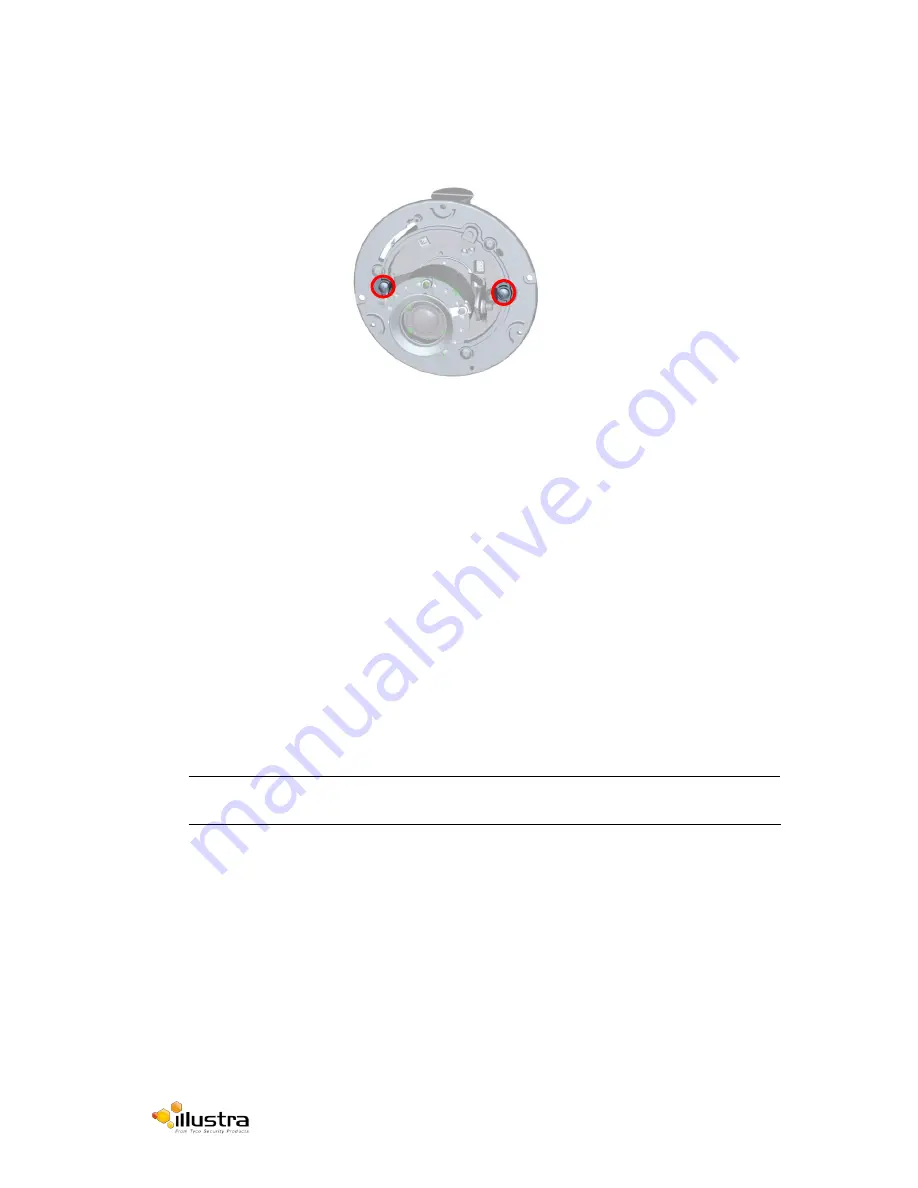
1. Turn the screws clockwise to extend the locking arms as seen in Figure 5.
2. Tighten the screws sufficiently to compress the arms to adjust to the mounting surface.
3. Aim the camera to the area of interest by rotating and panning the camera base. When
rotating the camera base, do not rotate it past the stop point. When desired orientation is
achieved tighten the two pivot screws to secure.
4. Fit the camera liner over the camera assembly so that it snaps into place.
5. Use the supplied security torx key to tighten the three cover screws to secure the bubble
assembly.
6. Finally, insert the screw hole covers to cover three screws in the bubble assembly.
Surface Mount (Indoor)
1. According to your needs, use the top or side conduit hole on the enclosure base assembly
for cable entry and connect the wiring.
NOTE:
Ensure that the plug is secured in the other conduit hole on the enclosure base assembly.
2. Mount the enclosure base assembly on a surface with two screws.
3. Align the camera assembly with the enclosure base assembly using the green dot as a
guide. Insert the camera assembly and then fasten the TP4 screws into the inserted anchors.
4. Aim the camera to the area of interest by rotating and panning the camera base. When
rotating the camera base, do not rotate it past the stop point. When desired orientation is
achieved tighten the two pivot screws to secure.
5. Fit the camera liner over the camera assembly so that it snaps into place.
6. Use the supplied security torx key to tighten the three cover screws to secure the bubble
assembly.
Figure 5


