Seite / Page 8 of 14 ECOC: EGC0 ; LOC: AI
Hand Pliers Positive Lock 0-0654174-1
411-18332 Rev.B
Handzange Positive Lock 0-0654174-1
411-18332 Rev.B
6. Einrichten (beinhaltet Rüsten)
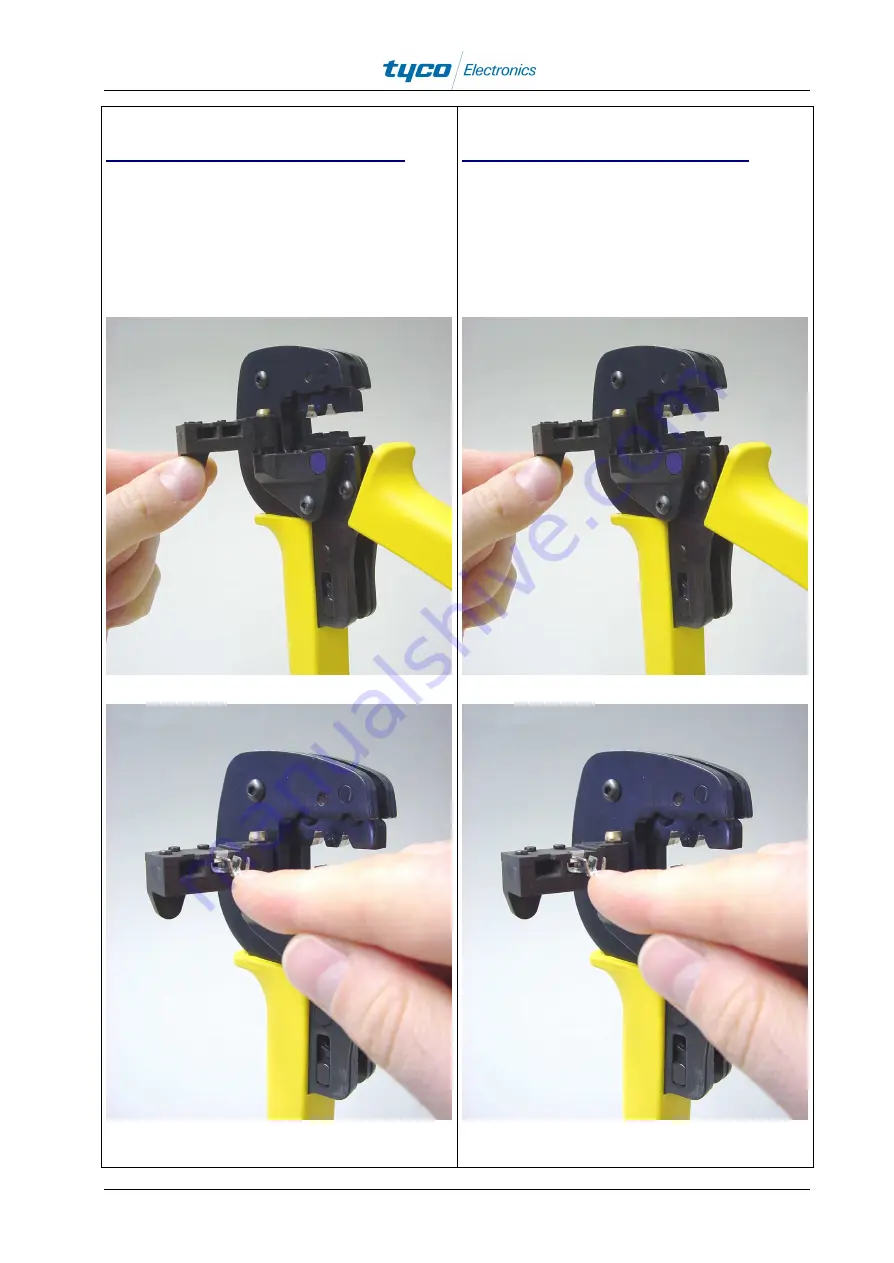
1. Vor dem Einlegen eines Kontaktes wird die
Crimpzange vollständig geöffnet. Nun wird der
Kontaktpositionierer nach Vorn geschwenkt und der
Kontakt wird bis zum Anschlag in den Positionierer
geschoben. Es ist darauf zu achten, dass das U-
Profil der Crimp- und Isolationsflanken nach oben in
Richtung Crimper zeigen (siehe Abbildung 3 und 4).
Abbildung 3
Abbildung 4
6. Set-up (including equipping)
1. Before inserting a contact the pliers need to be
opened fully. Now the contact positioner is
swievelled out to the front and the contact is pushed
to the stop into the positioner. Pay attention that the
u-profile of the crimping- and insulation flanks
shows upwards in direction of the crimper (see
figure 3 and 4).
Figure 3
Figure 4


