32
32
Step 1
5. BACK
5. BACK
5. BACK
5. BACK-
--
-UP
UP
UP
UP
CD
CD
CD
CD-
--
-R SETUP
R SETUP
R SETUP
R SETUP
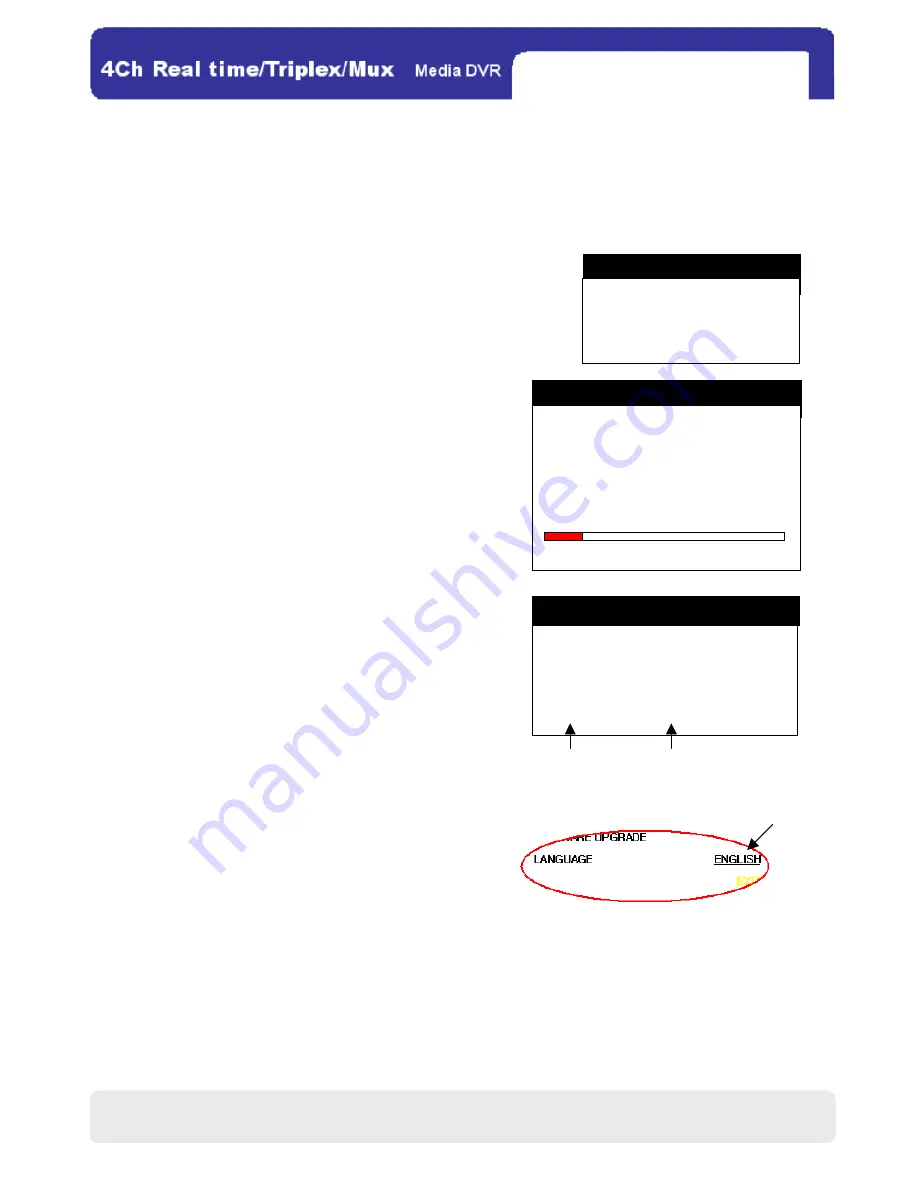
Users can backup the recorded images into a blank CD via the CD-RW drive installed in the DVR. Set the starting
time and the backup size first, and the DVR will automatically detect the ending time. Afterwards, click BURN, and
a new backup CD will be created.
◎ HDD
■START: Depicts the starting time point of all the HDD recorded images
■END: Depicts the ending time point of all the HDD recorded images.
◎ CD-R
■START: Select a starting time point for the backup images.
■END: Depicts the detected ending time point for the backup
images according to CD-R START and CD-R SIZE.
■SIZE: Select a size for backup images.
◎ BURN: Click it to launch burning.
6.
6.
6.
6. F
F
F
FIRMWARE UPGRADE
IRMWARE UPGRADE
IRMWARE UPGRADE
IRMWARE UPGRADE
◎ CURRENT VER: Depicts the current firmware version of
the DVR.
◎ UPGRADE VER: Depicts the upgrade firmware version the
DVR detects in the CD-RW drive. (Users have to
execute CD-CHECK first.)
◎ CD-CHECK: Click it to detect the upgrade version in the
firmware CD.
◎
UPGRADE: Click it to upgrade the DVR.
7.
7.
7.
7. LANGUAGE
LANGUAGE
LANGUAGE
LANGUAGE
There are 14 languages available in the DVR system. Click on the
underlined item shown at right to select the language you need.
CHAP.4 DVR Operation
CD-R SETUP
HDD
START 2006/JUL/08 PM 12:04:12
END 2006/JUL/08 PM 08:12:23
CD-R
START 2005/AUG/07 AM 04:04:12
END 2005/AUG/08 PM 08:12:23
SIZE 700 MB
→
700MB
BURN ESC
CURRENT VER 1.28_SP
UPGRADE VER
CD-CHECK
UPGRADE
ESC
FIRMWARE UPGRADE
Step 2
BACK-UP
CD-R SETUP
BURN ESC
All manuals and user guides at all-guides.com


