background image


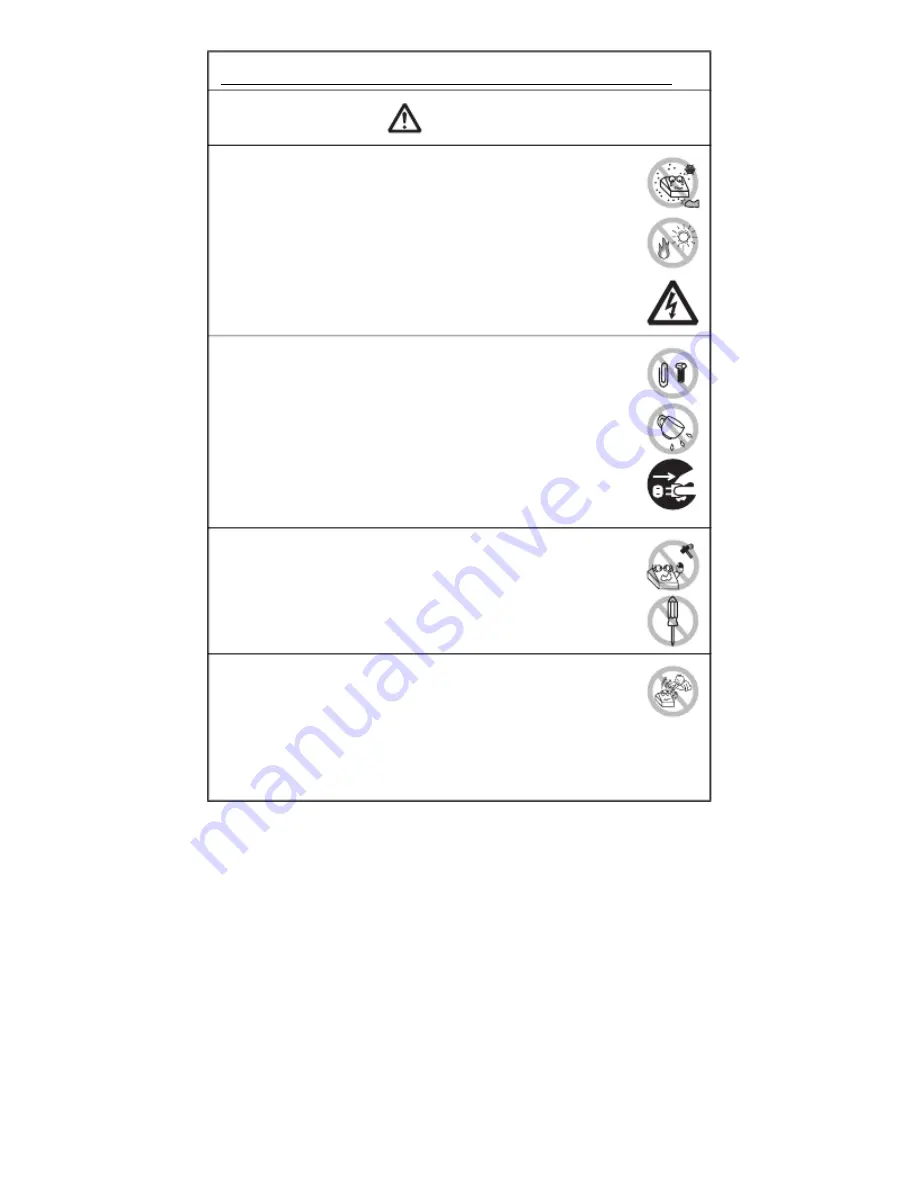
PRECAUTIONS ON PRINTER INSTALLATION 


WARNING 


Do not use or store this product in a place where it will be exposed to: 

* Flames or moist air. 
* Direct sunlight. 
* Hot airflow or radiation from a heating device. 
* Salty air or corrosive gases. 
* Ill-ventilated atmosphere. 
* Chemical reactions in a laboratory. 
* Airborne oil, steel particles, or dust. 
* Static electricity or strong magnetic fields. 

·  Neglecting these warnings may result in printer failure, overheating, 

emission of smoke, fire, or electric shock. 


Do not drop any foreign object nor spill liquid into the printer. Do not 
place any object on the printer either. 
Do not drop any metallic object such as paper clips, pins or screws 
into the printer. 
Do not place a flower vase, pot, or anything containing water on the 
printer. 
Do not spill coffee, soft drinks, or any other liquid into the printer. 
Do not spray insecticide or any other chemical liquid over the printer. 

·  Dropping a metallic foreign object into the printer, may cause printer 

failure, fire, or electric shock. Should it occur, immediately turn the 
printer off, unplug it from the supply outlet, and call your local dealer. 


Do not handle the printer in the following ways: 

Do not subject the printer to strong impacts or hard jolts (e.g., being 
stepped on, dropped or struck). 
Never attempt to disassemble or modify the printer. 

·  Neglecting to handle properly may result in printer failure, 

overheating, emission of smoke, fire, or electric shock. 


Install, use, or store the printer out of the reach of children. 

·  Electric appliances could cause an unexpected injury or accident if 

they are handled or used improperly. 

·  Keep the power cord and signal cables out of the reach of children. 

Also children should not be allowed to gain access to any internal 
part of the printer. 

·  The plastic bag the printer came in must be disposed of properly or 

kept away from children. Wearing it over the head may lead to 
suffocation. 


—3—

Содержание Jus' Print RP-3200

Страница 1: ...LINE THERMAL PRINTER MODEL RP 3200 User s Manual...

Страница 2: ...escribes the degree of hazard and damage that could occur if the printer is improperly operated by ignoring the instructions indicated by the warning symbols WARNING Neglecting precautions indicated b...

Страница 3: ...cticide or any other chemical liquid over the printer Dropping a metallic foreign object into the printer may cause printer failure fire or electric shock Should it occur immediately turn the printer...

Страница 4: ...e cores or other anti noise devices Avoid using the printer with a device that is a strong source of noise The printer may have an adverse effect on nearby radio or TV transmissions There may also be...

Страница 5: ...atch fire or the circuit breaker to trip Do not allow anything to rest on the power cord Do not place the printer where the power cord may be stepped on Do not use or carry the printer with its power...

Страница 6: ...d operating the printer without paper properly loaded Avoid the use of paper not complying with specifications May result in poor print quality Avoid using torn pieces of paper or paper spliced with p...

Страница 7: ...ectric shock burn or injury If the printer emits smoke an odd smell or unusual noise while printing immediately abort the current print session and unplug the printer from the electric outlet DAILY MA...

Страница 8: ...Roll 21 3 6 Setting the DIP Switch on the Serial Interface Board 22 3 7 Adjusting the Paper Near end Sensor 23 3 8 Setting Paper Thickness 24 3 9 Loading Paper 25 3 10 Attaching the Power Switch Cover...

Страница 9: ...roll size Choose from two models with either 3 inch 83 80 mm or 2 inch 60 58 mm wide paper rolls Built in power supply or AC adapter types available Printer status and errors indicated by LED and a bu...

Страница 10: ...CODE93 PDF417 QR Code Line spacing 4 25 mm 1 6 inch changeable using commands Paper roll 0 0 0 0 Paper roll 83 1 mm 80 1 mm 60 1 mm 58 1 mm maximum 83 mm Paper thickness 65 75 m core tube diameter in...

Страница 11: ...Front cover Rear connectors Maintenance cover Front view release button Rear view Paper cover Open to load paper Cover open lever Use this lever to open the paper cover Front cover Open and close this...

Страница 12: ...has occurred PAPER LED orange Lights orange when paper is low paper near end or there is no paper paper end ERROR LED red Flashes if the print head is hot the paper cover is open a cutter lock occurs...

Страница 13: ...ply type Interface connector serial parallel USB etc Connects to the interface cable The serial interface board is equipped with a DIP switch Cash drawer kick out connector Connects to the cable from...

Страница 14: ...ts the end of the paper is near Button to change paper near end sensor Change the position of the paper near end sensor to match the paper being used Refer to 3 7 Adjusting the Paper Near end Sensor M...

Страница 15: ...Functions Buzzer Buzzes when errors occur or when operations or command operations are performed Refer to 4 6 Error Messages User memory You can save user defined logo and character data in this memor...

Страница 16: ...with the specified ratings Always hold the AC adapter s cable connector by the connector when removing or inserting it Use an AC power source that does not also supply power to equipment that generate...

Страница 17: ...vailable as options in addition to those listed here CAUTION Always unplug the AC adapter from the printer before connecting the printer to a Powered USB interface Failure to do so may damage the host...

Страница 18: ...necting the Cash Drawer 1 2 3 4 Turn off the power Confirm the orientation of the cash drawer kick out cable connector and connect it to the cash drawer kick out connector at the back of the printer R...

Страница 19: ...l levels L 0 to 0 8 V H 2 to 3 3 V 3 DRSW signal DRSW signal status can be tested with the DLE EOT GS a or GS r command or at pin 34 on the parallel interface port 4 Drive circuit Cash drawer kick out...

Страница 20: ...ons The factory setting for the paper near end sensor is for horizontal installations Refer to 3 7 Adjusting the Paper Near end Sensor CAUTION Do not use the printer under the following conditions Loc...

Страница 21: ...ff the power Press the cover open lever Open the paper cover Set the partition in a slot that matches the size of the paper roll you are using However to use an 83 mm wide paper roll remove the partit...

Страница 22: ...nterface board from the printer Set the DIP switch according to the following table DIP switch Serial interface board mounting screws CAUTION When setting the DIP switch do not remove any screws excep...

Страница 23: ...r near end sensor up down right and left The sensor positions are shown below for the various diameters of the paper roll used Unit mm Note Position of sensor when shipped from factory However factory...

Страница 24: ...there is a problem with the print density Refer to 1 3 Model Classification 1 2 3 4 Turn off the power Press the cover open lever Open the paper cover Set the paper thickness selection lever to A for...

Страница 25: ...set Refer to 5 3 Manual Setting of Memory Switches CAUTION Always use the specified types of paper rolls Confirm that the paper roll is set correctly If the paper is skewed and not coming straight out...

Страница 26: ...cover to prevent the power switch from being used 1 Press the power switch cover onto the power switch compartment until it clicks Power switch cover Put a screwdriver or other pointed object into the...

Страница 27: ...e shape of the interface cover is different depending on the type of power source 1 Press the interface cover as shown in the diagram until you hear it click RP 3200 3 12 Removing the Interface Cover...

Страница 28: ...irt and dust that is on the print head and platen Use a cotton swab dampened with a little water to wipe off the sensor s protective sheet Make sure there are no water drops on the cotton swab before...

Страница 29: ...e the power is on Open the paper cover Remove any jammed paper including any scraps of paper Remove the paper roll that is loaded in the holder also Reload the paper roll and close the paper cover CAU...

Страница 30: ...of arrow B to return the auto cutter to a position where the paper cover can be opened Turn the cutter gear until the auto cutter blade retracts in the direction of arrow C If the blade of the auto c...

Страница 31: ...act the auto cutter contact your dealer 4 4 Self printing While paper is loaded press and hold the FEED button while turning the power on Hold the FEED button down for about one second and then releas...

Страница 32: ...X dump print mode followed by the received data printed in hexadecimal numbers and some characters How to stop hexadecimal dump printing Do one of the following to stop printing Press the FEED button...

Страница 33: ...resume printing may be required depending on the memory switch setting Cutter locked If the auto cutter cannot move because of a paper jam or something else the ERROR LED flashes Remove the cause of t...

Страница 34: ...SG 20 DTR Pin Signal 2 TXD 3 RXD 4 RTS 6 DSR The status display for various messages is shown below Notes 1 If the paper cover or front cover is open in standby 2 If the paper cover or front cover is...

Страница 35: ...148 16 120 5 OTHER 5 1 External Views and Dimensions Unit mm 145 140 145 192 155 Built in power supply type 192 AC adapter type 35 31 31...

Страница 36: ...same quality Unit mm Paper width 83 0 Maximum print area 80 Paper width 60 0 Maximum print area 48 Initial setting Paper width 80 0 Maximum print area 72 Paper width 58 0 Maximum print area 48 Initial...

Страница 37: ...wer on Press the FEED button three times and close the paper cover The printer enters memory switch quick setting mode The selectable item Manufacturer and the selection are printed Selectable item Se...

Страница 38: ...ters the mode for setting memory switches individually The printer prints Memory SW 1 and the current setting 0 off or 1 on The current settings for memory switches 7 to 10 are not printed Current mem...

Страница 39: ...on and settings are printed 8 Repeat steps 5 to 7 to change different functions for the current memory switch number 9 Open the paper cover and close it The changed memory switch settings are printed...

Страница 40: ...MSW3 2 PE signal by PNE Valid Invalid MSW3 3 Parallel 31 Pin Valid Invalid MSW3 4 Reserved Fixed MSW3 5 Reserved Fixed MSW3 6 Reserved Fixed MSW3 7 CBM1000 Mode Invalid Valid MSW3 8 Resume Open Err Cl...

Страница 41: ...ved Fixed MSW3 7 CBM1000 Mode Invalid Valid MSW3 8 Resume Open Err Close Command MSW4 1 Reserved Fixed MSW4 2 Reserved Fixed MSW4 3 Feed Cut at TOF Invalid Valid MSW4 4 Reserved Fixed Switch no Functi...

Отзывы: