background image

NOTE: Make sure roast or chicken is not too large to rotate freely within the oven. 
9. Rotisserie Fetch Tool   
Use to remove cooked roasts and chicken that have been prepared using the rotisserie or skewer 
methods. Place under Rotisserie Shaft and lift then gently extract the food. 
NOTE: Please remove any clear or blue protective film on the components. 

&;260<1.202<*476<:74!*6.4

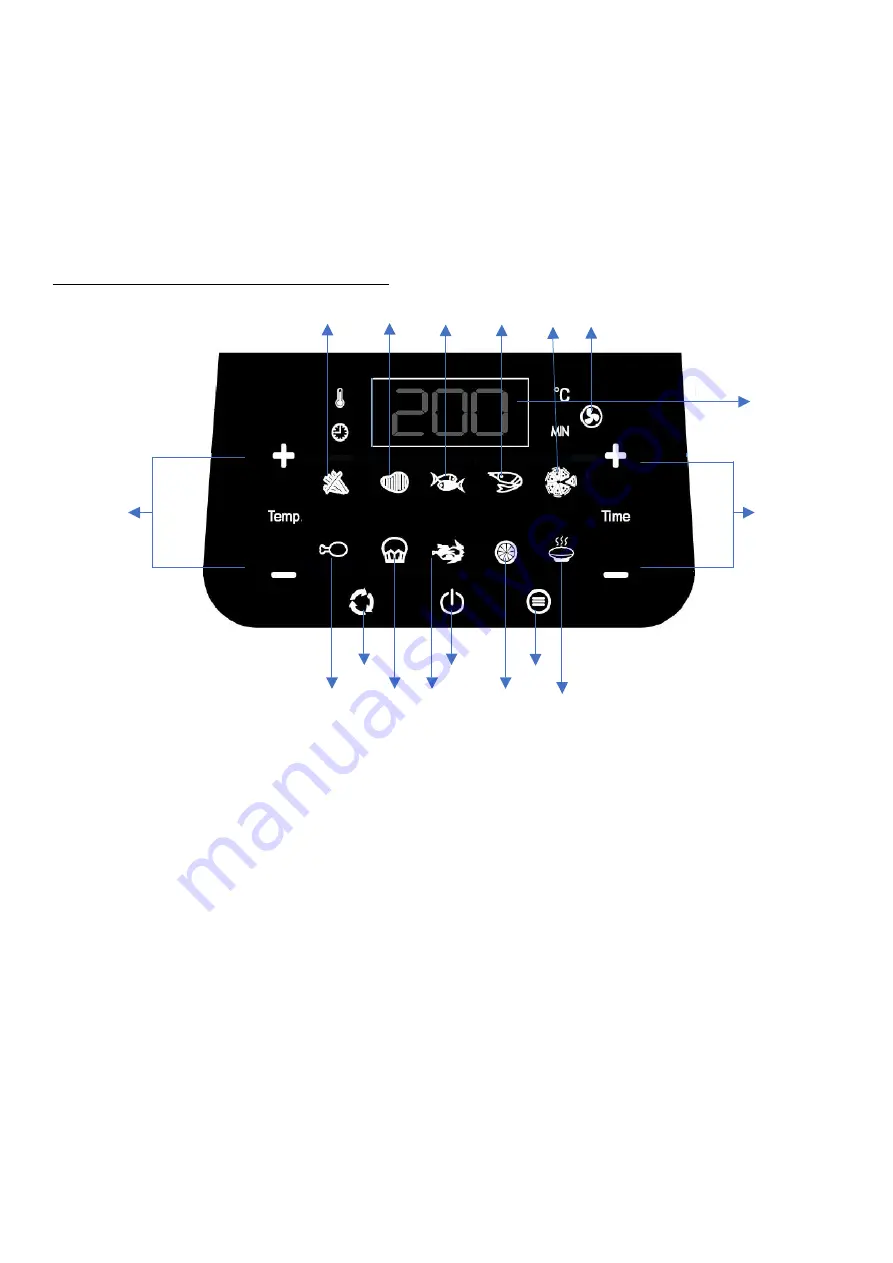
1.    Power/Start–Stop Button - Once the Unit is plugged in, the Power Button will light up. Selecting 
the Power Button once will cause the full panel to be illuminated.   
Selecting the Power Button at any time during the cooking process will shut down the Unit, causing 
the display to go dark immediately the running light to go dark within 20 secs. The fan will continue 
running for 20 secs. to cool down the Unit. 
2. Menu – Press this button to choose the initial function that you will use.   
3. Rotation Button - Select this button when cooking anything using the Rotisserie Mode. Function 
can be used with any preset. The icon will blink while in use. 
4. Temperature Control Buttons – These buttons enable you to raise or lower cooking temperature 
from 65 °C to 200 °C. Dehydration ranges from 30°C to 80. 
5. Time Control Buttons - These buttons enable you to select exact cooking time to the minute, from 
1 min.  to  90 mins.  in  all  modes  except  when  dehydrating,  which  uses  30-min.  intervals  and  an 
operating time of 2–24 hrs. 
6.  LED  Digital  Display  -  The  Digital  Numeric  Display  will  switch  between  Temperature  and  Time 
Remaining during the cooking process. 
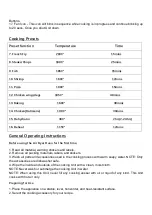
7–16.  Cooking  Presets  –  Press  Menu  button  to  selecting  any  Preset  function,  and  then  press 
Power/start  button  to  start  cooking.  You  may  override  these  presets  with  Time  and  Temperature 


Содержание TT-AF2

Страница 1: ...AIR FRYER OVEN INSTRUCTION MANUAL TT AF2 www zline World com ...

Страница 2: ...ir Intake Vent or Air Outlet Vent while the Air Fryer Oven is operating Doing so will prevent even cooking and may damage the Unit or cause it to overheat NEVER POUR oil into the Round Basket Fire and personal injury could result While cooking the internal temperature of the Unit reaches several hundred degrees Fahrenheit TO AVOID PERSONAL INJURY never place hands inside the Unit unless it is thor...

Страница 3: ...iance on a horizontal surface that is level stable and noncombustible This appliance is intended for normal household use only It is not intended for use in commercial or retail environments If the Power Air Fryer Oven is used improperly or for professional or semiprofessional purposes or if it is not used according to the instructions in the user manual the warranty becomes invalid and the manufa...

Страница 4: ...for cleaning Take it out around 30 angle refer to the right picture 2 Control Panel Allows you to control the functions of the Unit 3 Air Intake Vents DO NOT COVER the Air Intake Vents while the Unit is operating 4 Hot Air Outlet Vents DO NOT COVER the Air Outlet Vents while the Unit is operating 5 Racks Can be used not only for dehydration but also to cook crispy snacks or reheat items like pizza...

Страница 5: ...ning for 20 secs to cool down the Unit 2 Menu Press this button to choose the initial function that you will use 3 Rotation Button Select this button when cooking anything using the Rotisserie Mode Function can be used with any preset The icon will blink while in use 4 Temperature Control Buttons These buttons enable you to raise or lower cooking temperature from 65 C to 200 C Dehydration ranges f...

Страница 6: ...els 2 Remove all packing materials labels and stickers 3 Wash all parts and accessories used in the cooking process with warm soapy water NOTE Only the accessories are dishwasher safe 4 Wipe the inside and outside of the cooking Unit with a clean moist cloth NOTE Never wash or submerge the cooking Unit in water NOTE When using this Unit never fill any cooking vessel with oil or liquid of any kind ...

Страница 7: ...nual and the Recipe Guide will help you get great results Please refer to this information for proper time temperature settings and proper food quantities 6260 NEVER put anything on top of the appliance NEVER cover the air vents on the top and back of the cooking Unit NEVER fill any cooking vessel with oil or liquid of any kind This Unit cooks with hot air only NEVER use the Oven Door as a place t...

Страница 8: ...ough the cooking process ensures that all the pieces are evenly fried Misting a bit of vegetable oil on fresh potatoes is suggested for a crispier result When adding a little oil do so just before cooking Snacks normally cooked in an oven can also be cooked in the Air Fryer Oven Use premade dough to prepare filled snacks quickly and easily Premade dough also requires a shorter cooking time than ho...

Страница 9: ...se oven ready Mozzarella Sticks 1 4 1 1 lb 8 10 mins 180 C Use oven ready Stuffed Vegetables 1 4 1 1 lb 10 mins 160 C Cake 1 1 4 cups 20 25 mins 160 C Use baking tin Quiche 1 1 2 cups 20 22 mins 180 C Use baking tin oven dish Muffins 1 1 4 cups 15 18 mins 200 C Use baking tin Sweet Snacks 1 1 2 cups 20 mins 160 C Use baking tin oven dish Frozen Onion Rings 1 lb 15 mins 200 C 773260 1 260 The Cooki...

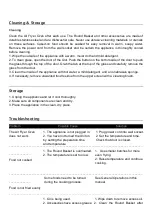
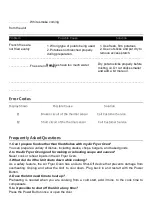
Страница 10: ...ent and a nonabrasive sponge 4 If necessary remove unwanted food residue from the upper screen with a cleaning brush 7 0 1 Unplug the appliance and let it cool thoroughly 2 Make sure all components are clean and dry 3 Place the appliance in the clean dry place 7 4 177 260 0 11 31 32 The Air Fryer Oven does not work Food not cooked Food is not fried evenly 1 The appliance is not plugged in 2 You ha...

Страница 11: ...ng As a safety feature the Air Fryer Oven has an Auto Shut Off device that prevents damage from overheating Unplug and allow the Unit to cool down Plug back in and restart with the Power Button 4 Does the Unit need time to heat up Preheating is needed when you are cooking from a cold start add 3 mins to the cook time to compensate 5 Is it possible to shut off the Unit at any time Press the Power B...

Страница 12: ...d electronics should never be submersed in liquid of any kind or cleaned with anything more than a hot moist cloth or nonabrasive sponge with a small amount of mild detergent 8 What happens if the Unit still does not work after I have tried all the troubleshooting suggestions Never attempt a home repair Contact the manufacturer and follow the procedures set forth by the warranty Failure to do so c...

Отзывы: