4.,<:2,!7?.:
If the electrical circuit is overloaded with other appliances, your new Unit may not operate properly.
It should be operated on a dedicated electrical circuit.
=<75*<2,$1=< //
The appliance has a built in shut-off device, that will automatically shut down the Unit when the
Timer LED reaches zero. You can manually switch off the appliance by selecting the Power Button.
The fan will continue running for about 20 secs. to cool down the unit.
4.,<:75*06.<2,2.4-;
This appliance complies with all standards regarding electromagnetic fields. If handled properly and
according to the instructions in this user manual, the appliance is safe to use based on scientific
evidence available today.
$'%$$%#&% $ # &$ &$ )
!*:<;,,.;;7:2.;
1. Main Unit
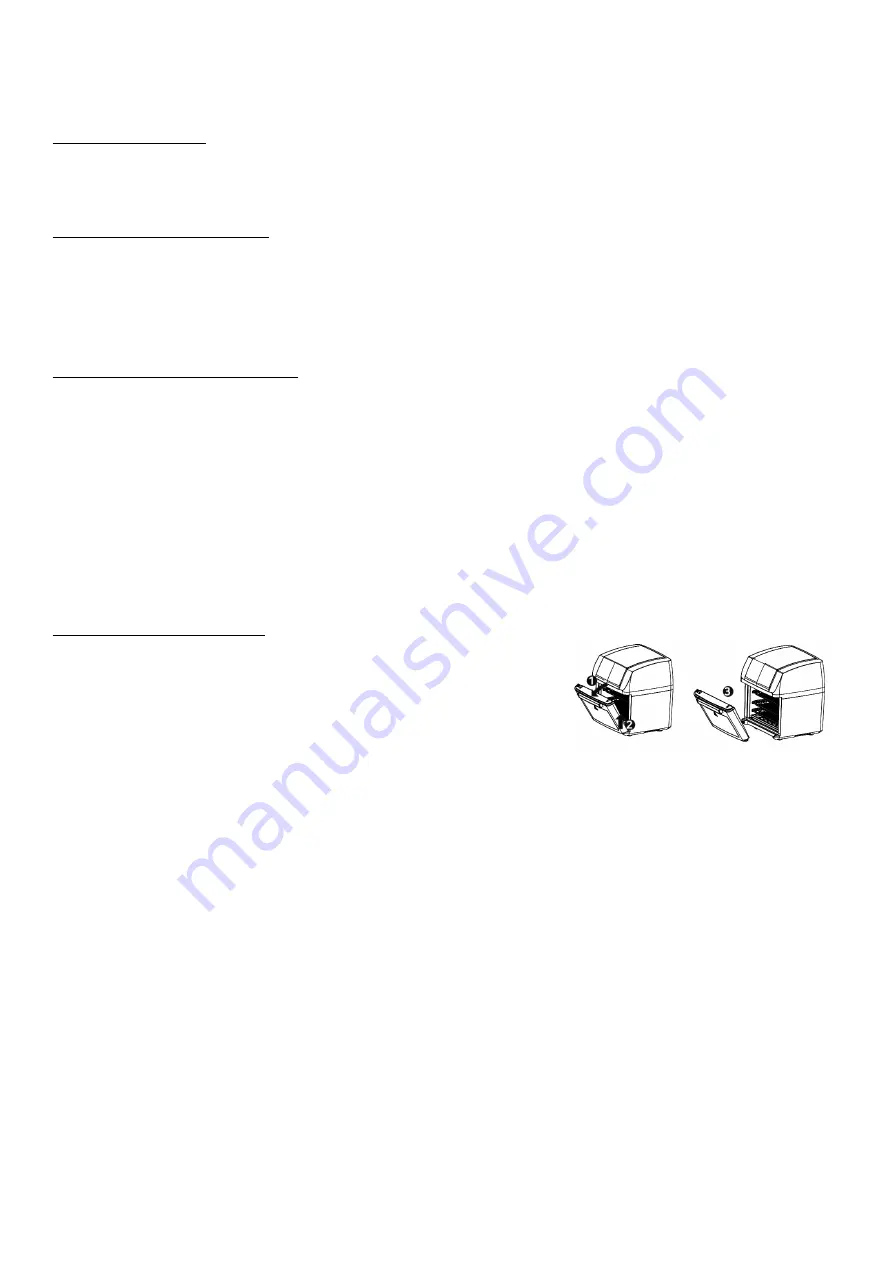
The door can be removed from the Main Unit for cleaning.
(Take it out around 30 angle, refer to the right picture.)
2. Control Panel
Allows you to control the functions of the Unit
3. Air Intake Vents
DO NOT COVER the Air Intake Vents while the Unit is operating.
4. Hot Air Outlet Vents
DO NOT COVER the Air Outlet Vents while the Unit is operating.
5. Racks
Can be used not only for dehydration but also to cook crispy snacks or reheat items like pizza.
6. Round Basket
Great for fries, roasted nuts, and other snacks. Use Rotisserie Fetch Tool to place basket into
Unit.
7. Drip Tray
Cook with the Drip Pan in place for easy clean-up.
8. Rotisserie Shaft, Forks & Set Screws
Use for roasts and whole chicken. Force Shaft lengthwise through meat and center. Slide Forks
onto shaft from either end into meat, then lock in place with Set Screws. There are indentations on
the shaft for the set screws. You can adjust the screws closer to the middle if needed but never but
never outward towards the ends.


