


-7-
-8-
4.4
Image Taking
4.3
Image Stitching and EDF (Live)
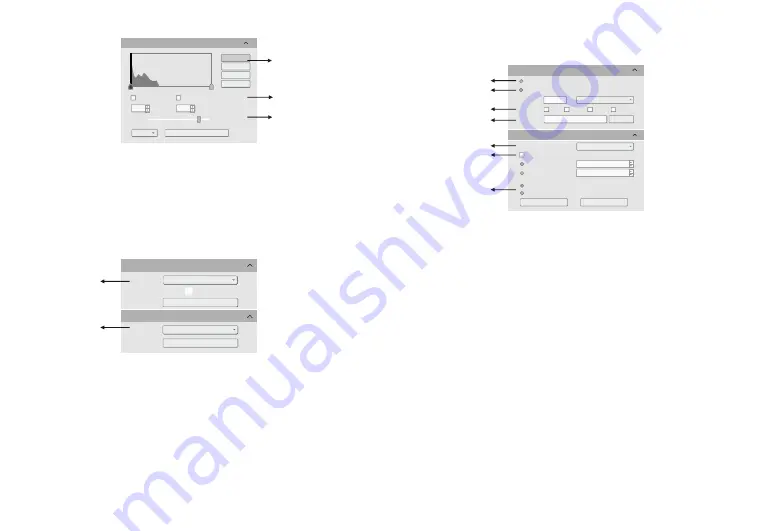
①
Run
the live image stitching, move the stage X Y axis according to the
selected stitching speed, splice the image to obtain a high resolution image.
②
Run
the live depth of field expansion, observe the preview picture, rotate
the focus knob of the microscope, and fuse different depths of field to finally
obtain a clear image effect. Different samples have different qualities of high,
medium and low.
Note: (a). Splicing takes up too much memory due to the large number of
images, and cannot be used on a 32-bit computer. (b). GT series cameras do
not support live stitching and depth of field integration.
High
Speed
Start
Stitching
Image
Stitching(Live)
Stitching
:
Background
Color
:
Quality
:
High
Start EDF
EDF(Live)
②
①
⑦
RGB channel selection, view the grayscale map of different channels.
⑧
[Auto Min]&[Auto Max] automatically obtains the pixel values of the darkest
and brightest intervals with even distribution. (Single channel does not support).
⑨
Appropriately adjust the gamma value, change the brightness value of the
gray tone of the image, and increase the layering of a monochrome image.
RGB
R
G
B
Auto Min
Auto
Max
0
255
Gamma
:
2.10
Line
Default
Hitogram
⑦
⑧
⑨
DICOM
PNG
yyyymmddHHMMSS
C:/Users/tuc/Desttop/Image
Browse
Default
Video
Record
Flie
Save
File
Name
:
Format
:
Path
:
+
JPG
TIF
TS
√
Encoder
:
Total
Frame
:
Total
Time(s)
:
Save
to
:
Hard
Disk
RAM
Full frame(No compression)
10
10
Video
Record
Use
Dialog
Use
File
Name
Auto
Stop
①
②
③
④
⑤
⑥
⑦
①
Select [Use Dialog]: the software will pop up the Dialog to set the picture
save path, picture name and format when taking pictures.
②
Select [Use File Name]: A file will be saved with the name "TS" as default,
but the name can be customized. "Customized name + time stamp" is
supported. A name can contain up to 64 bytes .
③
File format: Support JPG \TIF \PNG \DICOM, default to TIF, and can be
checked simultaneously, but at least one of them must be chosen.
④
Under default status, the image file shall be saved to a filefolder specified
in defined [ Path ]; user could modify the saveing path through [Browse].
⑤
The video provides two encoding modes: [Compression] and [Full frame
(No compression). [Full frame (No compression)] is chosen as default.
⑥
Select [Auto Stop], the recording mode is available in [Total Frame] and
[Total Time]. [Total Frame] is chosen as default. Unselect [Auto Stop] ,user
could manually click to stop the current video recording.
⑦ [
Hard Disk] In the process of capturing images, the function will auto-
matically write the data into disk. Which is suitable for long-term shooting .
[
RAM
]
Save the data into computer memory; after image capturing, write the
data into a disc file. Limited by the size of memory space, this mode is not
suitable for a long time capturing images .


