EnTire Solution TPMS User Manual
27
© 2011 TRW Automotive, Parts & Service
Relay Installation
Step 1:
Select a suitable location to mount the relay onto the bottom of the vehicle undercarriage as
close as possible to the furthest rear tyre sensor from the LCD Display Monitor. Locate the vehicle's
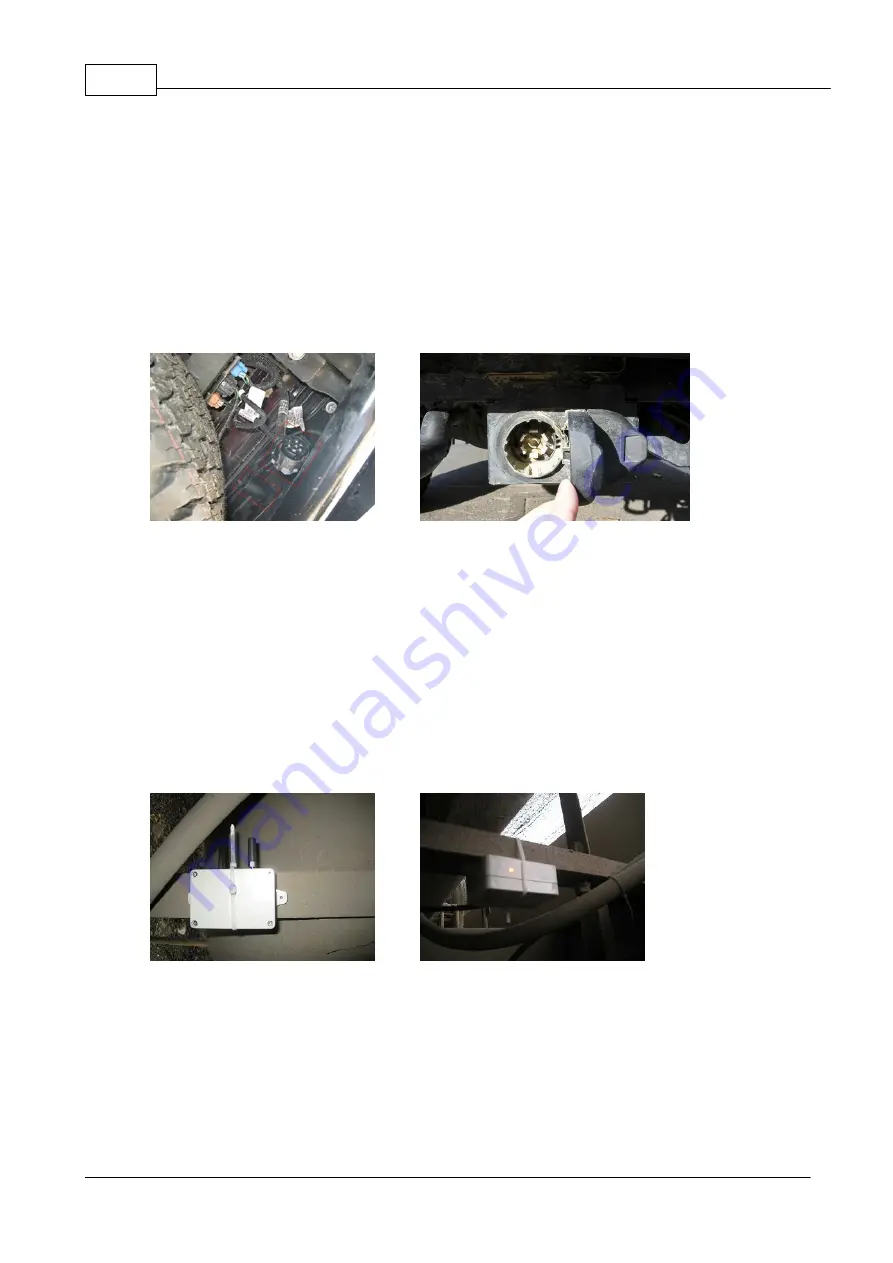
external DC power port and 7 power connector. (fig.8.1.1 and fig.8.1.2) Select a position for the relay that
will have the clearest path and to where the LCD Display Monitor is mounted, make sure there is some
clear space around the relay antenna to prevent blocking its reception and transmission. Clean truck
undercarriage surface and mount relay with self-tapping screws, Velcro and tie-wrap to the selected area
of the truck undercarriage. Make sure the distance between the relay and the truck's 7 Way power
connector socket is within the reach of the enclosed relay 7 Way connector extension (1.2 meter).
(fig.8.1.3)
fig.8.1.1 - 7-Way Connector
fig.8.1.2 - 7-Way Connector
Step 2:
Attach to the vehicle's ex12 V or +24 V DC power supply to the relay with provided 7-
Way power connector,
Brown line connected power supply positive,
Blue line connected power supply negative.
The relay's red LED will then light up. (fig.8.1.4)
Step 3
: Confirm relay is working with all sensors, (See 5.3 Sensor Working Modes, if you install the
relay after you install the sensor the signal may take up to 8 minutes to register with the LCD Display
Monitor because there is no abnormal pressure condition and sensors are now in Normal Working
Mode). The LCD Display Receiver should cycle through all the tyre pressure, temperature and
transmission signal and sensor battery information. Note: Sensors are in normal working mode and it
may take 8 minutes for each sensor to start to cycle their signal.
fig.8.1.3
fig.8.1.4


