Sensor
18
© 2011 TRW Automotive, Parts & Service
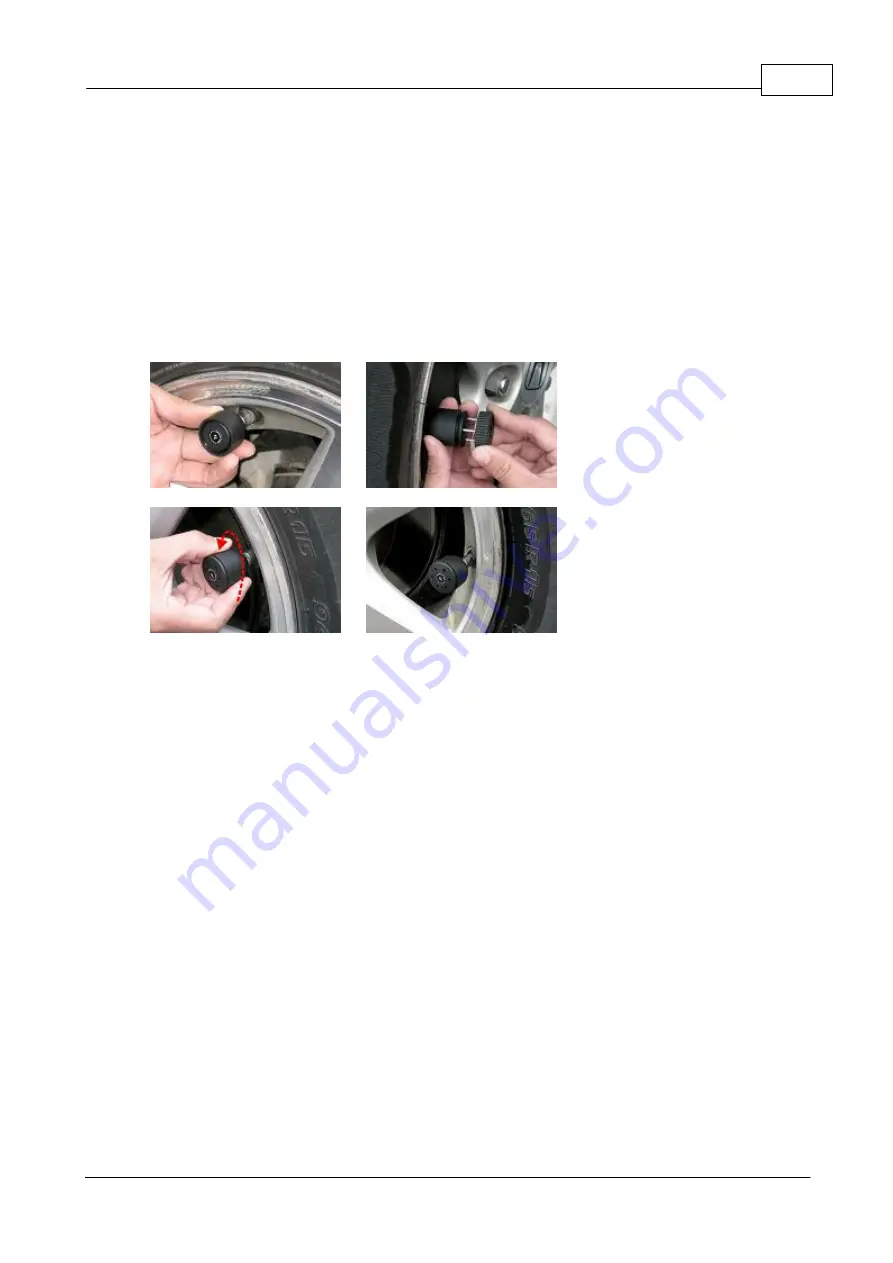
Step 5.
Pull sensor bottom cover out (fig.3.2.5), match it with the upper cover cap and tighten it with the
spanner wrench. (fig.3.2.6)
Step 6.
Sensor Anti-theft Function Test
Use fingers to spin the sensor body anti-clockwise to check if the sensor is spinning freely and can not
be removed by turning. (fig.3.2.7)
Step 7.
Repeat steps 1-6 for other sensors.(fig.3.2.8)
Step 8.
Verify if the sensor works properly.
The LCD Display Monitor should indicate the tyre status within 1 minute after installation.
fig.3.2.5
fig.3.2.6
fig.3.2.7
fig.3.2.8
Note:
If there is no tyre information displayed after 15 minutes, please check the sensor’s battery
status, replace and reinstall the battery. Refer to “Troubleshooting” section on how to change a sensor’s
battery.
Note:
If this is a replacement sensor please write with waterproof marker the correct sensor name on the
blank sensor label (i.e. 1R, 3L) according to tyre diagram (fig. 20)


