Calibration Procedures
Support Services 800-883-8783 Mon-Fri 8:30am-5:00pm Central Time Zone Fax: 636-272-7148
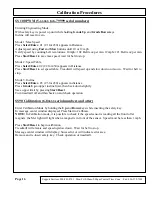
SS 100 PWM (5-xxxxx to 6-79999 serial numbers)
Entering Engineering Mode:
With safety key in, power up unit while holding
Grade Up
and
Grade Down
keys.
Incline will reset to zero.
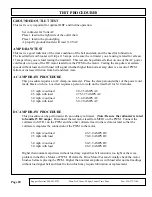
Mode 1: Max Speed
Press
Select/Enter
- 01 (C1 for 450) appears in Distance.
Adjust speed using
Fast
and
Slow
buttons until 10 or 12 mph
Verify speed by counting belt revolutions: 10mph= 102 Belt revs/per min. 12mph= 121 Belt revs/per min.
Press
Start/Reset
to save max speed, wait for belt to stop.
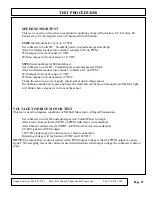
Mode 2: Speed Table
Press
Select/Enter
-02 (C2 for 450) appears in Distance
Press
Start/Reset
to set speed table. Treadmill will speed up and slow down on its own. Wait for belt to
stop.
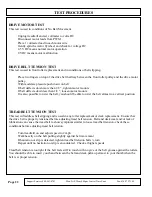
Mode 3: Incline
Press
Select/Enter
- 03 (C3 for 450) appears in distance
Press
Grade Up
to upper incline limit, then back down slightly
Save upper limit by pressing
Start/Reset
Turn treadmill off and then back on and check operation
SS90 Calibration (6-8xxxx serial numbers and after)
Enter Calibration Mode by holding the
Up
and
Down
keys while inserting the safety key
In message center window displayed: Press Start to Calibrate
NOTE:
In Calibration mode, it is possible to check if the speed sensor is reading all the front roller
magnets: the Met light will light when a magnet is in front of the sensor. Speed must be less than 1 mph.
Press
Start/Reset
to begin calibration
Treadmill will elevate and speed up/slow down. Wait for belt to stop.
Message center window will display: Successful, or will indicate error area.
Remove and re-insert safety key. Check operation of treadmill.
Page 16
Содержание 350 Black
Страница 20: ...Page 18...
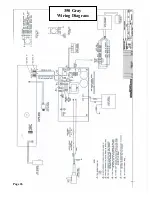
Страница 28: ...Page 26 350 Gray Wiring Diagram...
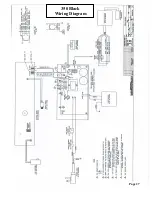
Страница 29: ...Page 27 350 Black Wiring Diagram...
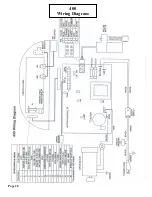
Страница 30: ...Page 28 400 Wiring Diagram...
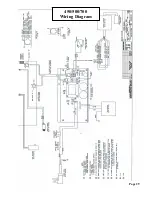
Страница 31: ...Page 29 450 500 700 Wiring Diagram...
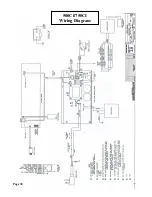
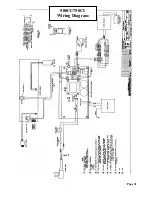
Страница 32: ...Page 30 500CI 750CI Wiring Diagram...
Страница 33: ...Page 31 500CI 750CI Wiring Diagram...
Страница 34: ...Page 32 750 Wiring Diagram...

