4
Cable Tester Unit
(continued)
5
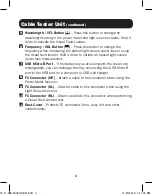
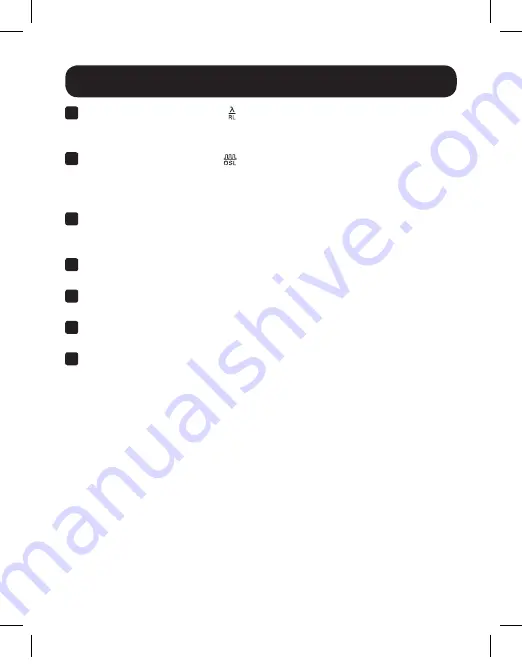
Wavelength / VFL Button ( )
– Press this button to change the
wavelength setting in the power meter and light source screens. Hold it
down to activate the Visual Fault Locator.
6
Frequency / OSL Button ( )
– Press this button to change the
frequency when measuring the optical light source power loss or using
the visual fault locator. Hold it down to initiate an optical light source
power loss measurement.
7
USB Micro-B Port
– If the batteries you are using with the tester are
rechargeable, you can recharge them by connecting this USB Micro-B
port to the USB port on a computer or USB wall charger.
8
FC Connector (OP)
– Attach a cable to this connector when using the
Power Meter function.
9
FC Connector (SL)
– Attach a cable to this connector when using the
Light Source function.
10
FC Connector (RL)
– Attach a cable to this connector when performing
a Visual Fault Locator test.
11
Dust Cover
– Protects FC connectors from, dust, dirt and other
contaminants.
15-11-089-9334DC-EN.indd 4
11/20/2015 2:11:04 PM


