WiFi Hound
TM
User Manual
7
www.Triplett.com
4. USER INTERFACE
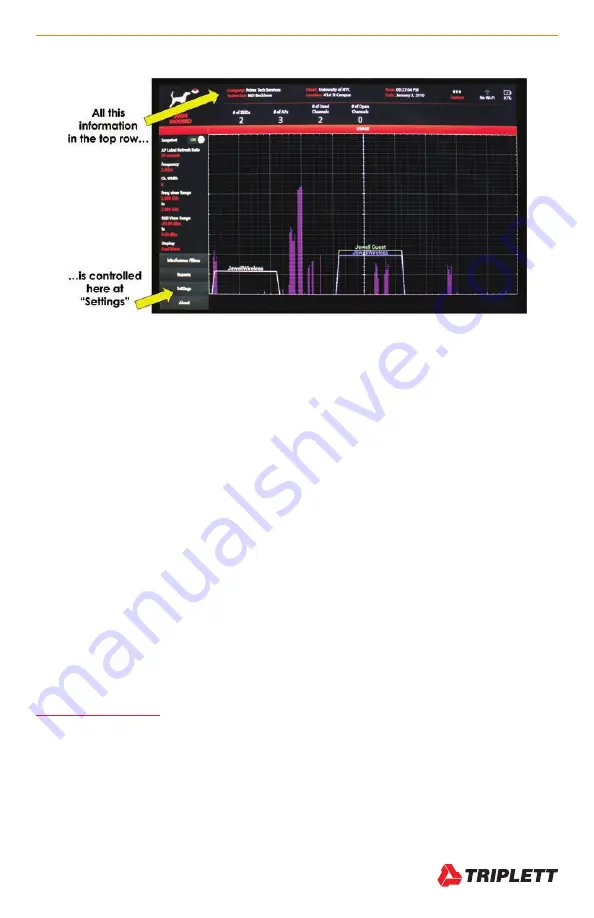
4.1 Top Row
Notice the Company and Client information comes out on the Main Screen on the top. This data, along with the Time
and Date, and connecting to the local WiFi network, is controlled at “Settings” in the bottom left of the screen.
4.1.1 Capture
The Capture functions will be explained in greater detail later in this manual.
4.1.2 WiFi Connection
If you are familiar with the Android OS, then you know that swiping down from the top right corner of the device will get
you into a Settings screen where you can connect to the local WiFi. DO NOT USE THAT FEATURE. Instead, go to
Settings > Connect to WiFi. Once you have connected, use the Android Back Arrow to get back to the WiFi Hound Main
Screen. You will need to connect to WiFi if you want to send reports directly from the Tester using your generic company
email address.
(NOTE: as of the time of this training, email addresses cannot be technician-specific.)
4.1.3 Battery and Charging Status
The lightning bolt indicates the Tester is charging (i.e., the Tester is connected to an AC outlet via the power adapter
provided). Only use the adapter that comes with the unit as an aftermarket charger may cause problems. You can also
charge the Tester using the Micro USB port, however charging by that method is EXTREMELY slow, and the Micro USB
port will not charge fast enough to compensate for the power the screen uses. You can power off the screen without
powering off the Tester by pressing the Power button for less than 1 second. Press it again for 1 second to turn the
screen back on.
A NOTE ABOUT STARTUP
Get into the habit of always
selecting the correct Technician and Client
every time you turn on your WiFi Hound.
Confirm you have the right Client selected whenever you get on-site, and when you start to Capture data.
Содержание WiFi Hound
Страница 1: ...USER MANUAL WiFi HoundTM P N UM WFHOUND 05 2019 ...
Страница 4: ......


