background image

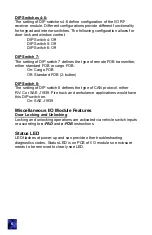
DIP Switches 4-6: 

The setting of DIP switches 4-6 define configuration of the I/O RF 
receiver module. Different configurations provide different functionality 
for keypad and interior switches. The following configuration allows for 
door lock and window control: 

DIP Switch 4: Off 
DIP Switch 5: Off 
DIP Switch 6: Off 


DIP Switch 7: 

The setting of DIP switch 7 defines the type of remote FOB transmitter, 
either standard FOB or cargo FOB. 

On: Cargo FOB 
Off: Standard FOB (2-button) 


DIP Switch 8: 

The setting of DIP switch 8 defines the type of CAN protocol, either    
RV-C or SAE J1939. Fire truck and ambulance applications would have 
this DIP switch on. 

On: SAE J1939 
 

Miscellaneous I/O Module Features 

Door Locking and Unlocking 

Locking and unlocking operations are activated via vehicle switch inputs 
or according to 

e-PAD 

and 

e-FOB 

instructions. 


Status LED 

LED flashes at power-up and can provide other troubleshooting 
diagnostics codes. Status LED is on PCB of I/O module so enclosure 
needs to be removed to clearly see LED. 

Содержание 24324-03

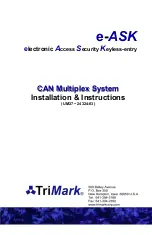
Страница 1: ...e ASK electronic Access Security Keyless entry CAN Multiplex System CAN Multiplex System Installation Instructions UM27 24324 03...

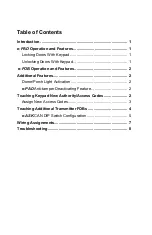
Страница 2: ...pad 1 e FOB Operation and Features 2 Additional Features 2 Dome Porch Light Activation 2 e PAD Anti tamper Deactivating Feature 2 Teaching Keypad New Authority Access Codes 2 Assign New Access Codes 3...

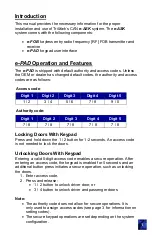
Страница 3: ...5 7 8 7 8 7 8 7 8 7 8 Access code Authority code Locking Doors With Keypad Press and hold down the 1 2 button for 1 2 seconds An access code is not needed to lock the doors Unlocking Doors With Keypad...

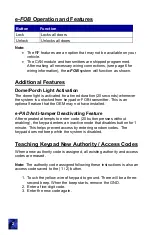
Страница 4: ...eactivating Feature After repeated attempts to enter code 20 button presses without enabling the keypad enters an inactive mode that disables button for 1 minute This helps prevent access by entering...

Страница 5: ...2 Enter the 5 digit authority code see page above Keypad will provide a long beep that will stop after you have defined an access number 3 Press and release any button This button corresponds to the a...

Страница 6: ...nds The keypad will beep and the LEDs will flash 2 Enter authority code Keypad will provide a sustained beep 3 Press and hold 9 0 for 5 seconds A double beep plays a The receiver module is now in FOB...

Страница 7: ...ntil fast LED flash This synchs the 2nd FOB transmitter 9 Repeat step 8 until all FOBs are synched up to 4 FOBs 10 Remove power and CAN from door module 11 Move DIP switches 4 6 to original position a...

Страница 8: ...standard FOB or cargo FOB On Cargo FOB Off Standard FOB 2 button DIP Switch 8 The setting of DIP switch 8 defines the type of CAN protocol either RV C or SAE J1939 Fire truck and ambulance application...

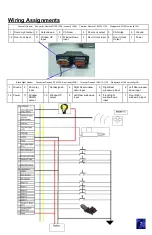
Страница 9: ...up input Black Right Header Connector Deutsch DT06 12SB currently 128B Terminal Deutsch 1062 16 1122 Wedgelock W128 currently 128 Wiring Assignments 1 Dome Light output 2 Antennae pin 3 CAN Low 4 Doo...

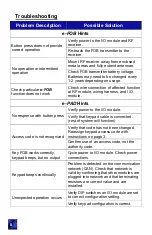
Страница 10: ...sponse with button press Verify power to the I O module Verify that keypad cable is connected rest of system will function Access code is not recognized Verify that code has not been changed Reassign...

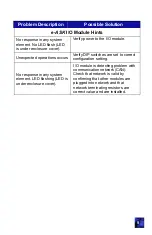
Страница 11: ...are set to correct configuration setting No response in any system element LED flashing LED is under enclosure cover I O module is detecting problem with communication network CAN Check that network...

Страница 12: ...UM27 24324 03 09 11 2...

Отзывы: