SLASH 4X4 ULTIMATE • 23
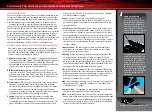
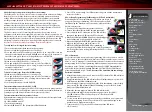
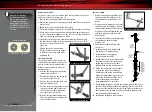
Slash 4x4 Ultimate also includes the plastic rear stub axle carriers as
used on the standard Slash 4X4 Ultimate, which offer 2.5° of toe-in.
They can be installed on either side of the truck, as they are not left/
right specific.
In general, increasing toe-in improves stability, while reducing toe-in
may help “loosen up” the truck’s handling to improve corner speed,
especially on high-grip tracks. Experiment to see what works best
for your track and driving style.
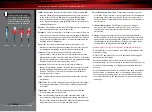
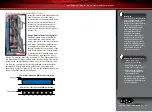
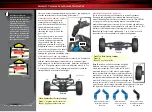
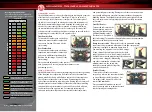
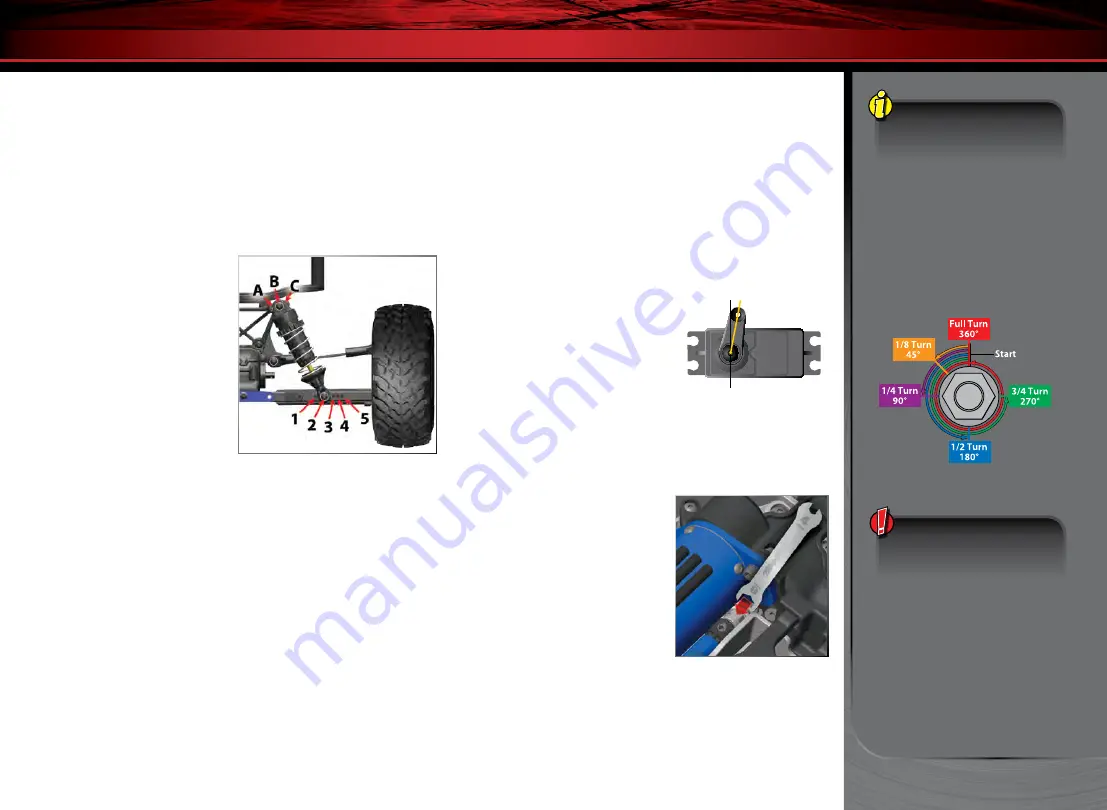
SHOCK MOUNTING POSITIONS
Big bumps and rough terrain
require a softer suspension
with the maximum possible
suspension travel and ride
height. Racing on a prepared
track or on-road use requires
a lower ride height and firmer,
more progressive suspension
settings. The more progressive
suspension settings help
reduce body roll (increased roll
stiffness), dive during braking,
and squat during acceleration.
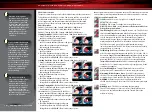
The suspension of your model has been set up for off-road
performance (position 2 on the front suspension arms and position
3 on the rear suspension arms). If you plan on driving on hard
surfaces the following changes should be made:
1. Move the front shocks to position 3 on the suspension arms.
2. Move the rear shocks to position 4 or 5 on the suspension arms.
3. Reduce the ride height by loosening the upper spring
pre-load spacer.
4. Position 1 is not recommended for front or rear.
CENTERING YOUR SERVO
If you have removed the servo horn from your model’s steering servo,
or the servo has been removed for service or cleaning, the servo must
be re-centered prior to installation of the servo horn or installation of
the servo in the model.
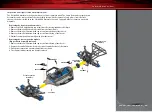
1. Remove the front module from the vehicle to access the
steering servo.
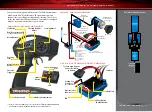
2. Connect the steering servo to channel 1 on the receiver. Connect
the electronic speed control (ESC) to channel 2. The white wire on
the servo lead is positioned towards the receiver’s LED.
3. Turn the transmitter power switch on. Make certain the
transmitter’s batteries are not depleted.
4. Turn off TSM (see page 16).
5. Turn the transmitter’s steering trim knob to the center “0” position.
6. Disconnect motor wires “A” and “C” (see page 11) to prevent the
motor from turning during the next steps. Connect a fresh battery
pack to the speed control and turn on the ESC (see page 17). The
servo’s output shaft will automatically jump to its center position.
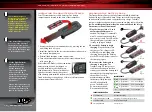
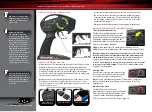
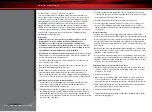
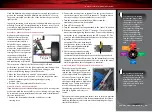
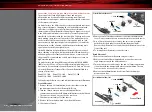
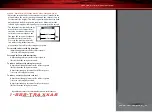
7. Install the servo horn onto the servo
output shaft. The servo horn should
be aligned one spline clockwise from
perpendicular alignment with the
servo case (not the chassis).
8. Check servo operation by turning
the steering wheel back and forth to
ensure that the mechanism has been centered properly and you
have equal throw in both directions. Use the transmitter’s steering
trim knob to fine-tune the position of the servo horn so the model
tracks straight when the steering wheel is at neutral.
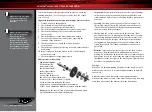
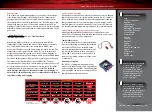
ADJUSTING THE SLIPPER CLUTCH
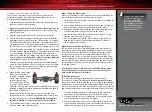
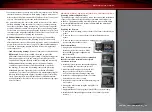
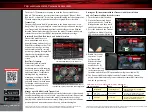
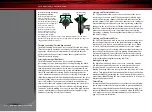
The model is equipped with an
adjustable slipper clutch that is built
into the large spur gear. The purpose
of the slipper clutch is to regulate the
amount of power sent to the wheels
to prevent tire spin. When it slips,
the slipper clutch makes a high-pitch
whining noise. To adjust the slipper,
use the included wrench to hold
the adjusting nut and roll the model
forward to tighten and reverse to
loosen.
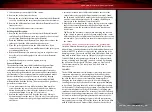
Place the model on a high-traction surface, such as carpet . Adjust the
slipper so that you can hear it slip for approximately two feet from a
standing, full throttle start. (Learn more about adjusting the slipper
clutch in the sidebar.)
BASIC TUNING ADJUSTMENTS
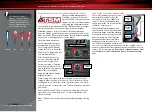
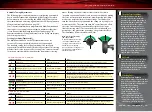
To achieve a good starting
point for the slipper clutch
in this model, remove the
slipper gear assembly from
your model (
see page 25 for
instructions
) and tighten
the slipper clutch adjusting
nut clockwise until the
slipper clutch adjusting
spring fully collapses (do
not over tighten), and then
turn the slipper clutch nut
counterclockwise one full
turn.
Do not run your model with
the slipper clutch adjusting
spring fully compressed. The
minimum recommended
slipper clutch setting is 1/2
turn counterclockwise from
fully compressed.

