


4
SFMFF13xx-28x
24-hour Technical Support:
1-800-260-1312
-- International:
00-1-952-941-7600
No Pause
•
Pause feature is disabled.
Transmit Only:
•
SFMFF13xx-28x can transmit and the
link partner can receive the pause
signal.
Transmit and Receive:
•
Both the SFMFF13xx-28x and the link
partner can send and receive the
pause signal.
Receive Only:
•
The SFMFF13xx-28x can receive and
the link partner can transmit the
pause signal.
Installation
-- Continued
Pause (Switches 3 & 4)
The pause feature can improve network performance by allowing one end of
the link to signal the other to discontinue frame transmission for a set period
of time to relieve buffer congestion.
To properly set the pause feature in the network, the link partner (i.e., the
device to which the SFMFF13xx-28x is linked) must also have comparable
pause switches.
If the link partner does not have the pause feature, disable
the pause feature on the SFMFF13xx-28x media converter.
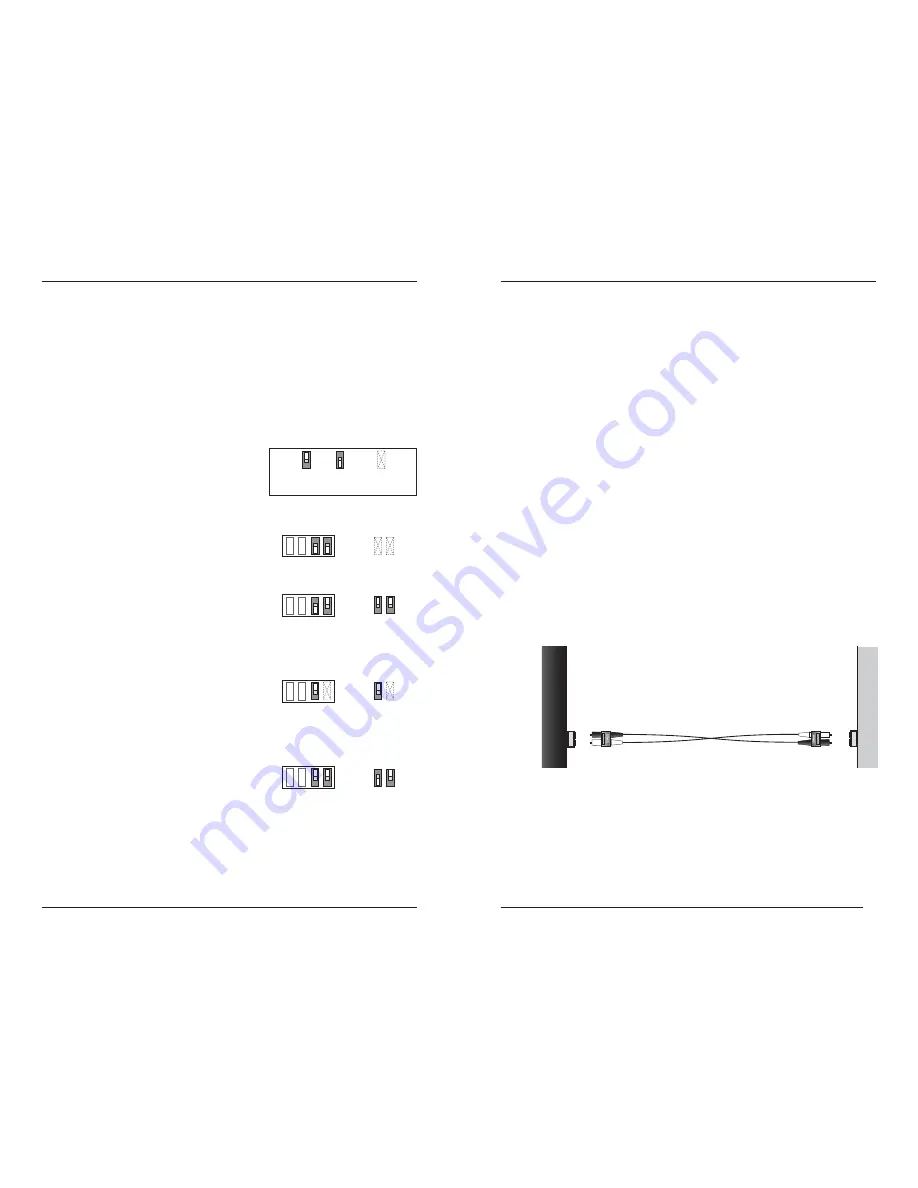
The SFMFF13xx-28x has four pause
options (listed below). To the right of each
option, a drawing shows the switch
settings for the SFMFF13xx-28x and the
link partner.
down
up
key:
N/A*
*N/A = The switch's position does
not affect the pause setting.
1 2 3 4
CRMFF13xx-28x
link partner's
pause switches
5
-- Click the
“Transition Now”
link for a live Web chat.
Install the Fiber Cable
1.
Locate or build IEEE 802.3™ compliant fiber cable with male, two-
stranded TX to RX connectors installed at both ends.
2.
Connect the fiber cables to the SFMFF13xx-28x media converter as
described:
•
Connect the male
TX
cable connector to the female
TX
port.
•
Connect the male
RX
cable connector to the female
RX
port.
3.
Connect the fiber cables to the other device (another media converter,
hub, etc.) as described:
•
Connect the male
TX
cable connector to the female
RX
port.
•
Connect the male
RX
cable connector to the female
TX
port.
Connect the fiber cable
to the media converter
as shown.
Connect the fiber cable
to the other device
(media converter,
hub, etc.) as shown
RX
TX
RX
TX
Installation
-- Continued
Power the Media Converter
AC
1.
Install the power adapter cord to the back of the media converter.
2.
Connect the power adapter plug to AC power.
3.
Verify that the media converter is powered by observing the illuminated
LED power indicator light.
DC
Consult the user’s guide for the Transition Networks SPS1872-xx DC external
power supply for powering the media converter.


