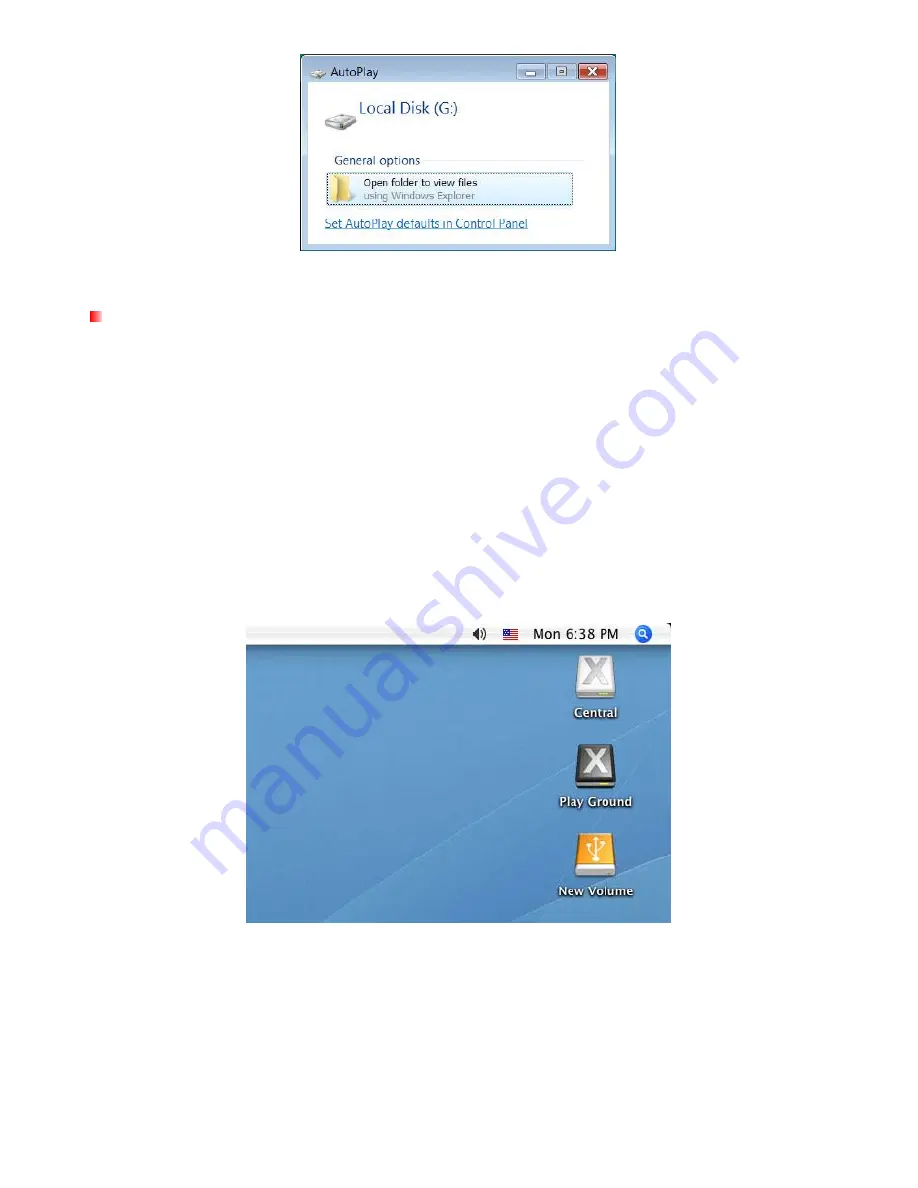
Note: the drive name and letter in your "AutoPlay" window may differ
Mac
®
OS
1.
Connect the SSD to your computer:
– eSATA –
A. Plug both the eSATA and mini USB ends of the eSATA cable into the SSD.
B. Connect the large USB connector on the other end of the cable to a working USB port on your
desktop computer. The SSD requires this connection to ensure adequate power.
C. Plug the other eSATA connector into your computer’s eSATA port (usually on the back of the
computer).
– USB –
A. Plug both large ends of the USB Y-cable into available USB ports on your desktop computer or
notebook.
B. Plug the small end of the cable into the mini USB port on the SSD.
2.
When the SSD is successfully connected to a computer, Mac OS will automatically detect and install
drivers for it.
Note: “New Volume” is an example drive. The drive name on your desktop may differ
3.
If you previously used the SSD with Windows
®
2000, XP, or Vista into the SSD, an “Initialize” message
may appear. Follow the instructions in the Formatting the SSD section to prepare your drive for use with
your Mac
®
system.
10
Содержание SSD18M
Страница 1: ...1 8 Solid State Drive User s Manual 1...
Страница 6: ...Product Overview A USB Port B eSATA Port C LED Indicator Light 6...
Страница 13: ...4 In the Policies tab ensure that the Enable write caching option is not checked 13...
Страница 21: ...21 9 Type mkdir mnt SSD 10 Type mount mnt SSD...


