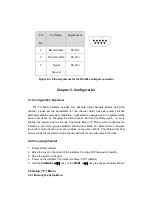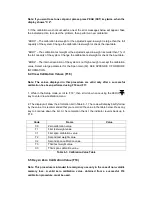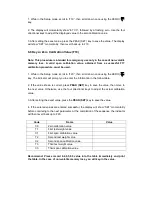
1. After choosing the data channel, the indicator shows “CH X”, use the
SET(PEAK)
key
entering the Setup (“F”) Menu.
X --- Channel No.
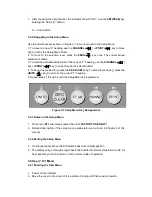
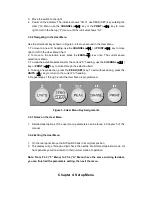
3.3.2 Navigating in the Setup Menu
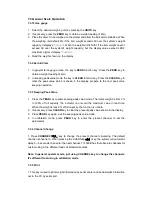
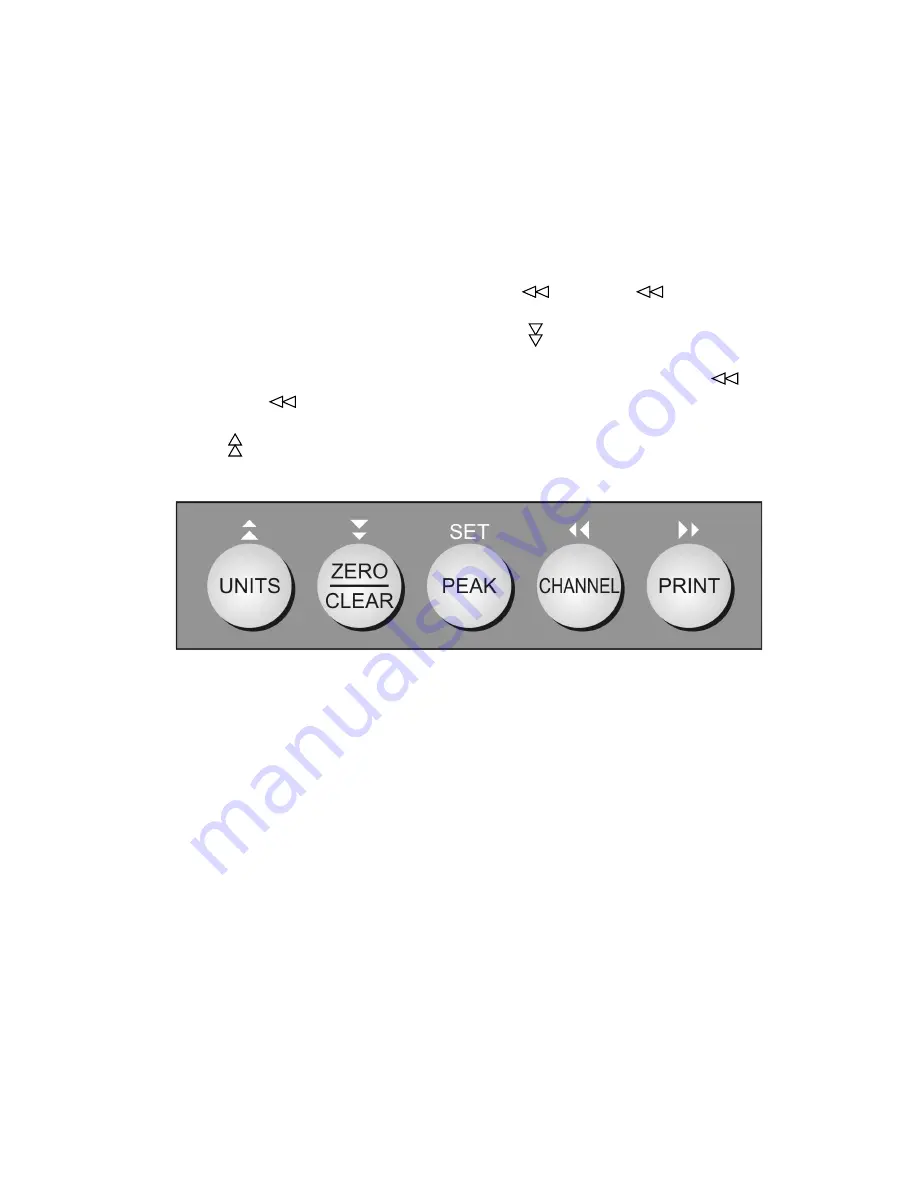
Use the directional keys shown in Figure 3-1 to move around in the Setup Menu.
1. To move to a new “F” heading, use the
CHANNEL
( ) or
( ) key to move
right or left in the Setup Menu Chart.
2. To move to the selection level, press the
ZERO
( ) key once. The current saved
selection is shown.
3. To view the available selections for the current “F” heading, use the
CHANNEL
( )
key or
( ) key to move through the selection field.
4. To save a new selection, press the
PEAK (SET)
key. To exit without saving, press the
UNITS
( ) key to return to the current “F” heading.
5. Repeat steps 1 through 4 until the Setup Menu is programmed.
Figure 3-1 Setup Menu Key Assignments
3.3.3 Notes on the Setup Menu
1. There is an
F21
sub-menu present that is for
FACTORY USE ONLY!
2. Detailed description of the setup menu parameters can be found in Chapter 4 of this
manual.
3.3.4 Exiting the Setup Menu
1. On the rear panel. Move the DIP switch back to its original position.
2. The display will go through a digit check, then settle into Normal Operation mode. All
front panel keys will now return to their normal mode of operation.
3.4 User (“A”) Menu
3.4.1 Entering the User Menu
1. Power off the indicator.
2. Move the cover in the under of the indicator. Finding a DIP two-position switch.


