


5
User Guide
User Settings allow the user to customize various settings on the 624 control. To access User Settings simply press
the Menu button once and “User Settings” will be displayed. To enter the User Settings menu, press the Select button,
then use the Next button to navigate through the options below. The default setting will be shown in brackets. After
each selection press the Done button to save changes.
User Settings Continued
Scheduling
Scheduling
Time
Schedule Name
Heat Temperature Setting
Cool Temperature Setting
6:00 AM
Wake
70 F
78 F
8:00 AM
Day
62 F
85 F
6:00 PM
Evening
70 F
78 F
10:00 PM
Night
62 F
78 F
The schedule may be changed locally at the control with the Edit Schedule menu. If the 624 comfort control is connected to Nexia Home
Intelligence the schedule may be changed remotely from the Nexia website using the website’s Edit Schedule menu.
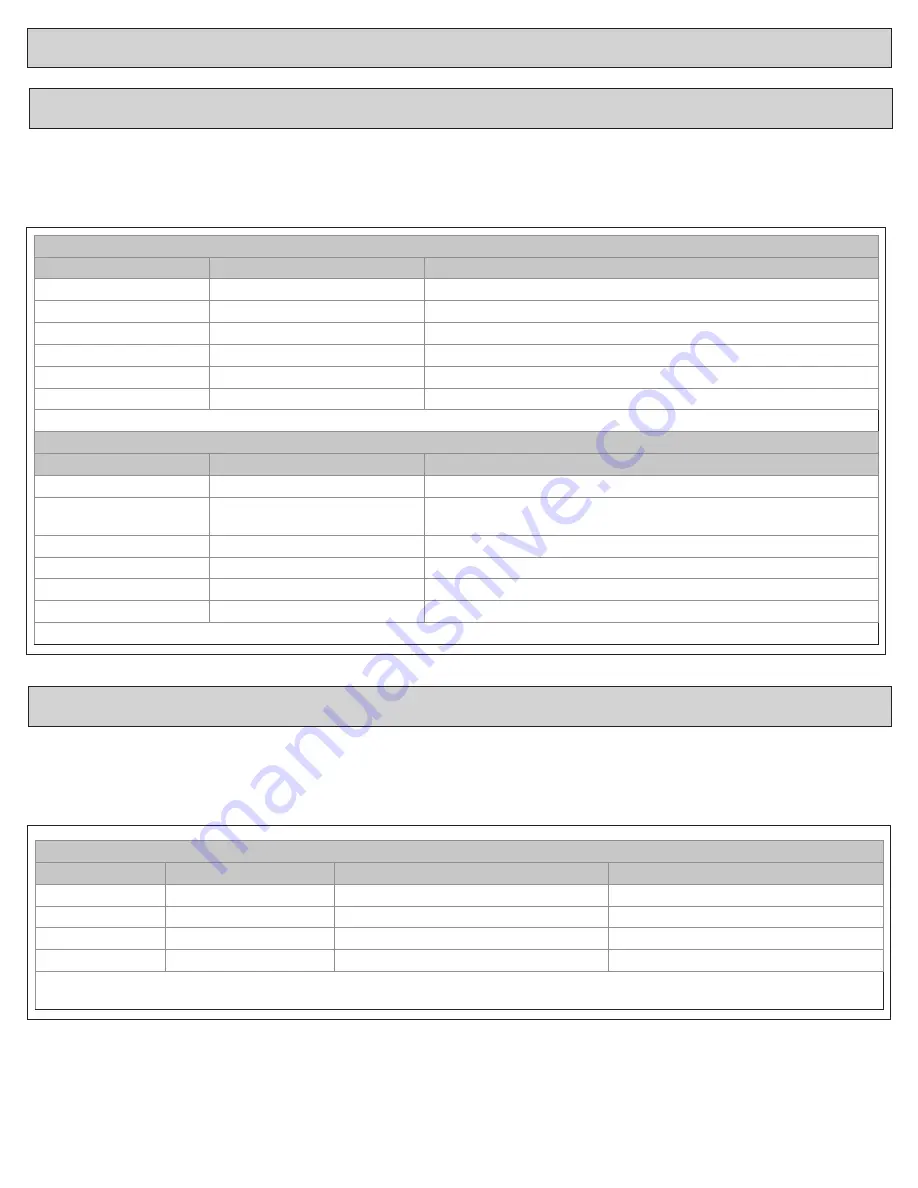
Schedule Setup Procedure
The 624 comfort control is preset at the factory with a 7 Day energy savings schedule. Each day of the week is pre-programmed with the
following schedule:
Time/Date
Setting
Range
Description
Hour
1 - 12 am, 1 - 12 pm
Select the current hour of day
Minutes
0 - 59
Select current minute of day
Day of Week
Sun - Sat
Select current day of week
Year
2013 - 2113
Select current year
Month
Jan - Dec
Select current month of year
Date
1 - 31
Select current day of month
Once all selections have been made, press the Done button to exit and return to Menu. Press Next to navigate to the next setting.
Reminders
Setting
Range
Description
Filtration Enable
Yes, [No]
Selecting yes, enables the Filter Reminder feature
Filter Period
[Monthly], Quarterly, Semi-Annu-
ally, Annually
Select how often the reminder will be displayed
Filter Start Month
[Jan] - Dec
Select the Filter Reminder start month
System Maint Enable
Yes, [No]
Selecting yes, enables the System Maintenance Reminder feature
First Maint Month
Jan - Dec
Select the first System Maintenance month
Second Maint Month
Jan - Dec
Select the second System Maintenance month
Once all selections have been made, press the Done button to exit and return to Menu. Press Next to navigate to the next setting.


