52
Chapter 11
Customize Your Network Settings
Domain Name Server) feature on the router to allow you and your friends to access your
router and local servers (FTP, HTTP, etc.) using a domain name without checking and
remembering the IP address.
Note:
DDNS does not work if the ISP assigns a private WAN IP address (such as 192.168.1.x) to the router.
1. Visit
http://tplinkwifi.net
, and log in with your TP-Link ID or the password you set for
the router.
2. Go to
Advanced
>
Network
>
Dynamic DNS
.
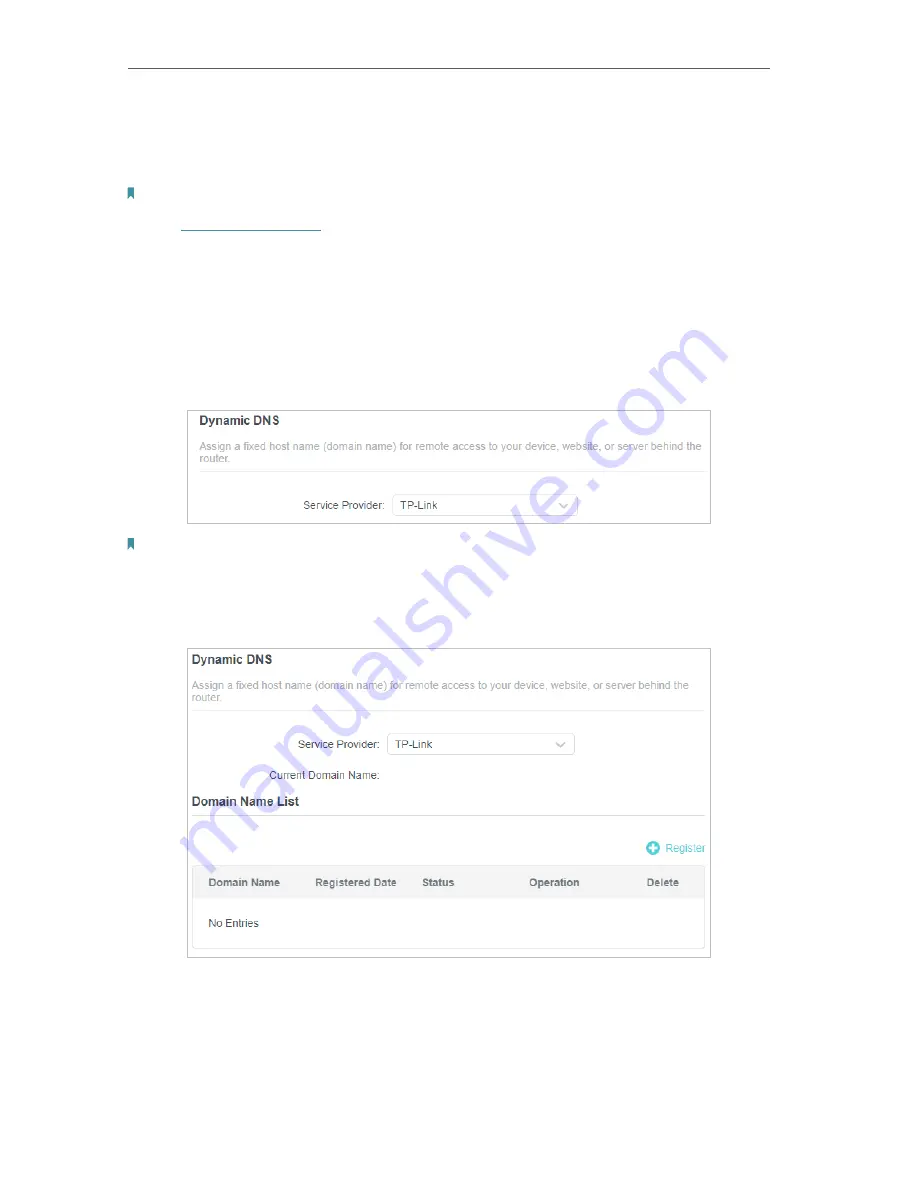
3. Select the DDNS
Service Provider
: TP-Link, NO-IP or DynDNS. It is recommended
to select TP-Link so that you can enjoy TP-Link’s superior DDNS service. Otherwise,
please select NO-IP or DynDNS. If you don’t have a DDNS account, you have to
register first by clicking
Register Now
.
Note:
To enjoy TP-Link’s DDNS service, you have to log in with a TP-Link ID. If you have not logged in with one, click
log in
.
4. Click
Register
in the
Domain Name List
if you have selected TP-Link, and enter the
Domain Name
as needed.
If you have selected NO-IP or DynDNS, enter the username, password and domain
name of your account.


