33
Operations
32
■
Password function
When the password function is added and [Password] is set to [On], image projection
requires an entry of the preset password at power-on.
To add the password function, perform the following procedure:
(The password function, once added, cannot be deleted. Set [Password] to [Off] if you
do not want to use it after addition.)
Notes: • This password is different from that for the wireless LAN.
• When adding the password function, switch the input to other than Wireless or
USB.
How to add password
1
Set the projector to the operating status or the standby mode.
2
Select and hold the
button until the LAMP, TEMP, and FAN
indicators light in orange.
The password function is added when the steps up to here have been completed. It
is also added to the Default setting menu.
How to set password (from [Off] to [On])
1
Select [Password] in the Default setting menu and press the
or
button.
The password setting confirmation screen is displayed. ([OK] or [Cancel])
2
Select [On] and press the
button.
The password entry screen is displayed.
3
Enter a four-digit number for the password using numeric keys of the
remote control.
The input number appears as [****].
4
Re-enter the same password for confirmation.
When the password is confirmed, the setting is complete and the password
becomes [On].
If the password is wrong, repeat the procedure from step
2
.
How to operate when password is [On]
1
Turn on the power.
2
The lamp lights and the password entry screen appears.
3
Enter the password using numeric keys of the remote control.
If the entered password is correct, the start-up screen appears and the projector
goes into normal operation. If the password is wrong, a message appears to
prompt you to re-enter the password, and again the password entry screen is
displayed. If you enter a wrong password for more than 5 times, the projector will
automatically power off and enter standby mode.
Using handy features (Continued)
■
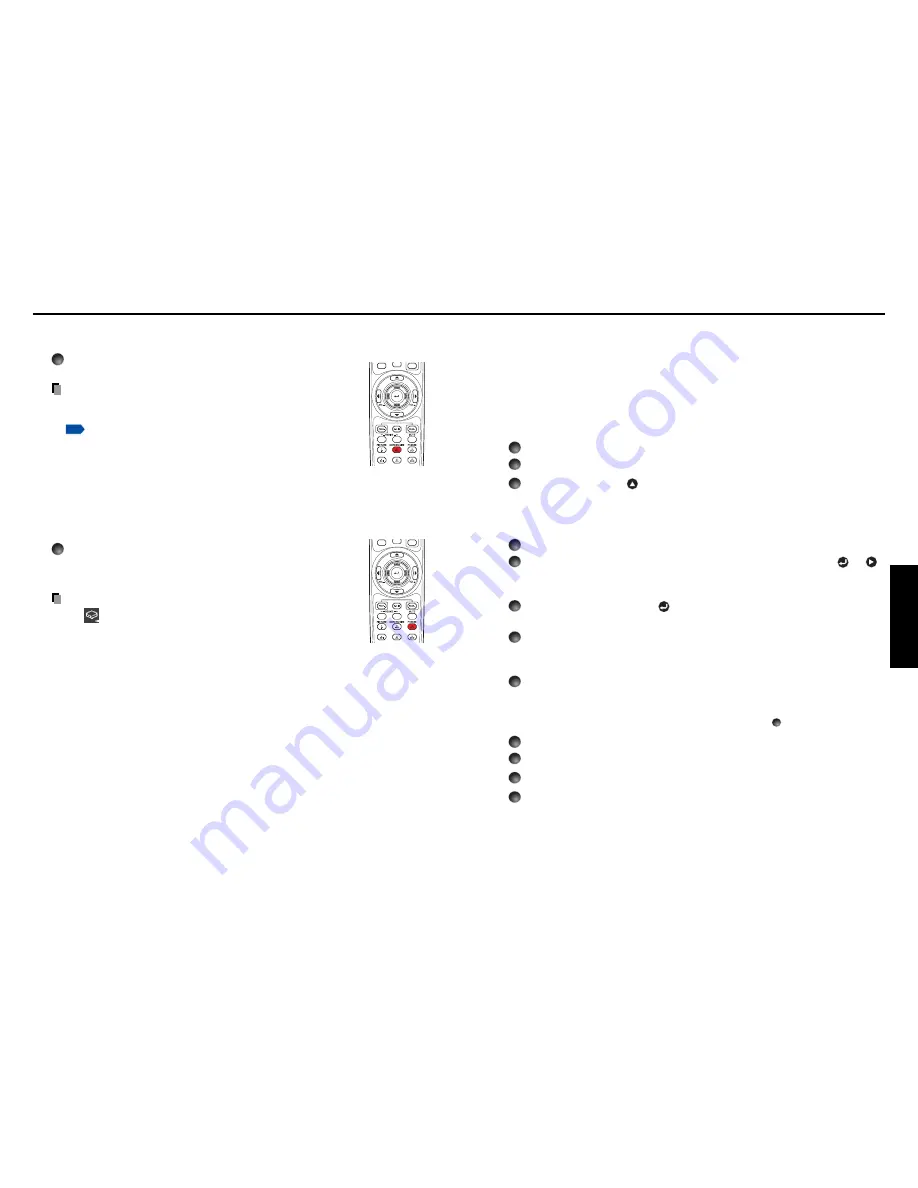
Changing screen size
The screen size for the projected image can be changed.
Press the remote control’s SCREEN SIZE button.
Pressing the button switches Full/Thru/Wide in turn.
Notes
• Thru display is available for computer-input images.
• [Screen size] of the Display setting menu has the same function
p.38
.
• If you use this function on commercial video software, broadcast
or cable-broadcasting except for the purpose of your private
viewing and listening, it may infringe the copyright protected by
the copyright laws.
■
Freezing the image (Freeze)
The image being projected can be frozen. This function is to be used
to pause a video during a presentation, etc.
Press the remote control’s FREEZE button.
The picture pauses. (The Freeze function is released when
pressing the FREEZE button again.)
Notes
• The
icon will appear while freeze is in effect.
• Other operation will also release the freeze.
• Even if an image is frozen on the projector, the pictures are
running on the video or other equipment.
• If you use this function on commercial video software, broadcast
or cable-broadcasting except for the purpose of your private
viewing and listening, it may infringe the copyright protected by
the copyright laws.
Remote
Control
Remote
Control
Содержание TDP-TW100
Страница 46: ......


