


205
Using ConfigFree™ with your Toshiba Computer
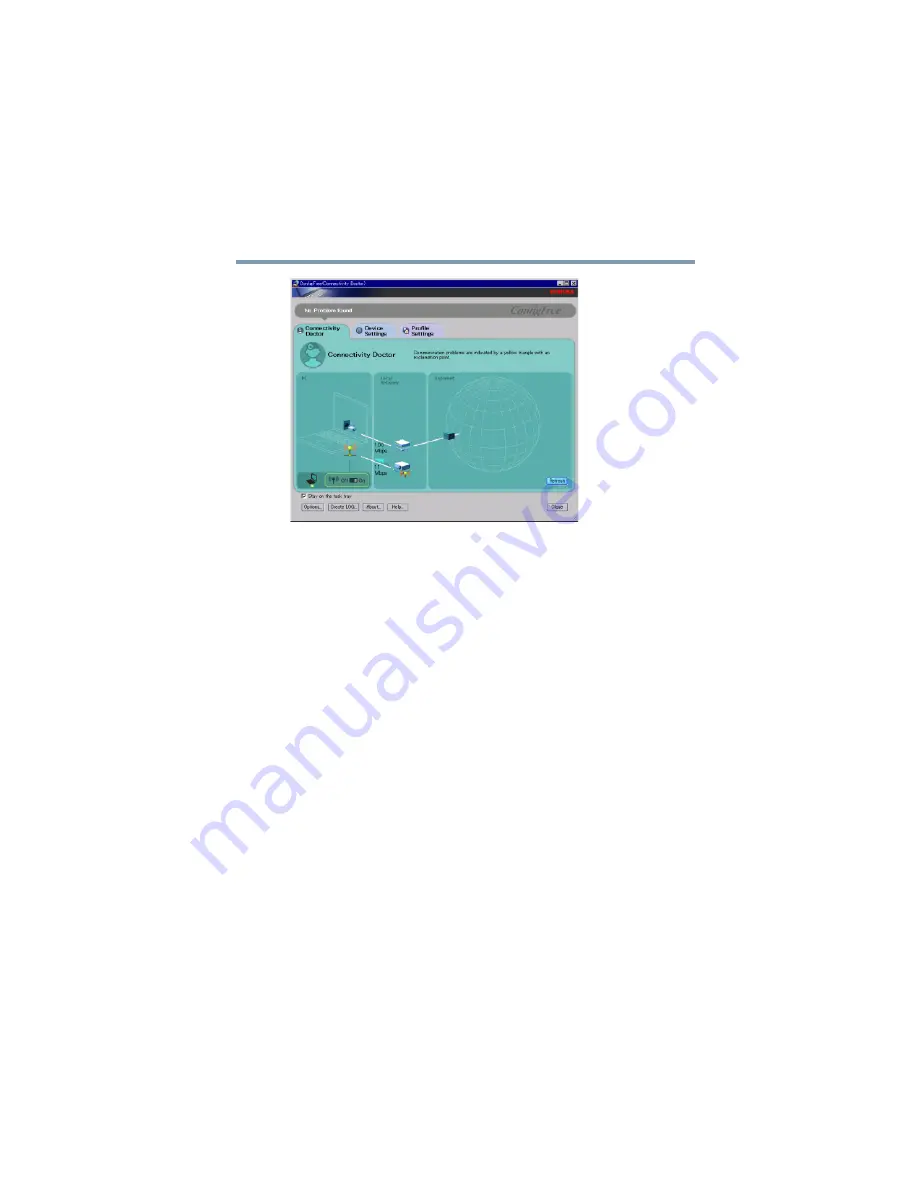
ConfigFree Utilities
5.375 x 8.375 ver 2.3
Sample Projector icon when connected with Quick Connect
If the wireless mode for the wireless setting is set for 5 GHz
(802.11a), Quick Connect changes this mode to 2.4 GHz
(802.11b) and then connects to the projector.
The wireless LAN configuration returns to the settings that
were last used before the Quick Connect function was started:
❖
If the Toshiba Wireless Projector utility is closed.
❖
If you select Toshiba Wireless Projector (DPJ) from the
ConfigFree tray menu (this disconnects the wireless LAN
connection).
❖
If you select a profile from the ConfigFree tray menu or
when you disable a wireless device.
❖
If you close ConfigFree.


