– 12 –
23-EN
24-EN
EN
EN
ES
EN
■
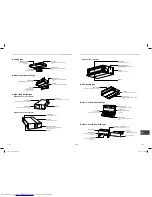
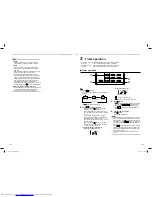
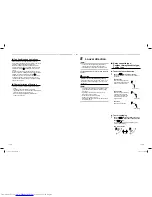
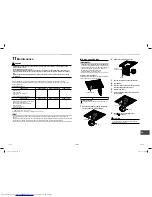
4-way cassette type
▼
When cooling
Point the louver horizontally.
▼
When heating
Point the louver downward.
•
The louver automatically closes when running is
stopped.
•
In pre-heating mode, the louver points upward.
The swing indication appears on the remote control
even in pre-heating mode, but the actual swing
starts only after pre-heating is complete.
▼
2-way and 3-way air discharge
The air discharge can be changed to the 2-way or
3-way type to suit the room shape and style.
For details, contact the dealer where you purchased
the air conditioner.
■
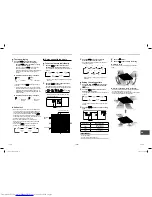
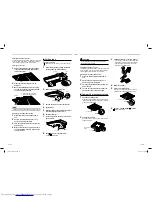
Ceiling type
Vertical adjustment
▼
When cooling
Point the louver horizontally to send cool air across the
entire room.
▼
When heating
Point the louver downward to send heated air to the
floor.
•
The louver automatically points upward when
running is stopped.
•
In pre-heating mode, the louver points upward.
The swing indication appears on the remote control
even in pre-heating mode, but the actual swing
starts only after pre-heating is complete.
Horizontal adjustment
When adjusting louver direction horizontally, point the
vertical grille inside the horizontal louver in preferred
direction.
◆
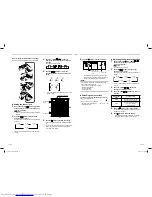
Unit select
•
When two or more indoor units are controlled with
one remote control, the louver direction can be set
for each indoor unit by selecting them individually.
•
To set louver direction individually, push the
button (left side of the button) to display an indoor
unit number in the control group. Then set the louver
direction of the displayed indoor unit.
•
When no indoor unit number is displayed, all
indoor units in the control group can be controlled
simultaneously.
•
Each time the
(left side of the button) is
pushed, the indication changes as follows:
Unit No.
1-4
No
display
Unit No.
1-1
Unit No.
1-2
Unit No.
1-3
■
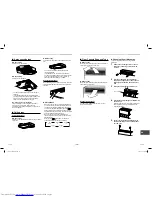
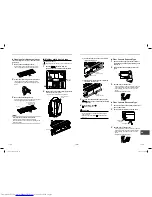
Floor Console Exposed Type
▼
When cooling
Move the louver manually and point it horizontally to
send cool air across the entire room.
▼
When heating
Move the louver manually and point it downward to
send heated air to the floor.
Horizontal adjustment
Use the vertical grille behind the louver to even
the room temperature.
◆
Changing the air discharge
Follow the procedure below to change the air
discharge:
1
Remove the two
fi
xing screws of the air
discharge. (The
fi
xing screws are to be
reused)
2
Insert your hand into the air discharge
and pull it up slightly, then remove the air
discharge from the claw hook at the rear
side.
3
Lift up the air discharge and remove it.
Vertical grille
4
Reverse the air discharge and reattach it to
the main unit.
Make sure that the four claw hooks (2 at the rear
and 2 at the lower sides) are hooked into the
mounting positions.
5
Be sure to tighten the air discharge with
the removed
fi
xing screws so that it does
not come off.
1117907101 EN FR.indb 12
1117907101 EN FR.indb 12
3/21/16 11:44 AM
3/21/16 11:44 AM

