277
Browse Folders - continued
Saving the Phonebook
Create the new phonebook file
Double-click on Add settings file.
A “New settings” file is created. Enter an appropriate name for the
new settings file.
To copy the current device phonebook settings to the new
settings file, left-click and hold on the device phonebook file (e.g.
“TOSHIBA”) then drag it to the new settings file (e.g. “LA Office
Phonebook) and release the left mouse button.
NOTE:
Initially, your mouse pointer will become a “circle with diagonal
line”. Upon reaching the desired phonebook file, the pointer will
take the form of an “address label”. Upon releasing the left
mouse button, the contents of the device phonebook file are
copied to the new phonebook file.
To save the new settings within TOSHIBA Viewer, go to Step 3a.
To save the new phonebook as a file on your local hard disk. go to
Step 3b.
2
1
Open the Device folder
The device phonebook opened
by TOSHIBA Viewer (default
name TOSHIBA) is a
temporary “working” file. Every
time TOSHIBA Viewer is
opened, the program accesses
the attached facsimile and
reads the current phonebook
settings.
You can store the phonebook
settings within TOSHIBA
Viewer or save as a set file on
your hard disk.
This is useful when performing
a full memory clear or
upgrading the machine
firmware because you can
easily re-program the
machine’s phonebook by
downloading the stored
phonebook file.
Setup device
phonebook
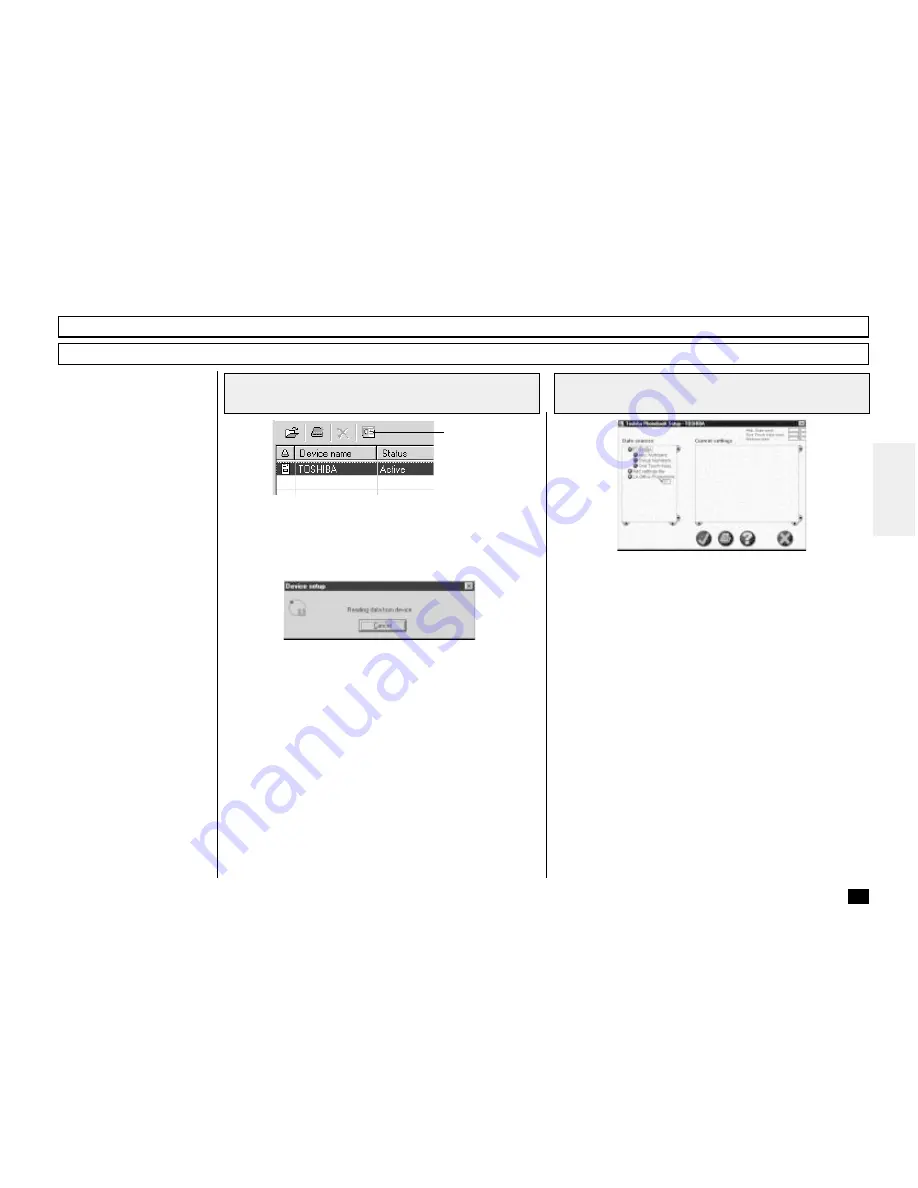
Select the device and click the Setup device phonebook button.
“Reading data from device” appears as Viewer interrogates the
attached facsimile.
Toshiba Phonebook Setup appears.


