55
Connecting your TV
Using the Photo Frame feature
• You can use the TV screen as a digital picture frame.
One image (pre-installed or user-installed) can be
displayed� Date and time information can also be
superimposed, if desired�
• You can overwrite the pre-installed file with a file from
your USB storage device or SD memory card�
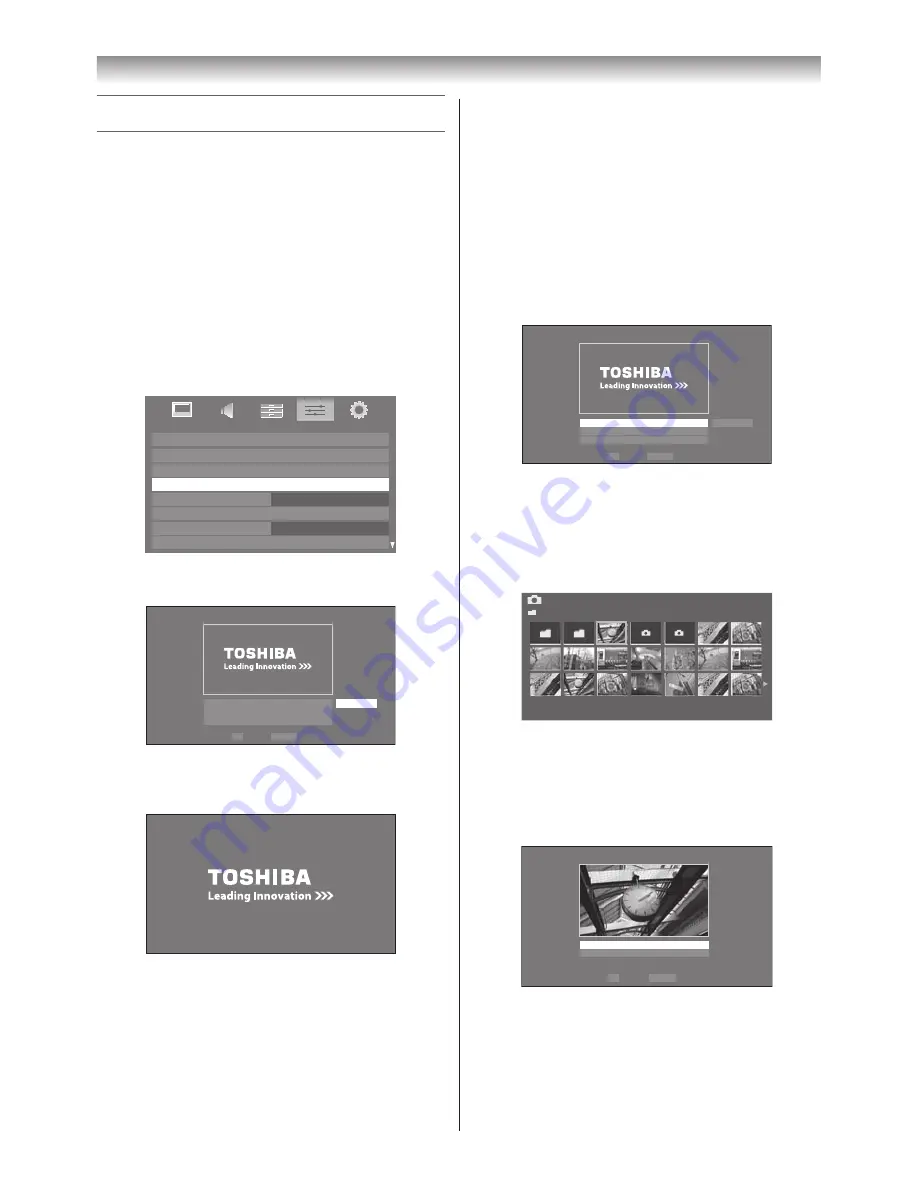
To open Photo Frame
Open from Menu
1
From the
PREFERENCES
menu, select
Photo
Frame Setup
�
PREFERENCES
REGZA-LINK Setup
Network Setup
Media Renderer Setup
Photo Frame Setup
Teletext
Panel Lock
Network Lock
Off
Auto
Off
Display Settings
2
Press
Q
� The preview screen will appear�
Photo Frame Setup
Photo Select
Photo Edit
Settings
Start
OK
RETURN Back
Enter
3
Press
w
to select
Start
, and then press
Q
to open
Photo Frame
�
Open from Quick Menu
1
Press
R
to open the
QUICK
Menu
�
2
Press
s
or
r
to select
Photo Frame
, and then press
Q
to open
Photo Frame
�
To close Photo Frame
1
Press
P
�
Setting the features
In the preview screen, you can set various settings for
Photo Frame�
Photo Select
1
From the
Photo Frame Setup
menu, press
s
or
r
to select
Photo Select
, and then press
Q
�
Photo Frame Setup
Photo Select
Photo Edit
Settings
Start
OK
RETURN Back
Enter
2
If the device selection screen appears, press
s
or
r
to select the appropriate device, and then press
Q
�
3
Press
s
,
r
v
or
w
to select the photo you want to
copy from the USB storage device or SD memory
card to the TV’s flash memory, and then press
Q
�
Photo Select
/Folder/select Folder or File
1/54
E05265464.jpg
06:36 Tue, 26 Apr
1920 x 1080
Photo Edit
1
Press
s
or
r
to select
Photo Edit
, and then press
Q
�
2
Press
s
or
r
to select
Rotate
or
Delete
�
OK
RETURN
Photo Edit
Rotate
Delete
Back
Enter
Содержание 40XV700A
Страница 64: ......


