


50
Connecting your TV
Closing the Media Player:
1
Press
P
�
Using the Media Player with a DLNA
CERTIFIED™ Server
You need to configure a home network before using this
feature (
-
page 45)�
1
Select
Media Player
from
APPLICATIONS
menu,
and then press
Q
�
2
Press
s
or
r
to select
Photo
,
Movie
, or
Music
and
press
Q
. The thumbnail (for Photo) or list of files (for
Movie and Music) will appear�
Note:
If there is more than one media server on
the network, a list of all media servers will be
displayed. Select the server you want to use,
and press
Q
.
3
Press
s
or
r
to select a DMS if the selection
window is displayed�
Selecting a file in the list of contents:
1
Press
s
or
r
to select a file or folder.
2
Press
Q
to move to the next layer, or press
T
to
return to the previous layer�
Closing the Media Player:
1
Press
P
�
Setting the Media Server Setup:
You only need to complete the Media Server Setup if you
want to store a list of DMSs to activate later from the TV�
1
From the
Media Player
menu
Q
�
2
Press
s
or
r
to select
Setup
, and press
Q
3
Press
s
or
r
to select
Media Server Setup
, and
press
Q
� A list of currently available DMSs will
appear�
4
Press
s
or
r
to select the desired device, and then
press
Q
� A check will appear in the box� To remove
the check, press again�
5
Press
w
to select
Done
, and then press
Q
to save�
Notes:
•
Up to 8 DMSs can be selected.
•
If the device is checked, it will still be displayed
(with grey out) in the Select Device window, even if
it is currently powered off. When
Q
is pressed with
the highlight on a greyed out item, a confirmation
window for Wake-on-LAN will be displayed.
If Yes is selected, the TV will attempt to power up
(“wake up”) the DMS. If the server supports Wake-
on-LAN, it will start up.
•
When several DMSs are connected, it may take
some time for the list to be displayed.
The following operations may help to improve the
display time.
- Close the device selection window, and open it
again.
- Press the
RED
button to update the list.
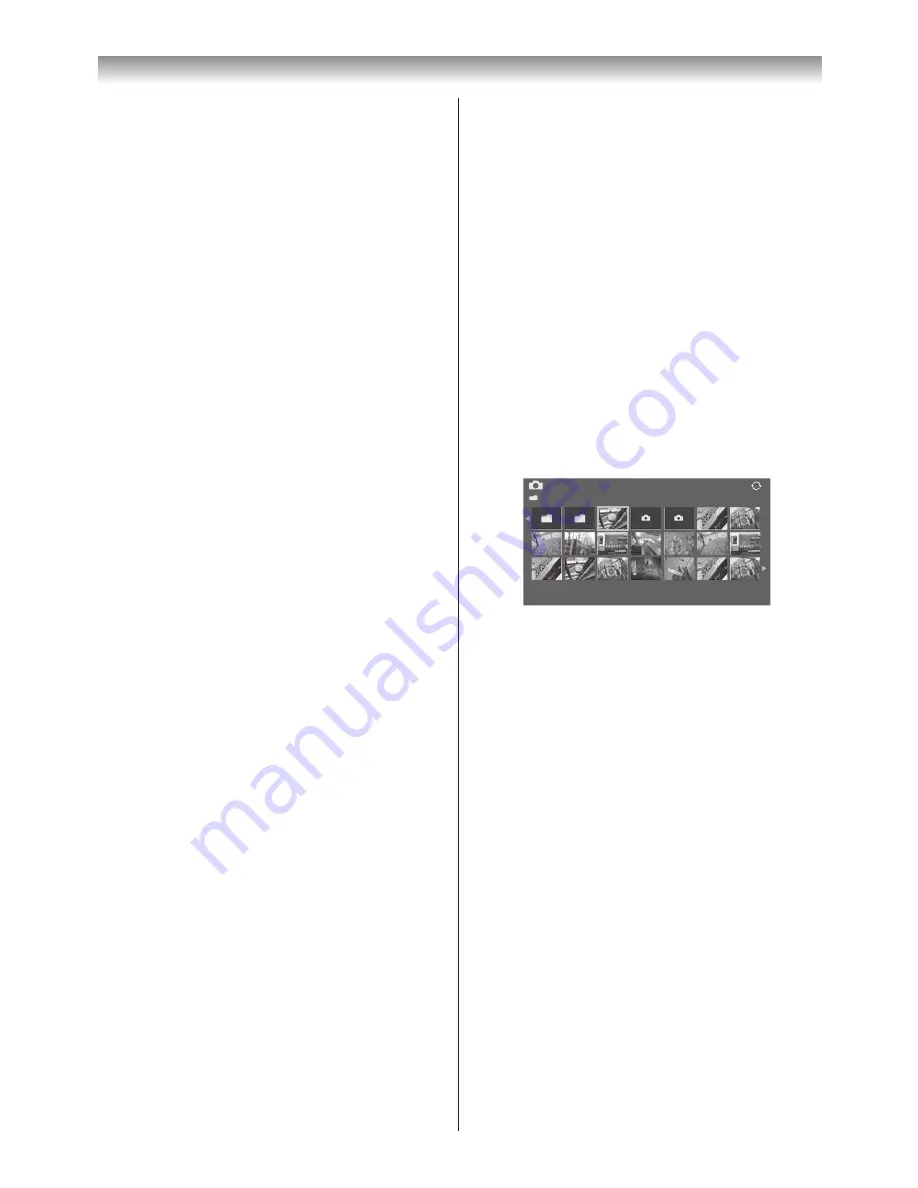
Viewing photo files
There are three types of viewing modes�
Multi View
This view allows you to search for photos in a grid format�
The pictures are displayed using thumbnail data in each
image file.
Photo
/Folder
Sort: Title
1/54
E05265464.jpg
10:00 Fri, 21 Feb 2010
1920x1080
The initial highlighted position will be on the top left
thumbnail in the Multi View�
1
Press
s
,
r
,
v
or
w
to move the highlight in one
window. If all of the photos will not fit in one screen,
when pressing
v
at the top left thumbnail, the screen
will move to the previous page� Conversely, when
pressing
w
at the bottom right thumbnail, the screen
will move to the next page
P
U
/
P
u
buttons can be used to page up/down the
photo list when there are more photos than will fit onto
one screen� When the
P
U
/
P
u
buttons are pressed,
the highlight shall be on the photo at the top left of
Previous/Next list�
2
When you select a folder, press
Q
to move to the
next layer� Press
T
to move back to the previous
layer�
3
Press
Q
to view the selected photo in Single View
mode�
Single View
In this mode, only files located in the selected directory
will be displayed� This view allows you to change the
photo content manually� When moving from Multi View
to Single View, the currently selected photo will be
displayed�
Содержание 40XV700A
Страница 64: ......


