9
DMX Addressing/Address Mode
After focusing your Merlin-C10, you may wish to cable it up to a DMX controller and address it. To do
that, you must first understand that your Merlin-C10 uses 9 channels of DMX per “Address”. That is to
say that each Merlin has 9 channels of control and so the first Merlin-C10 in your system will have the
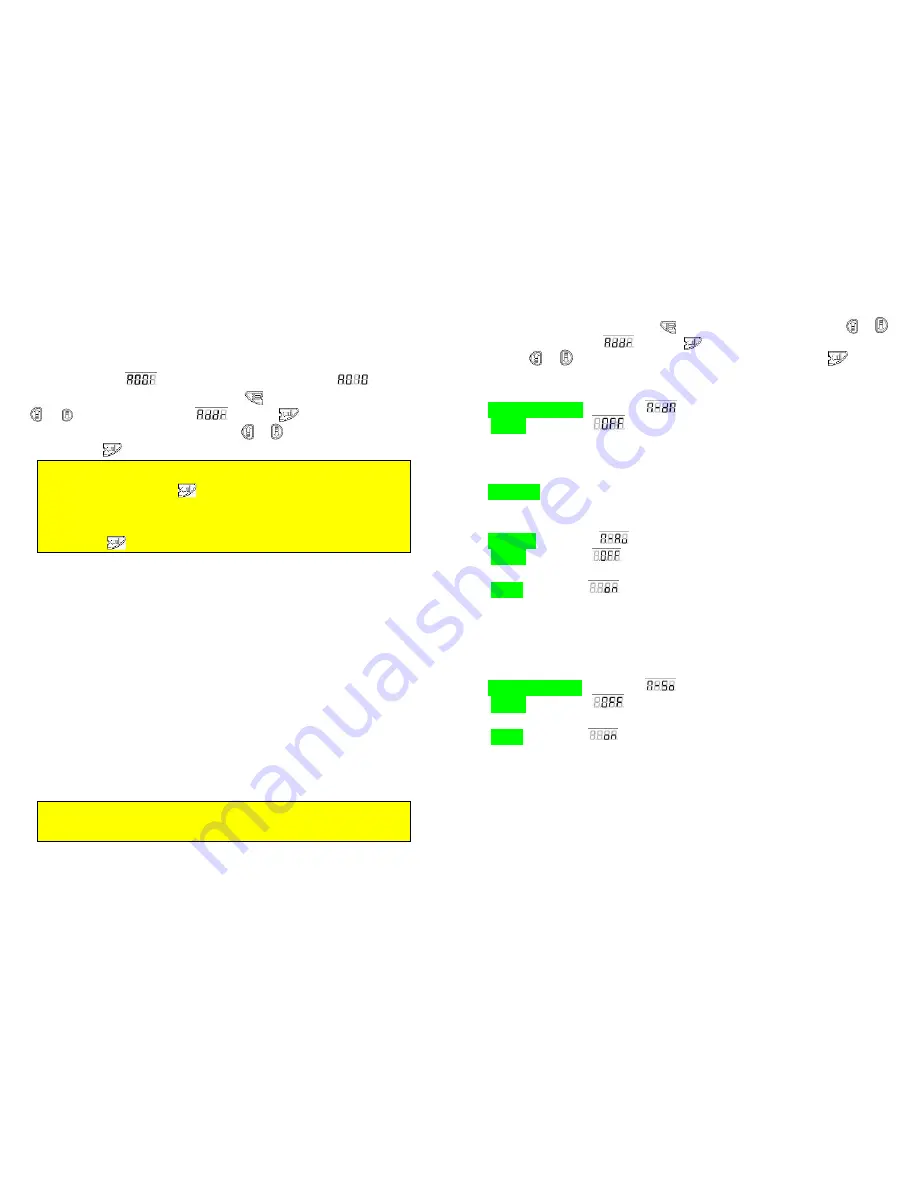
starting DMX address of “
”, the second will have the starting address of “
”, and so on.
To set the DMX address of your Merlin-C10, press the “
” key and scroll through the menu using the
“
” or “
” keys until the display reads: “
”. Press the “
” key and then raise or lower the
“address” value (or starting channel number) using the “
” or “
” keys until you have found the correct
number. Press the “
”. key and your Merlin-C10 is now addressed.
Note that the 4 small “Value-Marker” LED’s on the display will begin to blink as soon as you
have changed the value from where you started. This is to signify that you have made such
a change and after you press the “
” key, they will stop. This is useful if you happen to
forget which channel or other value you started from and want to return to that channel or
other value because you have decided not to change it. These LED’s will blink anytime you
make a change anywhere in any menu and stop blinking if you return to the original value or
if you press the “
”key and select that new value.
Each DMX channel or “handle” coming from a controller has 255 “increments” of power within
that “handle”. That channels function and the things triggered by the ascending increments
within that channel for your Merlin-C10 are listed here:
Channel 1: Moves The Merlin-C10’s X-Axis
Channel 2: X-Axis 16 bit.
Channel 3: Moves The Merlin-C10’s Y-Axis
Channel 4: Y-Axis 16 bit.
Channel 5: Y and X-Axis Speed 0 is normal or “fast” and the Merlin-C10 will scan slower as you
increase the value towards 255, with 255 being the slowest scan rate possible.
Channel 6: Color Wheel 0-15 (open-no Color) 16-119 (individual Colors, one through eight)
120-240 (Half-Colors) 241-255 (Color scroll, slow to fast)
Channel 7: Gobo Wheel 0-23 (open-no-Gobo) 24-191 (individual Gobos, one through seven)
192-255 (Gobo scroll, fast to slow)
Channel 8: Dimmer Paddle 0-10 (closed) 11-135 (10 to 100 open dimming) 136-249 (Strobe,
Fast to Slow) 240-255 (open)
Channel 9: Reset/Home.
0-127 (nothing). 128-191 (wait 5 seconds and Merlin-C10 will home/reset all of its parameters:
Position, Color, Gobo and Shutter.) 191-255 (nothing).
This Channel is
especially
important as it allows you to “home” or reset your “Merlin-C10”,
should it begin to act strange due to corrupt DMX data, dirty position sensors, local power
failure or for any other reason
10
Operating Mode
This section of the menu allows you to operate your Merlin in many diverse ways. To enter the operating
mode section of your Merlin-C10, press the “
” key and scroll through the menu using the “
” or “
”
keys until the display reads:
“
”. Press the “
” key and then scroll through the different modes
using the “
” or “
” keys until you have found the mode you wish to use. Press the “
” key when
you have found the mode you wish to use. The modes, what they do and the LED displays for each mode
are as follows:
“Master” or “DMX” Mode Display reads: “
”
“Standard” Display reads: “
”
This is the mode for using DMX control. After selecting this mode, you must also “address” your
Merlin-C10 accordingly (See Page 12). This is also the “Master Mode” in which this particular unit will be
the “Master” of a chain of “Slave” units all doing the same thing. (See Below)
“Slave Mode”
When any other unit which this particular unit will be the “Master” of a chain, your this Merlin will Slave
Mode and doing the same thing follow the “Master” of a chain. If all of this chain are same address.
“Auto Mode” Display reads: “
”
“Standard” Display reads: “
”
This is the factory default setting, no Auto program.
“Inverted” Display reads: “
”
We have programmed a small, multi-stepped program into each Merlin-C10. Without any outside control,
your Merlin-C10 unit will go through all of its ranges of Motion, Color, Gobo and Shutter repeatedly. At this
time, and on this model, this function is not re-programmable and cannot be changed by the end user.
And This is also the “Master Mode” in which this particular unit will be the “Master” of a chain of “Slave”
units all doing the same thing.
“Sound-Activated Mode” Display reads: “
”
“Standard” Display reads: “
”
This is the factory default setting, no sound-activated.
“Inverted” Display reads: “
”
This is the sound-activated, “Stand-alone” mode. Each Merlin-C10 is equipped with a highly-sensitive
microphone (See Figure 9.) It will react to deep bass or loud sounds by going through all its different
abilities. Each Merlin-C10 will act differently, so you won’t have a bunch of heads doing the exact same
thing. This mode is useful if you just want to have some fun with your Merlin-C10 and don’t want to set up
a controller and miles of cable.
And This is also the “Master Mode” in which this particular unit will be the “Master” of a chain of “Slave”
units all doing the same thing.
11


