


21
10. Display Switch
Switches the display ON/OFF for the reception
level status, error status, etc. Displays each
status by clicking the check box.
11. Marker display
Displays the time and reception level of the
marker.
Clicking the right or left button of “Time” will
change the marker location.
Marker (6) will move along with the time.
12. Zoom out/Zoom in button
Clicking the zoom out button (-) will lengthen the
time shown in the horizontal axis of the graph.
Clicking the zoom in button (+) will shorten the
time shown in the horizontal axis of the graph.
13. Save Log button
Used to save the results of the Walk-Test in a
file.
The log file will be stored in the data folder
(
See
14. Open Log button
Used to open the screen of the past Walk-Test
results (Walk-Test Log screen).
Walk-Test log files will be displayed for selection
by clicking this button.
8.2. how to Conduct a Walk-Test
Note
The Walk-Test cannot be conducted while the Channel Scan, storing Background Log, or Spectrum Scan is
executed, or while the detailed settings of the FBS function are shown.
Step 1. Set the bank and channel for the microphone and receiver to be used, so that the receiver can receive
the microphone signal.
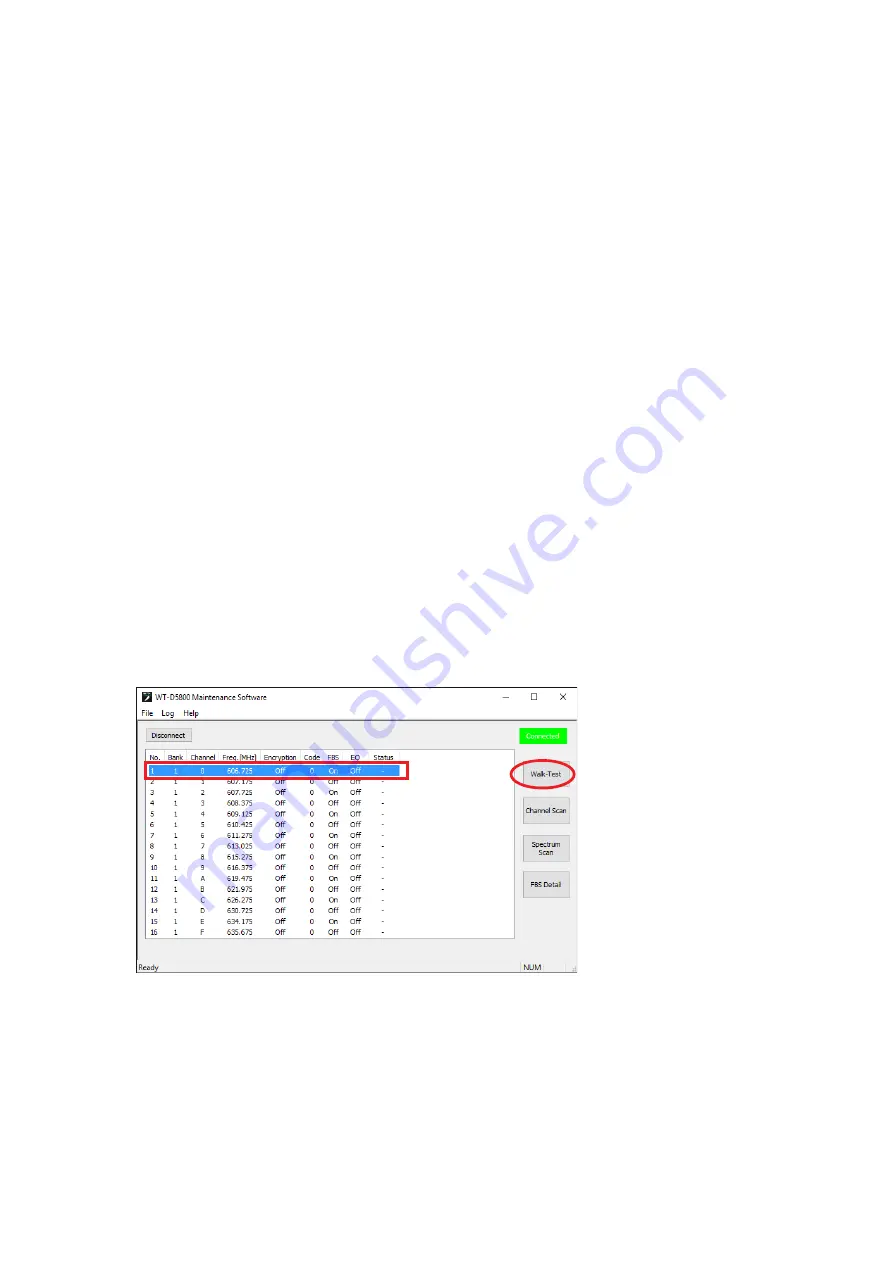
Step 2. Select the receiver that will be used to receive the microphone signal from the list of receivers on the
main screen, and click the Walk-Test button.
[Main Screen]


