


Timpdon Electronics
Tel 0161 - 980 7804
Issue 2 – October 2010
Web
www.timpdon.co.uk
EMail [email protected]
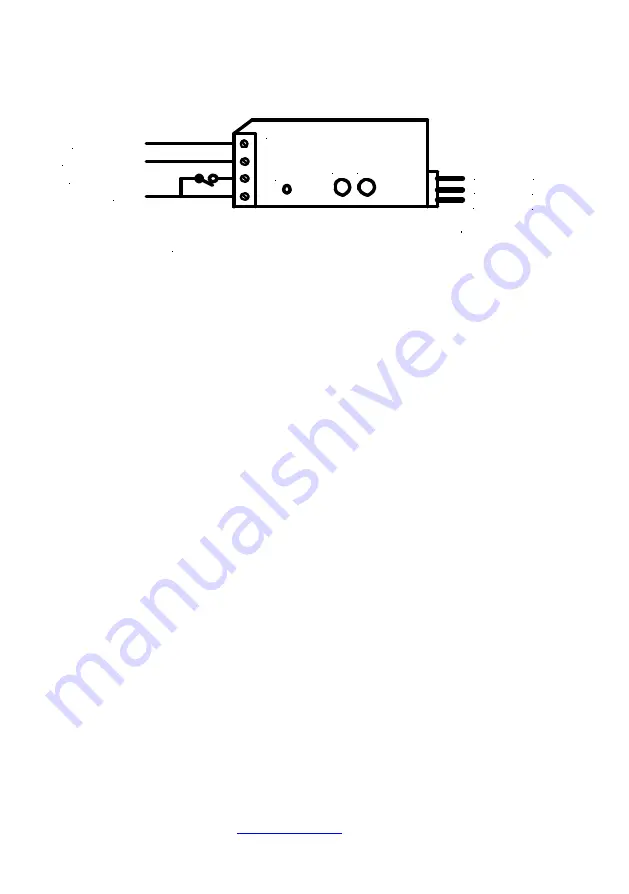
Installation and Wiring
Operating
Switch
[Closed = Set]
S1 S2
LED
V+
Control
0V
Red
Yellow
Black
Connections to Servo
+4.8 to +6V
0 V
SCS2
Sense Output
Switch Input
Notes
1
Connect a d.c. supply of between 4.8 V and 6V to the screw terminals, as
shown. – Please read the
Cautionary Notes
below, before selecting your
power source.
Do not exceed the maximum permitted nominal supply voltage of 6 V.
Although the
SCS2
will accommodate higher voltages without blowing up,
many RC servos will not.
Ensure that the power supply polarity is correct before powering up.
2
Connect a single pole operating switch between the switch input terminal
and the 0V supply, as shown. Note that the
Reset
position of the servo, as
described below, corresponds to the
switch open
condition, and the
Set
position to
switch closed
.
3
The sense output will switch from +5V to 0V on completion of a
Set
operation, and will switch back from 0V to +5V on completion of a
Reset
operation.
This output may be connected to the switch input of another
SCS2
[or
SCS1
] to permit sequential operation, with the motion of the second servo
starting on completion of movement of the first, and/or used to power an
external indicator to display the current state [
Set
or
Reset
] of the servo.
Note that the maximum permitted load current on this output is 20mA.
4
Plug the servo connector on to the three pin plug connector on the
opposite end of the
SCS2
. Ensure that the
black
wire on the servo is
positioned towards the bottom edge of the
SCS2
, adjacent to the 0V screw
terminal.


