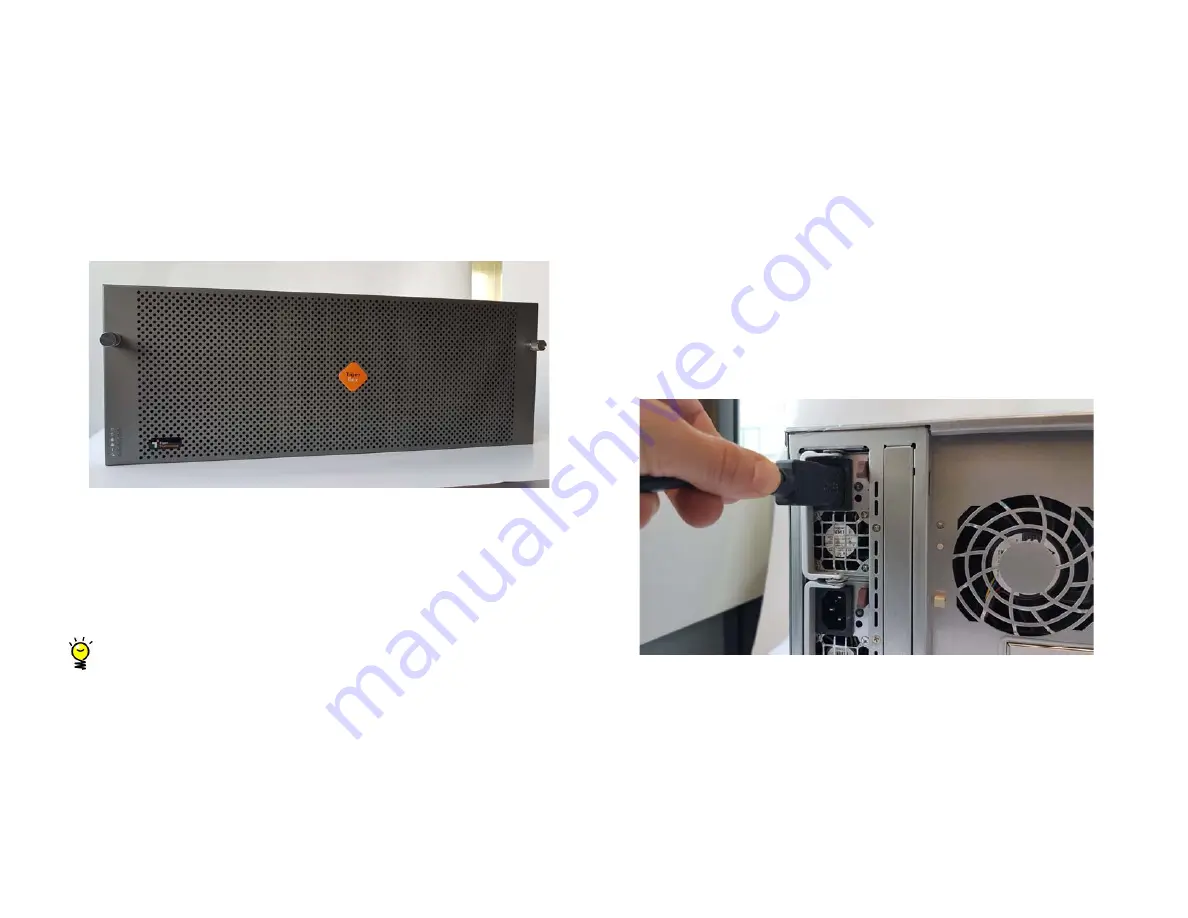
Tiger Box 4U24 Assembly Guide
Site Installation: Install/
7
•
the appliance receives adequate ventilation (it is not being installed in an enclosed
cabinet where ventilation is inadequate);
•
the appliance is not in close proximity to devices that emit strong electromagnetic
waves;
Install/Remove The Front Panel Bezel
Tiger Box is shipped with a bezel, which covers the front panel.
You may have to remove the bezel in order to:
•
monitor RAID drives activity (see steps on page 12)
•
replace a failed RAID drive (see steps on page 14)
•
power on/off or restart the appliance
•
perform system restore.
Tip:
You can install/remove the bezel at any time without having to turn off
or dismount the appliance from the rack.
To remove the bezel:
1.
Loosen the thumb screws on either side of the bezel.
2.
Gently pull away the bezel from the front panel of the appliance.
To install the bezel:
1.
Insert the tabs on each end of the bezel into the flanges on each side of the
appliance's front panel.
2.
Screw the two thumb screws on either side clockwise.
Connecting The Appliance to The Power
Your Tiger Box 4U24 is shipped to you with two power supply modules, installed in
the rear of the appliance. These modules supply redundant power to Tiger Box -
should a power supply module fail, you can replace it while the system is operating
(see “Replacing a Failed Power Module” on page 16). You can replace a failed power
module only with a power module of the same model.
To connect the appliance to the power supply:
1.
Plug the power cord in the power socket of the power supply module.
2.
Connect the power cord to the power outlet.
If the appliance is properly connected, the power module LED indicator will
display solid green light. If there's problem with the module installation, its LED
indicator is amber (solid or blinking) or there is no light at all.


