5
WING ASSEMBLY
I. Pre-Assembly Notes
1.
Please assemble your model according to these instructions.
Do not attempt to modify or change in any way as doing so may
adversely change its flying characteristics.
2.
Before you begin, please check the entire contents of this kit
against the parts list and photo to make sure that no parts are
missing or damaged. This will also help you to become familiar
with each component of your plane.
3.
Each step of these instructions is preceded by a box which can
be checked off as you complete the step.This will allow you to
follow your progress and quickly find your starting place after any
interruptions or breaks.
Note: Your dealer cannot accept kits for return if
construction has begun.
II. Aileron Servo Installation
❏
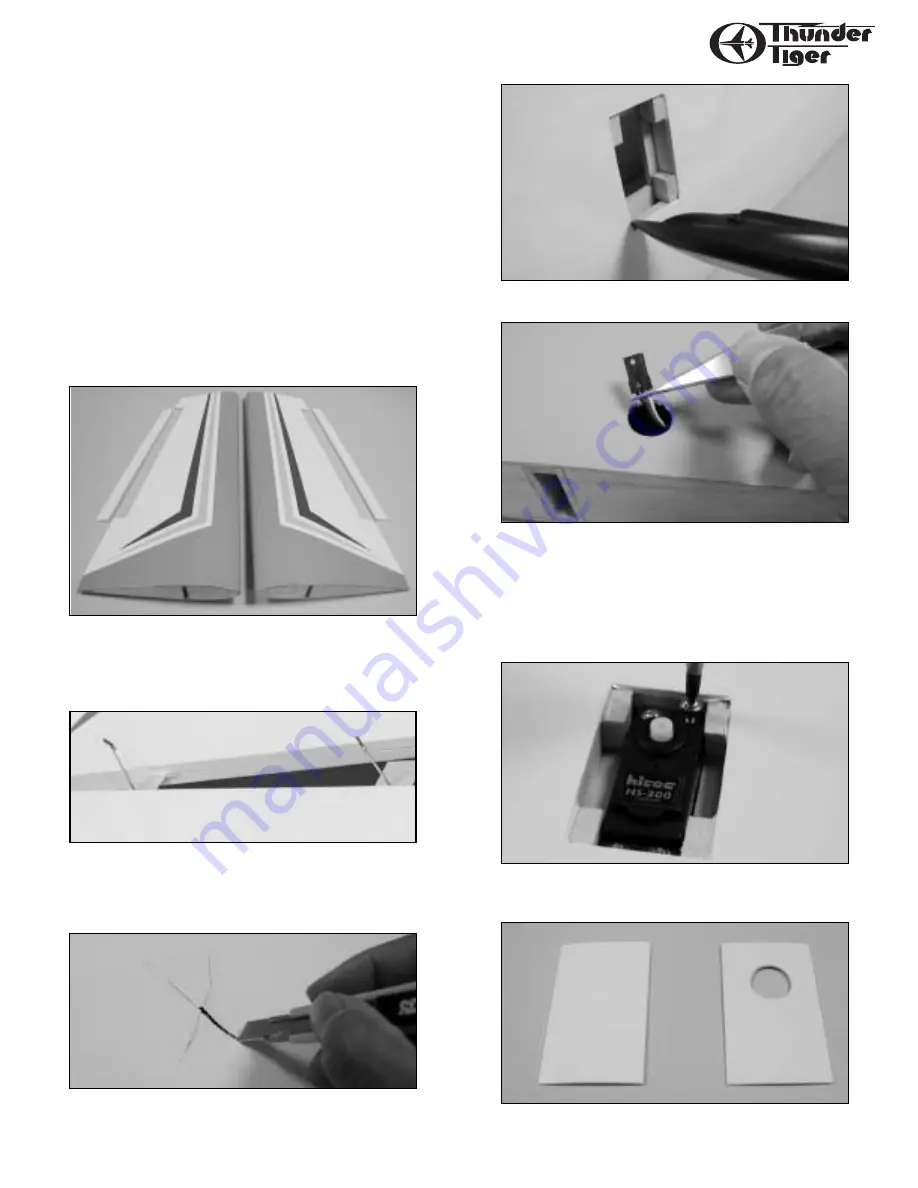
To hinge the aileron to the wing, begin by removing it from one of
the wing panels. Install the “CA” hinges into the aileron and use T-pins
to hold them in place while inserting the hinges in the wing (or simply
use thin CA and permanently glue them in place in the aileron.)
❏
Install the aileron onto the wing, keeping the gap to a minimum,
wick thin CA onto the hinges, making sure you get glue on all surfaces.
Firmly tug on the aileron to make sure it is secure. Repeat for the other
wing panel.
❏
With the wing panel upside down, locate the servo well and cut an
X from corner to corner using an hobby knife.
❏
Use a sealing iron to tack down the covering inside the servo well.
❏
With the wing right side up, locate the servo wire exit hole and
remove covering.
❏
Thread the servo wire though the ribs to the first wing panel then
place the servo on the servo mount. Use needle nose pliers or
tweezers to take connector out.You might wisely use a piece of clear
tape to temporarily hold the servo pigtail to the wing to prevent it
from slipping back into the wing while you are working.
❏
Secure the servo with the self-tapping screws which come with
your radio.
❏
Locate the hatch cover plate and drill a hole so the servo drive shaft
goes out as show.


