K I O S K O P E R A T I O N S M A N U A L
9
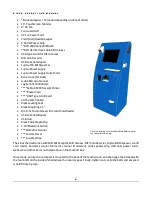
The kiosk shell will arrive with credit card reader, barcode scanner, biometric scanner (if ordered), outlet
power strip, USB hub, power cords, webcam and other items not listed above in the contents box. Once ready,
make sure the computer is mounted to the back of the touchscreen, and then align the bracket with the four
bolts on the inside of shell. Finally, tighten nuts onto the bolts and ensure it is held firmly in place.
Now that everything has been securely fastened and attached to the kiosk, you will need to connect
everything to the computer/USB hub, to power and then bring online. Utilizing the labels for devices and
hardware, start connecting those devices to the computer and hub as follows:
1.
Connect the touchscreen monitor’s VGA cable (large plug with screws) from the back to the computer.
2.
Take the monitor’s USB type A to B cord and connect the square shaped end into the back of the
monitor (behind the bracket that holds the computer), then into a 2.0 USB port on the computer.
3.
After checking that the power supply cord is securely in place on the monitor and computer, proceed
to plug both into the power supply. Turn on and wait for computer to start up Windows and the kiosk
software.
4.
Reference Troubleshooting Guide on page 14, and use the opening section as a guide to get to the
desktop of your kiosk’s computer.
5.
On the desktop of the computer, open the device manager as follows; to open device manager, click
on the Windows start button (lower left corner of screen) and then type device into the search bar at
the bottom. Once ‘Device Manager’ populates into the list, click on it.
At this point, you can now start connecting your devices to the computer and USB hub (if needed). Also
unplug any keyboard and mouse from the computer.
6.
Take the credit card reader and plug the USB into a 2.0 USB port on the computer or USB hub. It will
show up in the device manager as a generic communications (COM1) port.
7.
Find the barcode scanner USB and plug it into a 3.0 USB port on the computer; this will show in the
device manager. It will be assigned a COM port, which typically is COM3, but
Three Square Market will
finish when registering the kiosk.
8.
Locate the webcam at the top of the kiosk (in the center), and plug it into a 3.0 USB port on the
computer. Allow it to install itself and the check device manager to ensure it properly installs.
Three
Square Market will ensure install process as a part of registering the kiosk.
9.
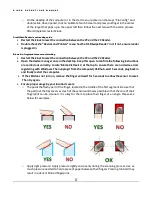
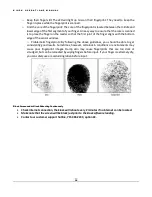
***If using a biometric scanner, follow this step
: simply plug into one of the computers or USB hub’s
2.0 USB ports and the drivers are automatically installed after you plug in the reader for the first
time.
Содержание Kiosk
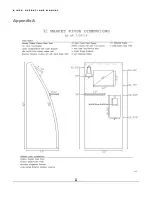
Страница 23: ...K I O S K O P E R A T I O N S M A N U A L 21 Appendix A ...
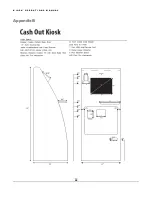
Страница 24: ...K I O S K O P E R A T I O N S M A N U A L 22 Appendix B ...
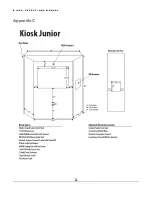
Страница 25: ...K I O S K O P E R A T I O N S M A N U A L 23 Appendix C ...
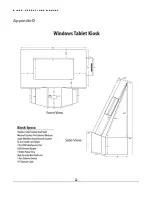
Страница 26: ...K I O S K O P E R A T I O N S M A N U A L 24 Appendix D ...
Страница 27: ...K I O S K O P E R A T I O N S M A N U A L 25 Appendix E ...


