


Page 33
17874-D03
T-Cube Laser Diode Driver
Adjusting the Laser Diode Drive Current Limit
As previously explained in Section 3.3.6., the laser diode drive current limit must be
set to ensure the diode is not overdriven.
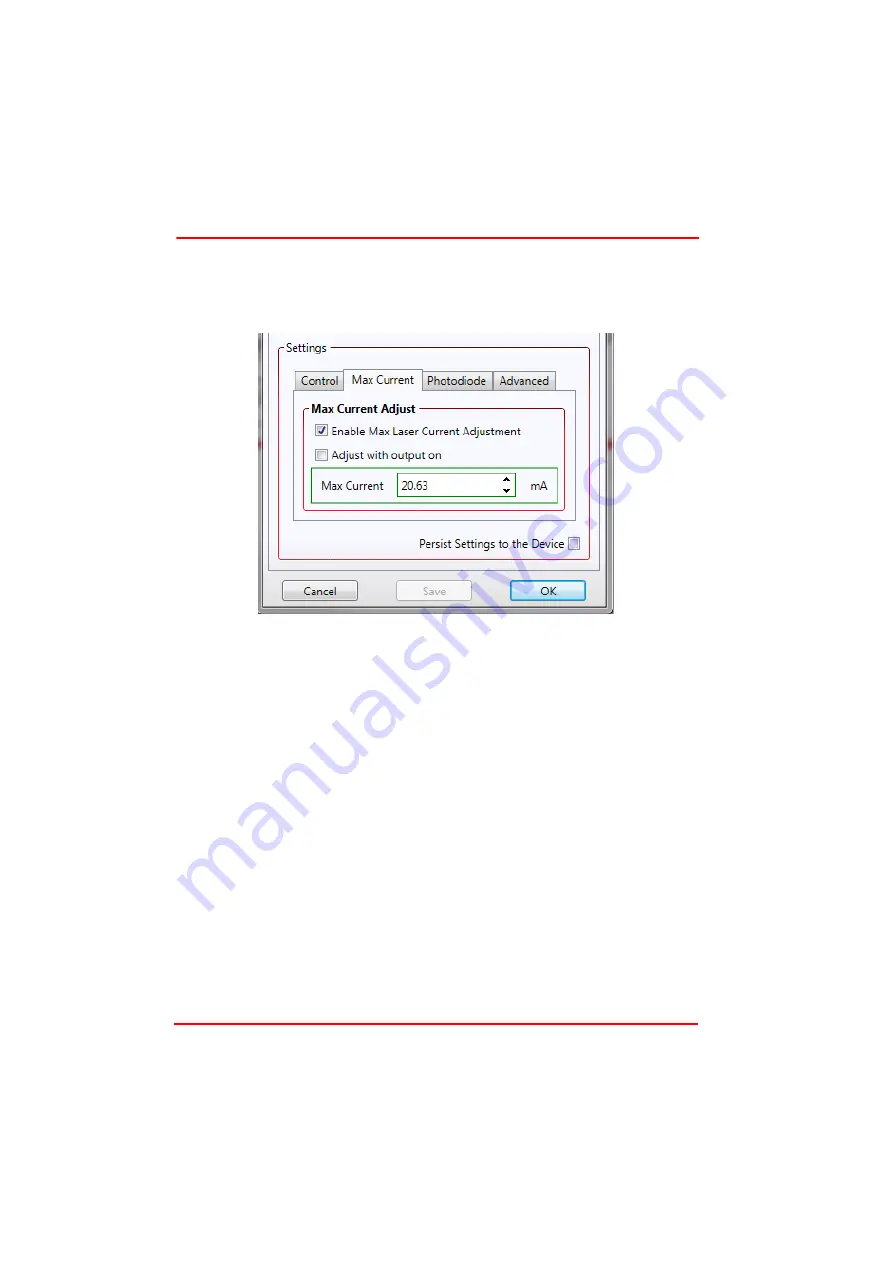
5) Select the ‘Max Laser Current’ tab.
Fig. 5.3 Laser Driver Settings Panel - Photo Diode Tab
6) Click the ‘Enable Max Laser Current Adjustment’ check box. Wh en this box is
ticked, the maximum laser current immediately decreases to the lowest possible
value (around 17.0 mA). This is to protect the laser diode so that maximum laser
adjustments always start from the lowest possible value.
7) If the maximum laser diode current is already known, the adjustment can be done
with the laser diode turned off. Click the up and down arrows to adjust the laser
current until the desired value is reached.
8) If the maximum laser diode adjustment needs to be done with the laser diode
enabled, turn the KEYSWITCH to ON on the module front panel and tick the ‘Adjust
with Output On’ box on the GUI. Click th e arrows to slowly increase the drive
current until the power displayed on the power meter reaches the desired value.
Take extreme care never to exceed the maximum power level specified in the data
sheet, and take into account the possible thermal effects described in section
3.5.3. It is highly recommended to stay well below (at least 20%) the maximum
laser power specified for the given laser diode. Also note that if the up and down
arrows are clicked and held, the rate of change will accelerate. This functionality
is provided so that large changes can be made more quickly but conversely it can
lead to the maximum laser current exceeding the safe operating limit for the given
laser diode; so this feature must be used very carefully. Using individual clicks on
the arrow is the safest option.
9) Click the ‘Persist Settings to Hardware’ checkbox.


