THOMSON DFT-6900 Скачать руководство пользователя страница 11

DFT-6900 Battery Activator Instruction Manual


10 

3. When performing the operation, please insert the U-disk first, and wait until the indicator light of the “U-disk” 

is no longer flashing before other operations. 

4. Do not plug or unplug the U-disk while the U-disk is reading or written. 

5. After the U-disk is finished reading/writing, please wait until the “U-disk” indicator light is no longer flashing 

before plugging and unplugging the U-disk. 

6. If there is an error in the process of reading and writing the U-disk or no response for a long time, please use 

FAT to format the U-disk and try again. 

2.4.3 Data Delete 

In the data management menu, select the data and click [Delete] option to delete the selected data. 

2.4.4 Data Formatting 

In the data management menu, click the [Format] option to delete all data. 
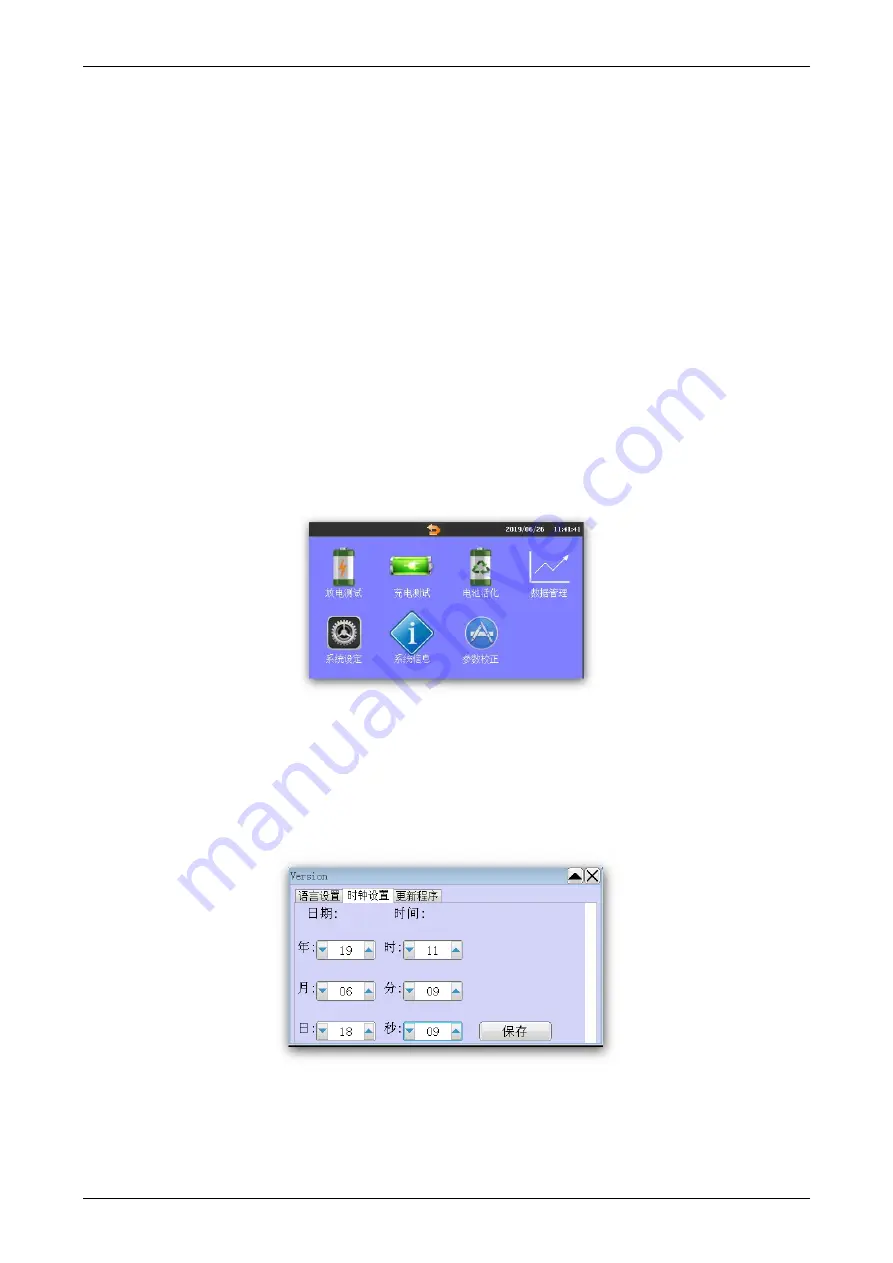
2.5 System setting 

In  the  main  menu  interface,  click  "System  Settings"  to  enter  the  system  management  interface,  which  includes 

language selection, time setting, update software. The interface is as follows: 


2.5.1 Time Setting 

All  test  data  time  is  recorded  &  displayed  by  the  instrument  clock.  Therefore,  it  is  recommended  to  adjust  the 

clock to real local time before using the instrument. Adjust the clock path: “Main Interface” → “System Settings” 

→ “Clock Settings”. The clock setting interface is as shown in the figure: After setting the time, click the “Save” 

button to update to the required time. 


2.5.2 System Upgrade 

The instrument software could be updated by U-disk. First, put the upgraded software image file into the U-disk, 

insert to Tester USB port, enter the “System Settings” menu page, and click the “Update Program” menu item. 

Содержание DFT-6900

Страница 1: ...DFT 6101 Battery Impedance Tester Instruction Manual DFT 6900 Battery Activator Users Manual THOMSON TECH CO LTD www thomsontesting com...

Страница 2: ...on Instruction 5 1 8 Wiring 5 Chapter 2 Functions operations 6 2 1 Discharge 6 2 2 Charge 7 2 3 Activator 8 2 3 1 Activator Setting Interface 8 2 3 2 Activating Process 8 2 4 Data Management 8 2 4 1 D...

Страница 3: ...ct operation of the instrument 1 To avoid electrical shock or fire read these precautions first before using the unit 2 Except as explained in this manual do not attempt to service this equipment your...

Страница 4: ...ing and activation The curve can be displayed after test The right side of the screen shows the charge discharge curve and the left side shows the charge discharge or activation parameters including v...

Страница 5: ...via a U disk By transmitting the data to the PC the battery quality can be monitored for a long time Through the analysis of the battery operating status data various problems which affect the battery...

Страница 6: ...ion 1 7 Operation Instruction Touch screen for all operation 1 8 Wiring Activation charge discharge wiring Connect the current voltage clamps with the battery positive negative poles Black clamp to ne...

Страница 7: ...e Click Discharge to enter parameters setting It is necessary to set six parameters battery number battery type rated capacity cutoff voltage discharge current and discharge duration Set the discharge...

Страница 8: ...rged capacity the charged time and the stop parameters Note 1 The cut off voltage set in the parameter setting is to prevent the battery from over charging discharging which leads to battery damaged C...

Страница 9: ...battery The activation settings interface is as follows After clicking the up and down direction keys to set the Cycle No you can set the parameters of each activation by clicking the page up and page...

Страница 10: ...e U disk first and the green U symbol will be displayed in the upper right corner of the menu Note U disk read and writes error 1 U disk plugged in properly 2 It is strongly recommended that users use...

Страница 11: ...2 4 4 Data Formatting In the data management menu click the Format option to delete all data 2 5 System setting In the main menu interface click System Settings to enter the system management interfa...

Страница 12: ...he U disk to Tester After the software update is completed the Tester enters the boot interface and can perform normal operation 2 5 3 Language Enter the System Settings menu page click the Language S...

Страница 13: ...ents or alcohol as they can deform or discolor the Tester and the accessories 3 1 2 Clamps Maintenance Clean Clean the main unit and its accessories with damp cloth and a mild soap 3 2 Storage After u...

Страница 14: ...e N cycles to prolong the time Example If the charging required time is 28 hours set the activation cycle 2 the first charging time is 18 hours the discharge duration is 0 the second charging time is...

Страница 15: ...disk cannot be detected after it is inserted to the PC The U disk may not be well inserted If so reinsert it correctly The U disk may not be in FAT format If so format the U disk And if other problem...

Отзывы: