background image


7


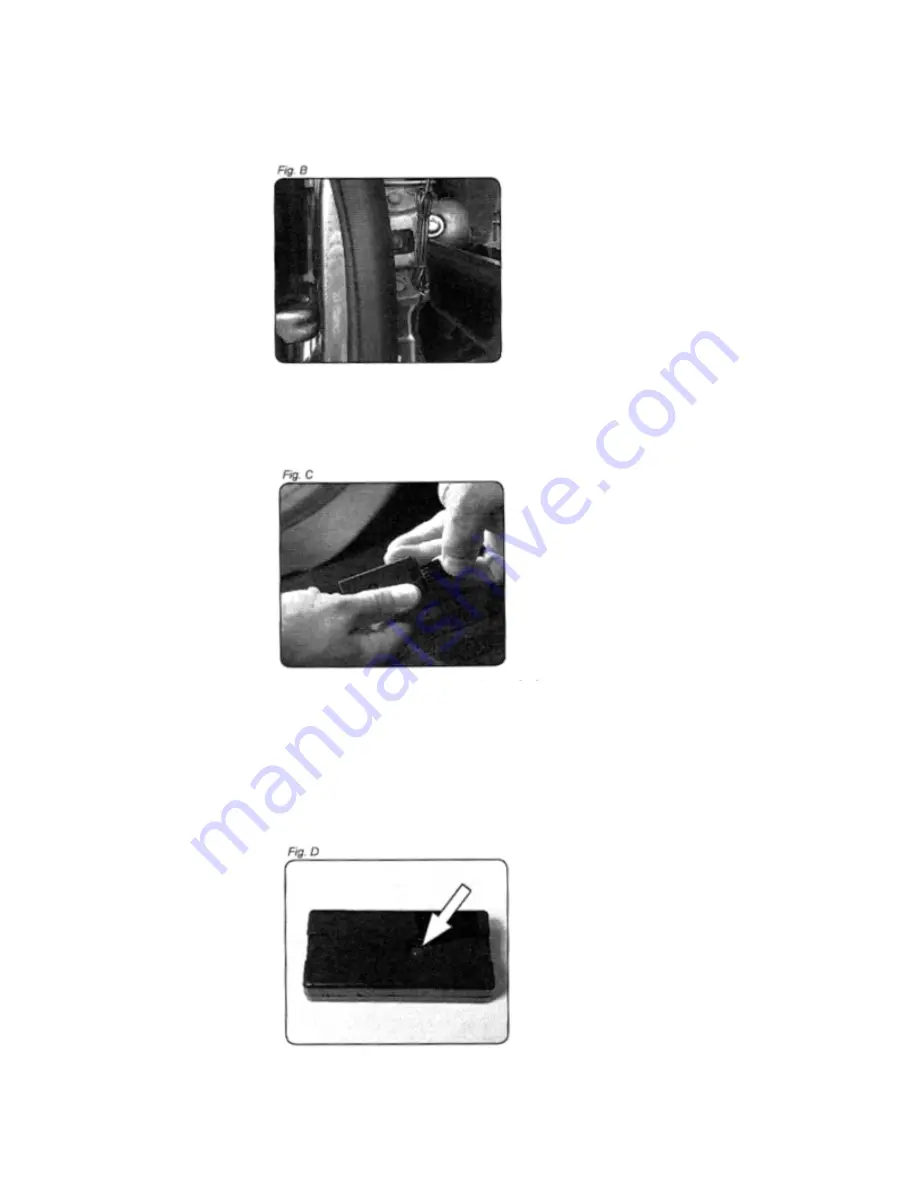
Wind and secure any excess cable (Fig B) 


8


Place the vehicle ignition in the off position, connect the IGN-3F to the 10-pin Molex 
connector located on the HWK-TW01-HAR (Fig C). 


9


Once the ignition of the vehicle is off and the IGN-3F is plugged in, the LED should emit a 

constant flashing light. The LED will go from the blinking state to a continuous ON light 

once the vehicle is started. When the light is ON continuously, an ignition phantom 

signal will be sent to the dashboard to turn on, and it will stay on during a start / stop 

sequence, the LED and the dashboard will turn off after 2 minutes, 30 seconds from the 

vehicle's shutdown. 


Содержание VHL3Z-19G490-C

Страница 1: ...end of the HWK TW01 HAR Plug n Play to the OBD II factory connector of the vehicle Fig A 3 Secure the OBD II connector with the harness using one of the straps cut the excess of the strap Fig B 4 In the case of the bolt and nut assembly place the left flange of the connector on the factory left bolt and replace and adjust the nut removed in step 1 Secure the right flange of the connector under the...

Страница 2: ...the ability to deploy the airbag in case of an accident 6 Clean and dry the installation site with a cloth with alcohol before placing the camera Slide the camera inside the bracket and secure it to the windshield using the self adhesive pad pre installed in the bracket FIG A Be sure to mount the dashboard behind the rearview mirror so that it does not obstruct the driver s vision taking care not ...

Страница 3: ...f and the IGN 3F is plugged in the LED should emit a constant flashing light The LED will go from the blinking state to a continuous ON light once the vehicle is started When the light is ON continuously an ignition phantom signal will be sent to the dashboard to turn on and it will stay on during a start stop sequence the LED and the dashboard will turn off after 2 minutes 30 seconds from the veh...

Страница 4: ...amera The cable will have a label that indicates which side should go towards the front of the vehicle See the slots A to D for more information 2 Clean and dry the installation place with a cloth before placing the camera Place the camera in the rear window using the adhesive provided with the camera Remember not to place the camera in a place where it may interfere with the rearview mirror It ma...

Отзывы: