Smart Remote Contact
Smart Remote Contact set up procedure in Web app | 17
Smart Remote Contact set up
procedure in Web app
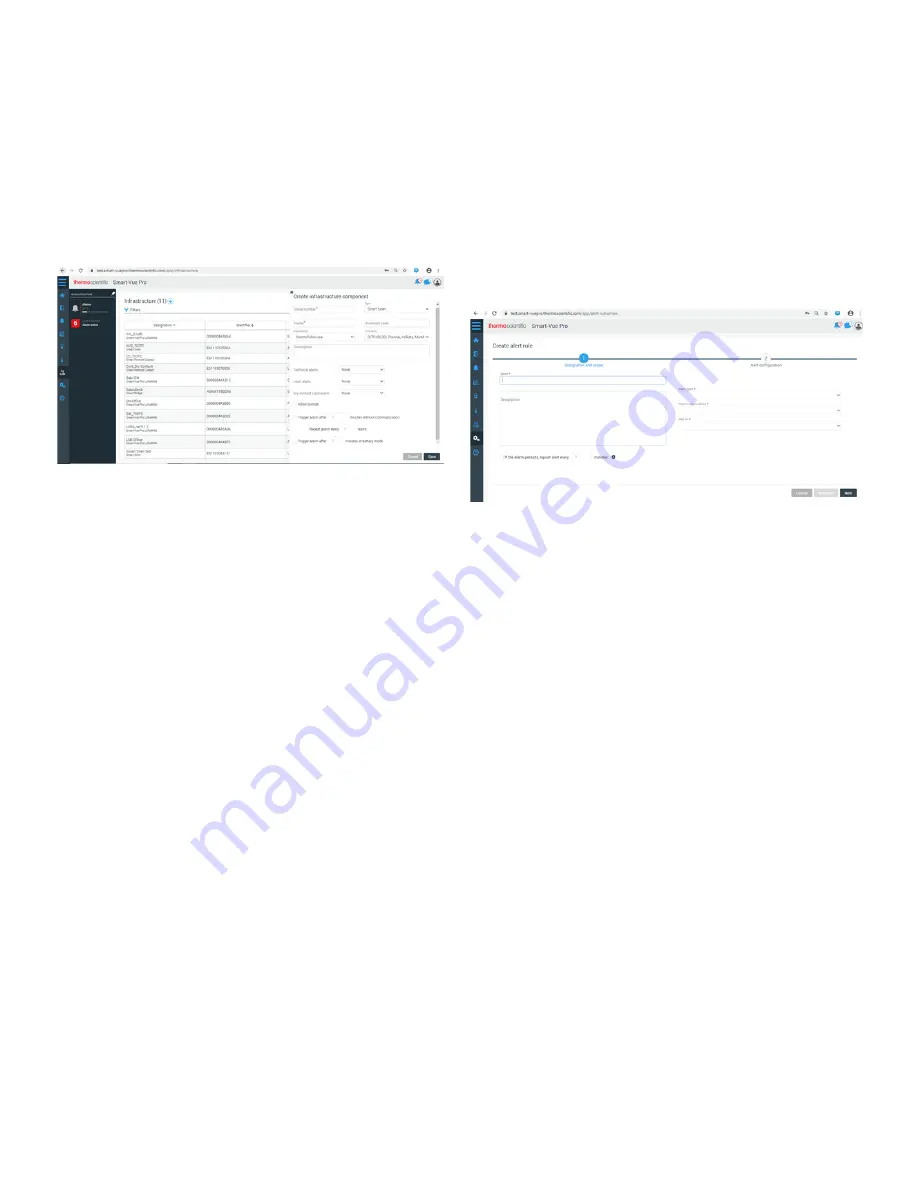
1. In web app navigate to Menu
Infrastructure
Create
Infrastructure.
Figure 21. Web app menu
2. Enter Smart Remote Contact Serial number, that is
present on the Smart Remote Contact device and ensure
that the Type is selected as “Smart Remote Contact”.
3. Enter valid Name and Description. Select your
Organization and Time zone from the drop down.
4. Select the desired output type from Smart Remote
Contact in case of Technical and Limit alarms.
5. Select the Dry contact input alarm through drop down
options: Relay 1/Relay 2/Relay 1 and relay 2.
6. Select the checkbox to Trigger relays when power supply
is unplugged.
7. Click Show Connections button to view the “Normally
open” and “Normally closed”.
8. Select the Trigger/ Repeat alarm check boxes and enter
number of minutes/hours based on your requirement
(alarm after communication lost and battery mode) and
click Save.
Alert Configuration for
Smart Remote Contact in
Web app:
In web app, Alerts can be configured as required, so that user
would receive Emails/SMS/Voice calls based on the
configuration, whenever Smart Remote Contact is in Alarm
condition.
1. Navigate to Menu
Configuration
Alerts
Add
Alert rule.
Figure 22. Smart connect in alarm condition
2. Enter Alert rule name and Description.
3. Select the Alarm Types, Item in Organization, Alert for and
Criticality.
Note:
Ensure that
Item in Organization
selected while
creating Alert rule should be same as Organization of the
Smart Remote Contact, LoRaWAN and of the Equipment to
which the LoRaWAN is communicating to.
Note:
When
Alert for
is selected as “Mobile equipment”,
“Shipments” or “Static equipment”, dropdown field
“Criticality” would be displayed.
Note:
Ensure that the options selected in
Alert for
and
Criticality
fields should be in accordance with the Equipment
type, to which the LoRaWAN is communicating to, in order to
successfully receive the Alerts.
4. Select the check box I
f the alarm persists...
and enter
number of minutes in the text box to receive repeated
voice call alerts, till the alarm condition is not
acknowledged or ended.
5. Click
Next
and select Time slot and Day off from the drop
down.
6.
To configure Time slot:
Navigate to Menu
Configuration
Time slots
Add Time slot.


