Model 916/917______________________________________________________________________Routine Maintenance
4-1
Section 4 - Routine Maintenance
4.1 Cleaning the Cabinet Exterior
Wipe down the freezer exterior using soap and water and a
general use laboratory disinfectant. Rinse thoroughly with clean
water and dry with a soft cloth.
4.2 Cleaning the Air Filter (minimum of twice a year*)
1. Locate the grille on the right side of control panel. See Figure
1-2. Grasp the corner of the grille and gently pull to remove.
2. Remove the filter material and wash, using water and a mild
detergent.
3. Dry by pressing between two towels.
4. Install the filter back into the grille and attach the grille.
* Depending upon environmental conditions, the filter may need
to be cleaned or replaced more frequently. If the filter becomes
torn or excessively dirty, a replacement can be purchased from
Thermo Forma. See the exploded parts list, Section 7, for filter
part number. A filter kit (set of 5) part number 195517 is also
available.
4.3 Cleaning the Condenser (minimum of twice a year*)
1. Locate the grille on the right side of control panel. See Figure
1-2. Grasp the corner of the grille and gently pull to remove.
2. Using a vacuum cleaner, exercising care to not damage the
condenser fins, clean the condenser.
3. Install the grille.
* Depending upon environmental conditions, the condenser may
need to be cleaned more frequently.
a. Cleaning the Water-cooled Condenser
The water-cooled condenser can be cleaned-in-place by
using the CIP procedure. Cleaning solutions can be used,
depending on type of deposits or build-up to be removed.
Do not use liquids that are corrosive to stainless
steel or the brazing material (copper or nickel). Do
not leave the unit on stand-by after cleaning.
CIP (Clean-In-Place) Procedure
1. Disconnect the unit from the water supply.
2. Drain the unit.
3 . Rinse with fresh water and drain the unit again.
4. Fill with fresh water.
5. Add cleaning agent (solution and concentration dependent on
deposits or build-up).
6. Circulate cleaning solution (if feasible).
7. Drain the cleaning solution.
8. Add and circulate a passivating liquid for corrosion inhibi-
tion of plate surfaces.
9. Drain this liquid.
10. Rinse with fresh water and drain.
11. Reconnect the water supply and fill the unit.
12 . Return to service.
4.4 Defrosting the Chamber
1. Remove all product and place it in another freezer.
2. Turn the unit off and disconnect it from the power source.
3. Turn the Alarm switch to Standby, or disconnect the battery.
4. Open all of the doors and place towels on the chamber floor.
5. Allow the frost to melt and become loose.
6. Remove the frost with a soft cloth.
7. After defrosting is complete, clean the interior with a non-
chloride detergent. Rinse thoroughly with clean water and dry
with a soft cloth.
8. Plug unit in and turn power switch on.
9. Allow the freezer to operate empty overnight before reloading
the product.
4.5 Cleaning the Door Gasket (minimum monthly*)
Using a soft cloth, remove any frost build-up from the
gasket and door(s).
*The door gasket may need to be cleaned more frequently if dirt
or excessive frost build-up prevents the door from closing prop-
erly.
4.6 Cleaning the Vacuum Relief Port (minimum monthly*)
Using a soft cloth, remove any frost build-up from the
vacuum relief, located in the front left corner of the chamber.
See Figure 1-4 and 1-5.
*The vacuum relief port may need to be cleaned more frequently
if dirt or excessive frost buildup prevents the door from closing
properly.
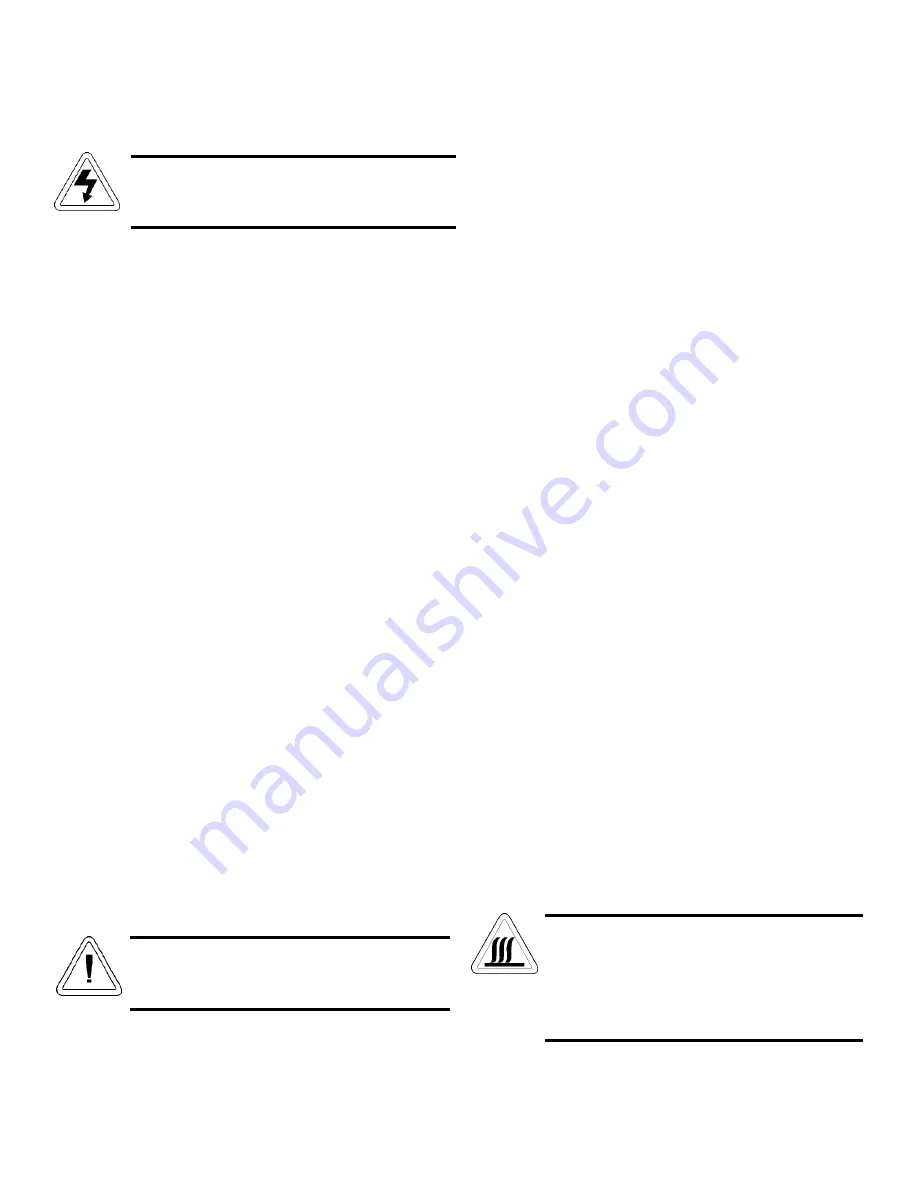
Avoid the excessive use of water around the control
area due to the risk of electrical shock. Damage to
the controls may also result.
The vacuum relief port contains a small heating
element. If the freezer is not disconnected from the
electrical supply or turned off at the power switch,
the heating element will continue to operate and
may cause injury to personnel cleaning the freezer
chamber.
Содержание 916
Страница 20: ...7 1 Model 916 917_____________________________________________________________________________Parts List ...
Страница 21: ...Model 916 917_____________________________________________________________________________Parts List 7 2 ...
Страница 22: ...7 3 Model 916 917____________________________________________________________________________Parts List ...
Страница 23: ...Model 916 917_______________________________________________________________________________Parts List 7 4 ...
Страница 24: ...7 5 Model 916 917_____________________________________________________________________________Parts List ...
Страница 25: ...7 6 Model 916 917_____________________________________________________________________________Parts List ...
Страница 26: ...7 7 Model 916 917_____________________________________________________________________________Parts List ...
Страница 27: ...8 1 Model 916 917___________________________________________________________________Refrigeration Schematics ...
Страница 28: ...8 2 Model 916 917___________________________________________________________________Refrigeration Schematics ...
Страница 29: ...8 3 Model 916 917___________________________________________________________________Refrigeration Schematics ...
Страница 30: ...Model 916 917___________________________________________________________________Electrical Schematics 9 1 ...
Страница 31: ...Model 916 917___________________________________________________________________Electrical Schematics 9 2 ...
Страница 32: ...Model 916 917___________________________________________________________________Electrical Schematics 9 3 ...
Страница 33: ...Model 916 917__________________________________________________________________Electrical Schematics 9 4 ...
Страница 34: ...Model 916 917__________________________________________________________________Electrical Schematics 9 5 ...
Страница 35: ...Model 916 917__________________________________________________________________Electrical Schematics 9 6 ...
Страница 39: ...Millcreek Road P O Box 649 Marietta Ohio 45750 U S A Telephone 740 373 4763 Telefax 740 373 4189 ...


