Page 1 of 19
WINDOW
AIR CONDITIONER
INSTALLATION
AND
OPERATION
950-0071-revA
05-25-07
CATALOG NO.
PRODUCT CODE
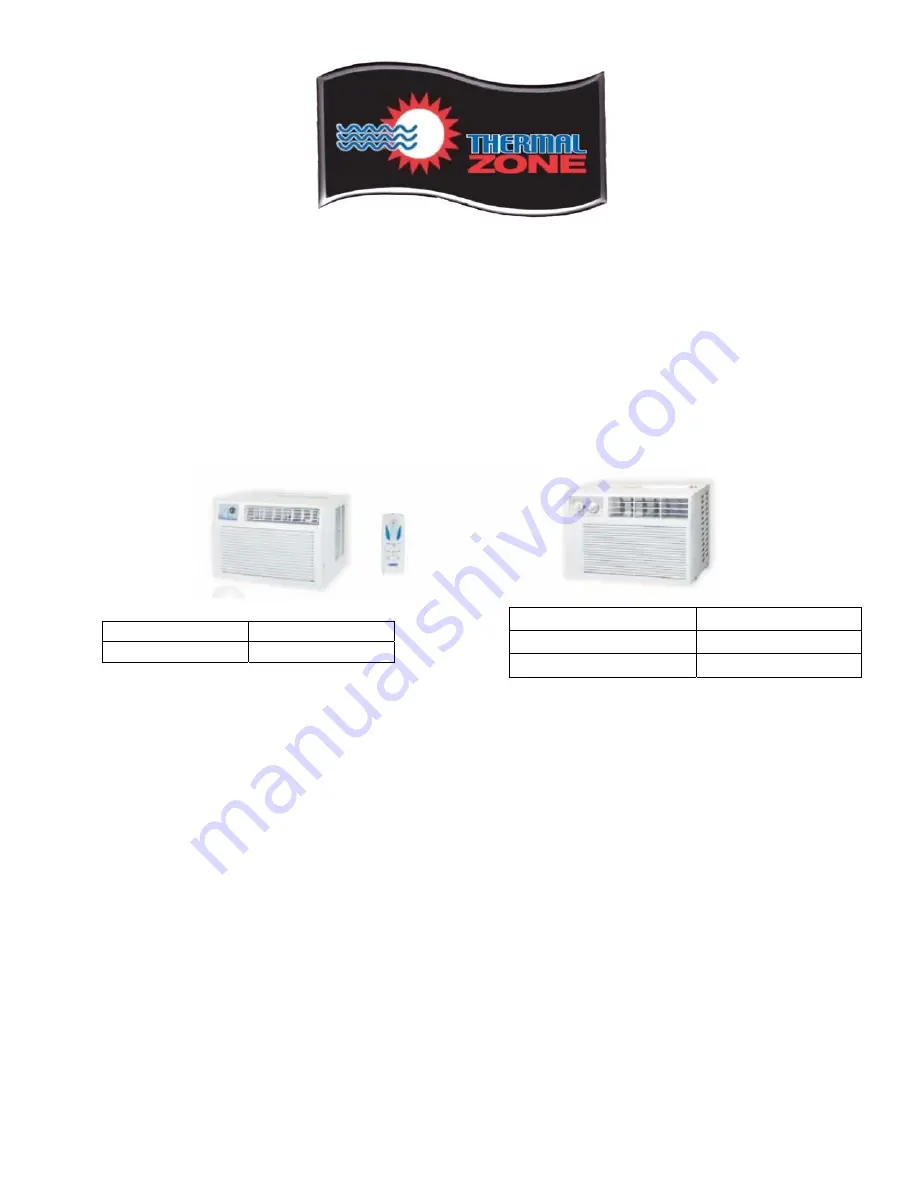
WAC12115RB 420-0028
WAC12230MB 420-0027
WAC12115MB 420-0029
Страница 1: ...Page 1 of 19 WINDOW AIR CONDITIONER INSTALLATION AND OPERATION 950 0071 revA 05 25 07 CATALOG NO PRODUCT CODE WAC12115RB 420 0028 CATALOG NO PRODUCT CODE WAC12230MB 420 0027 WAC12115MB 420 0029...
Страница 2: ...y and the safety of others is very important We have provided many important safety messages in this manual and on your appliance Always read and follow all safety instructions This is the safety aler...
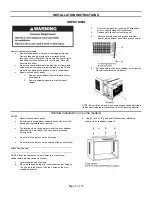
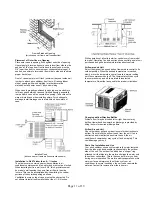
Страница 3: ...evel Drill and 3 16 or smaller bit Through the wall installation In addition to the tools listed above the following tools are Needed for through the wall installations Saw 1 2 5cm or thicker lumber W...
Страница 4: ...ings for your air conditioner are listed on the The wall opening measurements should be model and serial number label The model and serial number A Height 16 40 6cm plus twice the thickness of label i...
Страница 5: ...rom the ones shown 1 Plug power supply cord into a grounded 3 prong outlet 2 Press RESET 3 Press TEST Listen for a click Reset button will trip and pop out 4 Press and release RESET Listen for a click...
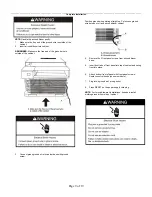
Страница 6: ...ure your air conditioner cabinet does not fall out of the channel to air conditioner cabinet opening during installation or removal The location where the power cord exits the air conditioner Should b...
Страница 7: ...into guides as far as it will go 6 Repeat above steps for left hand curtain Attach Foam Adhesive Seal _______________________________________________________ Attach foam adhesive seal along the bottom...
Страница 8: ...____________________________________ 1 Insert foam seal behind the top of the lower window sash and against the glass of the upper window 2 Place window lock bracket on top of lower window and against...
Страница 9: ...3 Connect green ground wire to cabinet base with ground screw Position ground wire pointing straight up Put excess ground wire between coil and air conditioner cabinet 4 Remove the 2 front panel screw...
Страница 10: ...eet of an appropriate electrical outlet When wall thickness exceeds 8 1 2 inches opening must be modified to allow air to enter side louvers on case see special instructions on back Do not install air...
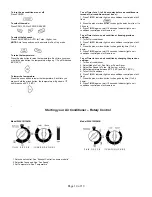
Страница 11: ...ted Do not attempt to install unit in walls thicker than 11 3 4 inches While operation of all units is similar controls very from model to model Operating Controls section shows control panel of unit...
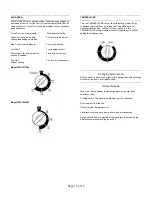
Страница 12: ...mode See Mode 4 Select fan speed See Fan Speed 5 Set temperature See Temperature ______________________________________________________ MODE ______________________________________________________ 1 P...
Страница 13: ...previous settings 1 Turn off air conditioner 2 Press TIMER Timer indicator light will flash Display will show remaining hours before air conditioner will turn on 3 Press the plus or minus button to c...
Страница 14: ...ir conditioner control panel will remain on To set Timer to turn on air conditioner keeping previous settings 1 Turn off air conditioner 2 Press TIMER Indicator light on air conditioner control panel...
Страница 15: ...E _______________________________________________________ Turn the TEMPERATURE control to a mid setting Adjust the air conditioner s performance by turning the Temperature control clockwise for maximu...
Страница 16: ...______________________________________________________ Annual Maintenance Your air conditioner needs annual maintenance to help ensure steady top performance throughout the year Call your local author...
Страница 17: ...e cooling capabilities of your room air conditioner Room air conditioners are not designed to cool multiple rooms The filter is dirty or obstructed by debris Clean the filter The inside evaporator and...
Страница 18: ...RCUIT BREAKER SIZE A 15 MIN CIRCUIT CAPACITY A 14 1 REFRIGERANT CHARGE lbs oz R22 1 34 21 5 1 34 21 5 1 34 21 5 SOUND dbA H M L 58 55 53 58 55 53 58 55 53 4 WAY AIR ADJUSTMENT Yes Yes Yes 2 WAY AIR SW...
Страница 19: ...ion period This warranty provides free replacement of defective parts only Labor and replacement parts as a result of normal wear and tear are not covered under this warranty Additional claims are exc...