14
V. Unpacking The AMP
A. Unpacking and Inspection
1. Move appliance to approximate installation
location.
2. Remove all crate fasteners.
3. Lift and remove outside container.
4. Account for all loose shipped items.
5. Remove cardboard positioning sleeves on shipping
skid.
6. The appliance can be moved to its permanent
location via a fork lift or an overhead crane.
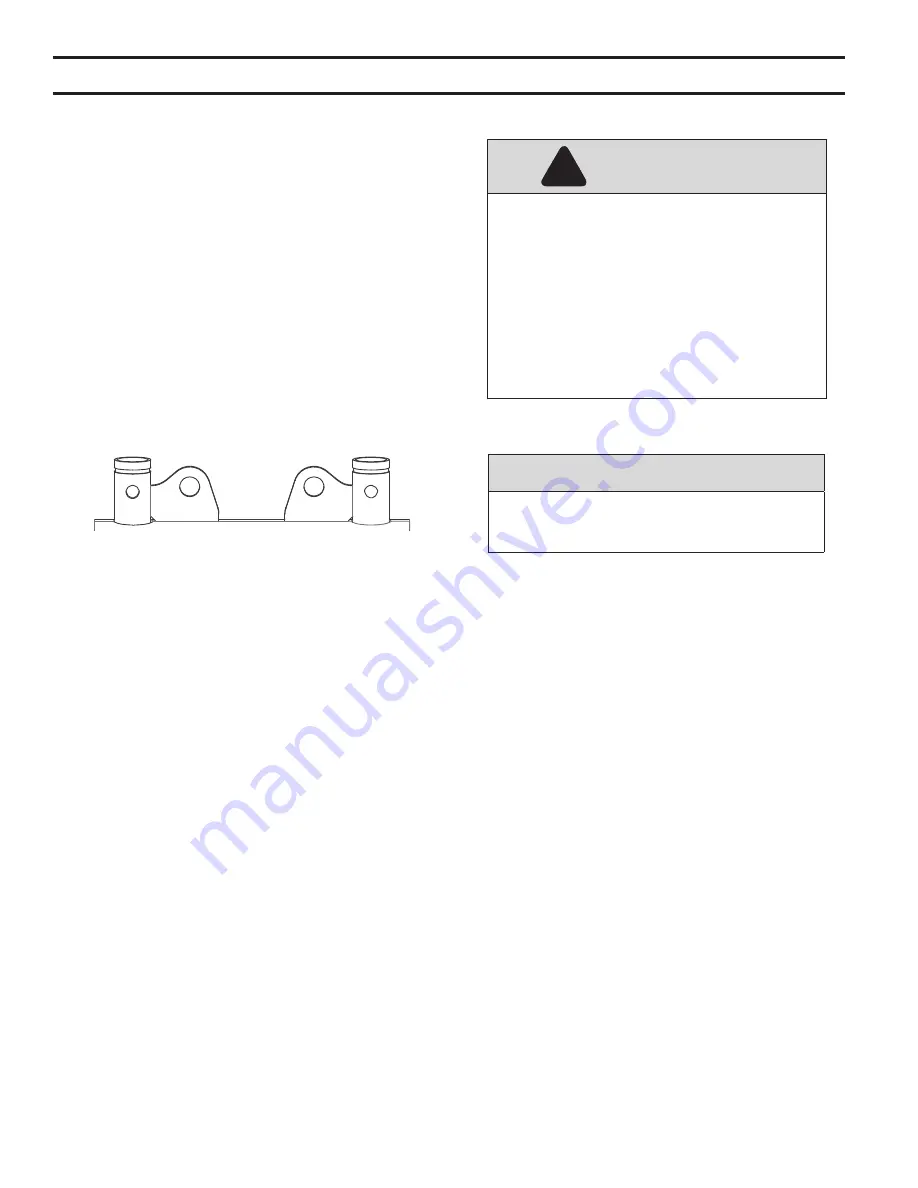
7. For crane attachment, the lifting lugs are located
next to the inlet/outlet water connections.
8. The appliance can be lifted from the base using a
fork lift inserted into the side, front, or rear.
Figure 4: Lifting Lugs
NOTICE
NOTICE
Do not drop, bump, or lean an object against
the appliance. This could damaging the heat
exchanger or other critical components.
9. Check for signs of shipment damage.
10. Pay particular attention to parts accompanying
the appliance which may show sign of being hit or
otherwise mishandled.
11. Verify total number of pieces shown on packing
slip with those actually received. In case there
is damage or a shortage, immediately notify the
carrier.
B. Installation and Operation Manual
1. The instruction manual enclosed with the unit is an
integral part of the product and must be retained
by the person in charge of the appliance. Please
read the instructions contained in this manual
carefully as they provide important information
regarding the safe installation, use and servicing
of this appliance.
2. Check for other items that shipped loose with the
appliance.
WARNING
WARNING
Failure to assure the truck forks are long enough
to extend at least half way through the base will
result in the appliance tipping off the lift truck
and potentially falling. This will result in severe
personal injury, death, or substantial property
damage.
Do not operate this appliance if any part has been
underwater. The possible damage to a flooded
appliance can be extensive and present numerous
safety hazards. Any appliance that has been
underwater must be replaced.
!
Содержание AMP 1000
Страница 13: ...13 IV AMP Component Identification continued Figure 3 Component Identification 26 25 22 18 2 23 27...
Страница 85: ...85 Notes...
Страница 86: ...86 This page is intentionally left blank...


