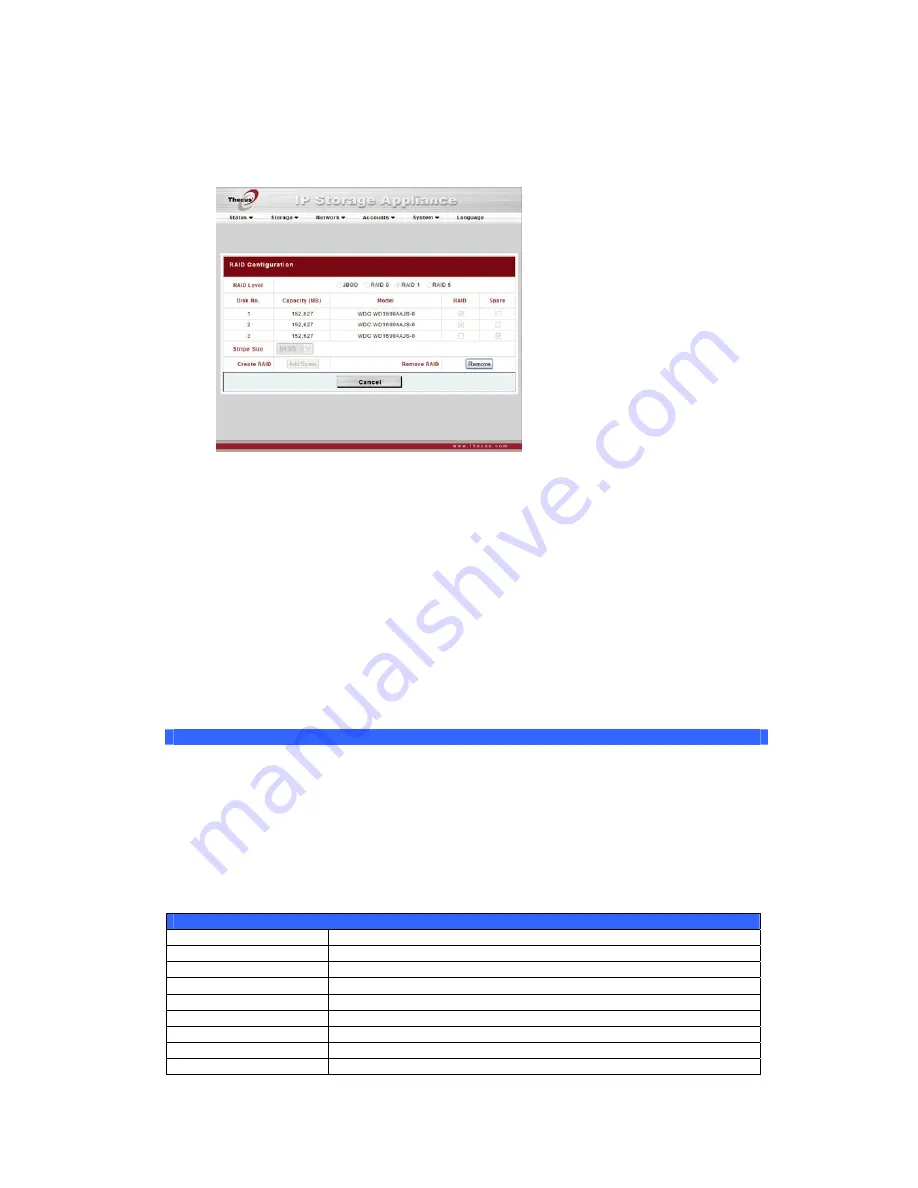
Click Config.
2.
Select your desired RAID level, and check the checkboxes of the disks you
wish to use in your array.
3.
Select a stripe size – the default is 64K.
4.
Click Create to create your selected RAID volume.
LCD Operation
The N3200PRO is equipped with an LCD on the front for easy status display and
setup. There are four buttons on the front panel to control the LCD functions.
LCD Controls
Use the Down (
▼
), Up (
▲
), Enter (
↵
) and Escape (ESC) keys to operate LCD to
view system information and USB copy.
The following table illustrates the keys on the front control panel:
LCD Controls
Icon Function
Description
▼
Down Button
Select the previous configuration settings option.
▲
Up Button
Select the next configuration settings option.
↵
Enter
Enter to display USB copy operation.
ESC
Escape
Escape to give up USB copy.
Press and hold for 3 seconds to turn off the LCD’s backlight.
Press any button to switch the backlight back on.
Display Mode
During normal operation, the LCD will be in Display Mode.
Display Mode
Item Description
Host Name
Current host name of the system.
WAN
Current WAN IP setting.
LAN
Current LAN IP setting.
RAID
Current RAID status.
System Fan
Current system fan status.
Temperature
Current system temperature.
Date/Time
Current system date and time
Up Time
The system power on time since last start
17


