


8
get ready for
thefirstyears.com
™
get ready for
thefirstyears.com
™
9
Home & Away
Computer-Connect
™
Digital Video Monitor
English
1. Position the Child unit 4 to 6 feet from
your child’s crib or the area you wish
to view.
NEVER
position the unit
within a child’s reach.
2. Insert the connector on the AC
adapter into the jack on the back of
the unit, then plug the adapter into
an electrical outlet.
Note:
Use attached hook & loop strip to gather and secure any excess cord.
3. Lift the antenna to its full upright position.
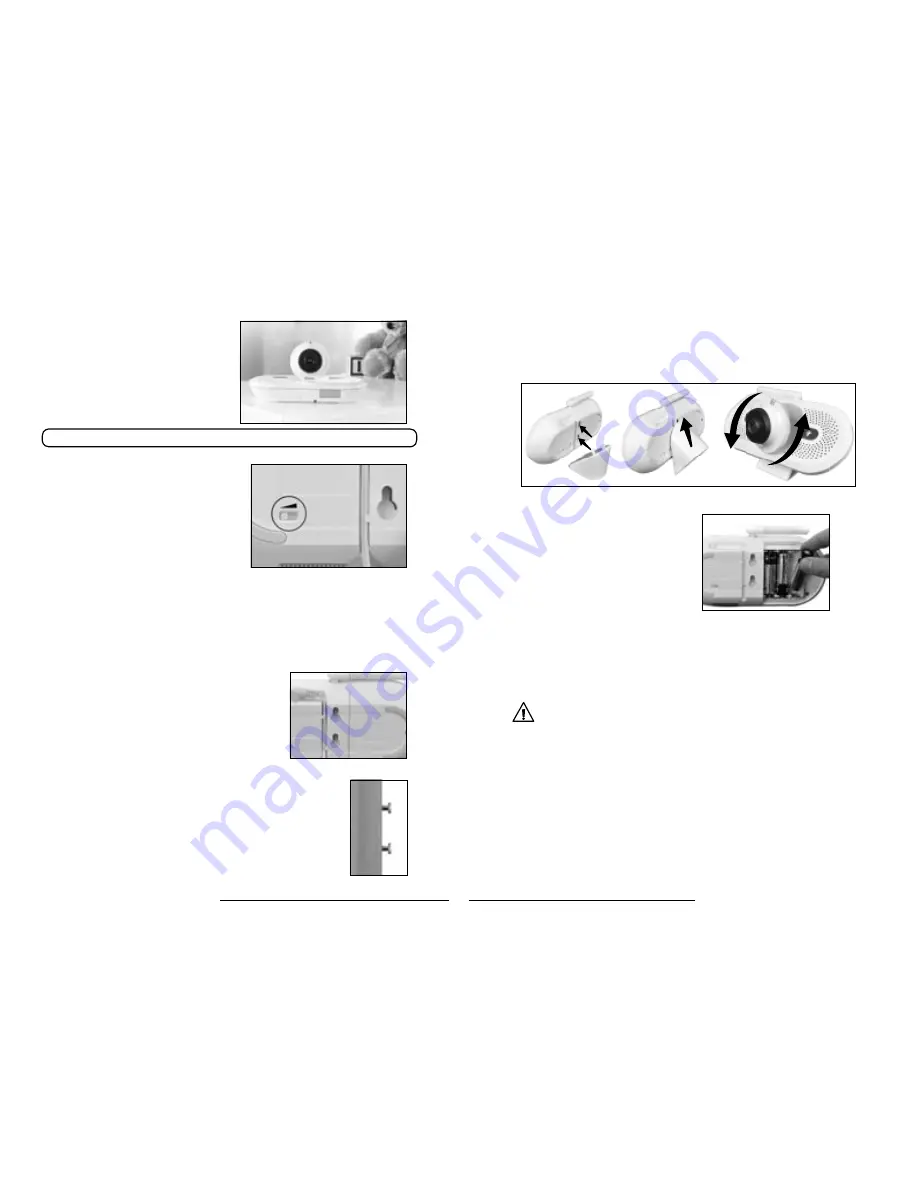
4. Rotate the camera out from the base
and swivel it to the angle you think will
give you your best view.
5. Use the Talkback Volume Switch on the
back of the Child Unit to choose your
preferred setting:
Low for quietest, or High for loudest.
Additional cameras
You can position up to three additional cameras in your home to monitor
different locations. To find out where you can purchase additional cameras for
your Monitor, please contact our Parent Service Center at 800-704-8697 or
purchase directly at thefirstyears.com.
For wall mounting (recommended)
1. Press the adapter cord into the grooved channel
on the back of the unit, making certain to slide it
under the two holding clips.
2. Securely fasten two #8 “pan” head screws to the
wall, one above the other, exactly 1 inch apart,
leaving the screw heads protruding by at
least ¼ inch. For best results use a 3/4-inch
long screw; mount in a solid wood panel, or
use screw anchors.
3. Fit the round openings on the wall mount slots
over the screw heads, then slide the unit down
until it is seated firmly.
4. To test that unit is securely mounted, press on
its top and side edges.
To Set Up —Child Unit
Slots in unit slide
over screws
For temporary/battery-powered operation
Loosen the screw to release the battery
compartment cover, then slide and
lift it off. Insert three AA batteries,
positioning them so the + and – symbols
on the batteries are aligned with the
corresponding symbols in the battery
compartment. Replace the cover and
secure it by tightening the screw.
IMPortant
Use of batteries to power the Child Unit is
intended only for temporary Use dUring a power
oUtage or when a plUg-in eleCtriCal oUtlet is
Unavailable. CheCk the low battery indiCator
often, and replaCe batteries as neCessary.
WarnInG
• KeeP out of cHILD’S reacH.
• Do not place child unit in crib or attach to crib or playpen.
• never place monitor or cord within 3 feet of child or attach
to a crib or playpen.
• Do not mount the child unit in a location where the unit or
the adapter cord is within the child’s reach.
Install batteries in compartment
Talkback volume switch on Child Unit
Optional Stand For Child Unit
An optional stand has been included with the Home and Away™ Digital Video
Monitor. This stand allows you to better view your baby from tough angles.
To Install:
cord in grooved channel
Содержание Home & Away Computer-Connect
Страница 14: ......


