


41
Selecting the Date/Time Display Settings:
You can modify the Time/Date display
properties for each camera, including display status, position and format. You can
copy the properties of one camera to all cameras. These modifications are made in the
“Image” Menu.
Selecting Camera Date/Time display settings:
1. Enter the “Image” Menu and select a camera to
modify.
2. Select the “Date OSD.” Options include:
Opaque&Steady, Transparent&Steady,
Transparent&Flashing, Opaque&Flashing,
No Display.
3. Select the “Position button next to the OSD setup. A display window will show the
position of the Time/Date display.
Display position and format:
The image
consists of a 22x15 grid NTSC
(22x18 PAL). Use the
[
â
] [
á
] [
à
] [
ß
]
keys to move the OSD position.
5. Press the
[
EDIT
]
key to select OSD time/date
format. Options include:
• MM-DD-YYYY day in week hh:mm:ss
(default)
• MM-DD-YYYY hh:mm:ss
• DD-MM-YYYY day in week hh:mm:ss
• DD-MM-YYYY hh:mm:ss
• YYYY-MM-DD day in week hh:mm:ss
• YYYY-MM-DD hh:mm:ss
YYYY = year, MM = month, DD = day, hh = hours, mm =
minutes and ss = seconds.
6. Press
[
ENTER
]
to save and return to the
“Image” menu or press [ESC
] to
abort.
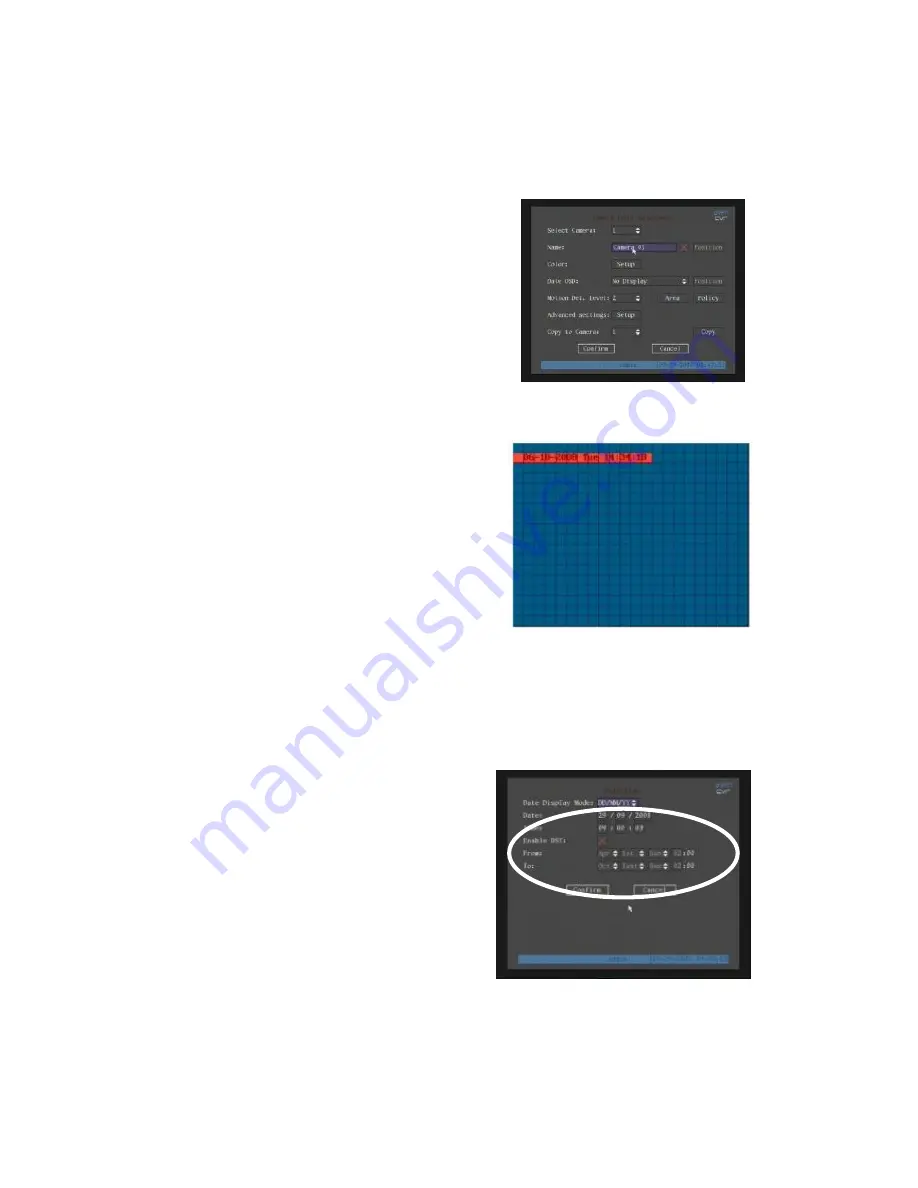
6.4.1 Daylight Saving Time Setup
In the “Display” menu press the DST “Setup” button
to enter the DST setup interface.
DST means Daylight Saving Time. Select the check
box to enable the function, and enter the DST start
time and end time for you local area.
Ensure you Confirm the settings in this menu and when returning to the Display menu you also
confirm that menu also.
Содержание Pro ALIEN504
Страница 19: ...19 3 3 OSD Menu Description 3 3 1 Main Menu Items...
Страница 64: ...64 Appendix A HDD Capacity Calculation...


