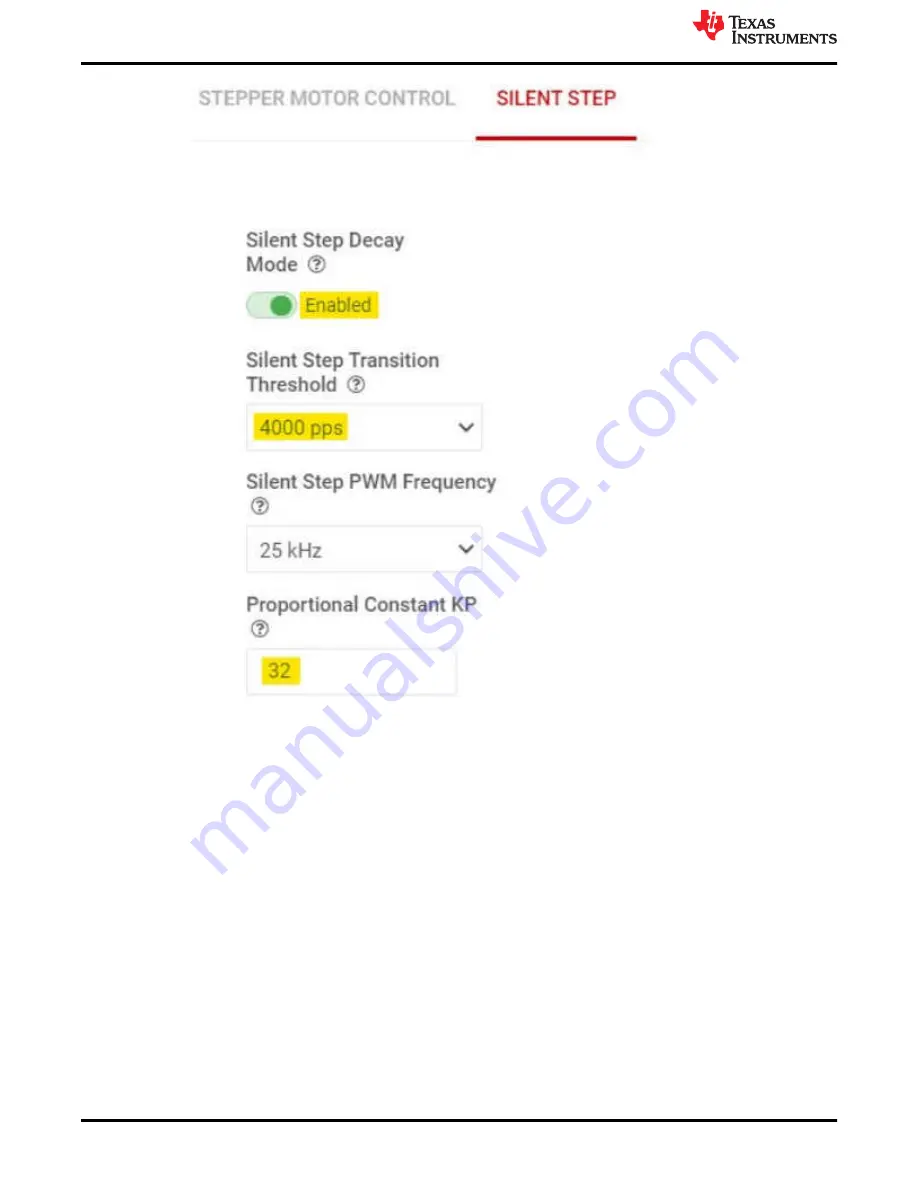
Figure 5-15. Silent Step Control Panel
h. Auto Torque: To setup and enable this feature AUTO TORQUE tab should be used. The following
example describes setting up Auto Torque with a J-4218HB2401 NEMA17 bipolar Stepper motor rated
1.7 A, commonly used in 3D printers. A 24 V power supply with > 3 A current rating is used for powering
the EVM.
i.
Start with the default settings of the EVM. Performing an EVM firmware reset using push button S1
will ensure all the default settings of the EVM are loaded. Click on the DRV8462EVM icon from the
GUI home page to establish connection between the GUI app and the EVM.
ii. Go to the “Motor Control” menu in the left-hand side menu bar. Set “Motor Driver” to “Awake”.
Increase the Full-Scale Current setting to 2 A in the STEPPER MOTOR CONTROL tab. Set “Driver
Outputs” to “Enable”. Start the motor using the “Start Input based STEP” push button.
iii. Switch to the AUTO TORQUE tab of the GUI. Enable Auto Torque mode using the slide switch.
iv. Next, while the motor is running unloaded and with the default settings of the “Learn” parameters,
initiate a learn by pressing the “Auto Torque Learn” push button. A green check mark with text “Learn
Completed” will appear as soon as the learning is completed. Relearning can be done at any time
with the motor running unloaded at any time by pressing the “Auto Torque Learn” push button.
v. Configure the minimum and maximum current limit values in “Loop Regulation” section. These are
8-bit integer values, 0 to 255 in decimal. Set the minimum current limit value to 48 which will be
equal to (48/256) * 2 A or 375 mA. With 375 mA drive current, this stepper motor will have sufficient
GUI Operations DRV8462
24
DRV84x2_DRV82x2_DRV89x2-EVM User's Guide
Copyright © 2022 Texas Instruments Incorporated


