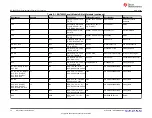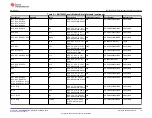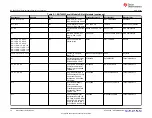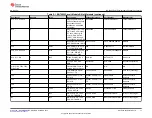
4.9 Configuration Register Programming
Configuration register programming should be done once hardware configuration is set with jumpers.
Configuration registers are set in the Data Memory screen and are different from the status registers displayed in
the Registers screen. See the BQ76952 data sheet and supporting documentation for register information. When
a configuration file is available it may be imported to set all operational selections at once. However, a
configuration file loaded with Data Memory Import can load as little as 1 parameter, so the user should be
familiar with the contents of imported files. With a new device or after loading a configuration file, individual
register changes may be made. Configuration register programming will typically involve the following general
principles selected in various register names:
1. Selection of the function for multi-function pins
2. Selection of the protection features to be enabled
3. Selection of the protection thresholds for the enabled features
4. Setting the FET control options
5. Exporting (saving) the configuration register file for future use
When no additional changes are anticipated to the configuration and extended validation is planned, the user
may write the configuration to OTP. OTP is written using the "Program OTP" button on the Data memory window
of BQStudio. Once programmed the device will load the register values from OTP after reset. Additional register
changes may be made, but the user should realize the part features have been permanently changed. OTP
settings may be incompatible with additional hardware configuration changes and could result in damage. The
user should check settings or replace the IC or EVM as required.
CAUTION
Hardware changes after OTP programming may result in damage to the IC or board after reset if
incompatible configuration is selected.
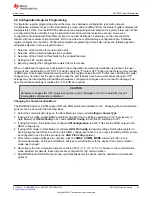
Changing the Communcation Mode
The BQ76952 device and EVM support SPI and HDQ protocols in addition to I2C. Changing the communication
protocol can be done with the following steps.
1. Select the communication type on the Data Memory screen under
Settings->Comm Type
.
2. If using SPI or HDQ, enable REG0 and REG1 (the MCU on the EVM is operating at 3.3V logic levels). In
Data Memory set
REG0 Config
to 0x1 and set
REG1 Config
to 0xD (REG1 enabled at 3.3V).
3. If using SPI mode: In Data Memory configure
SPI Configuration
to 0x60. This sets the MISO output to the
REG1 voltage level.
4. If using HDQ mode: In Data Memory configure
HDQ Pin Config
to desired settings. Setting this register to
0x28 configures the HDQ pin to drive to the REG1 voltage level when it is an output. (Similarly, HDQ can also
be configured to use the Alert pin using the
Alert Pin Config
register.)
5. After communication settings are complete, click the
SWAP_COMM_MODE
command button in the
Commands window. At this point BQStudio will lose communication with the device if the communication
mode has changed.
6. Reconfigure the communication jumpers on the EVM (J7, J10, J12, J15, J17) based on the communication
mode selected. By default, these jumpers are configured for I2C communication.
7. Restart BQStudio. BQStudio should now automatically detect the device and the updated communication
protocol.
BQ76952 Circuit Module Use
SLUUC33A – NOVEMBER 2019 – REVISED OCTOBER 2020
BQ76952 Evaluation Module
23
Copyright © 2020 Texas Instruments Incorporated


