


SETUP MENU
<Setup> Disc
<Setup>
Disc
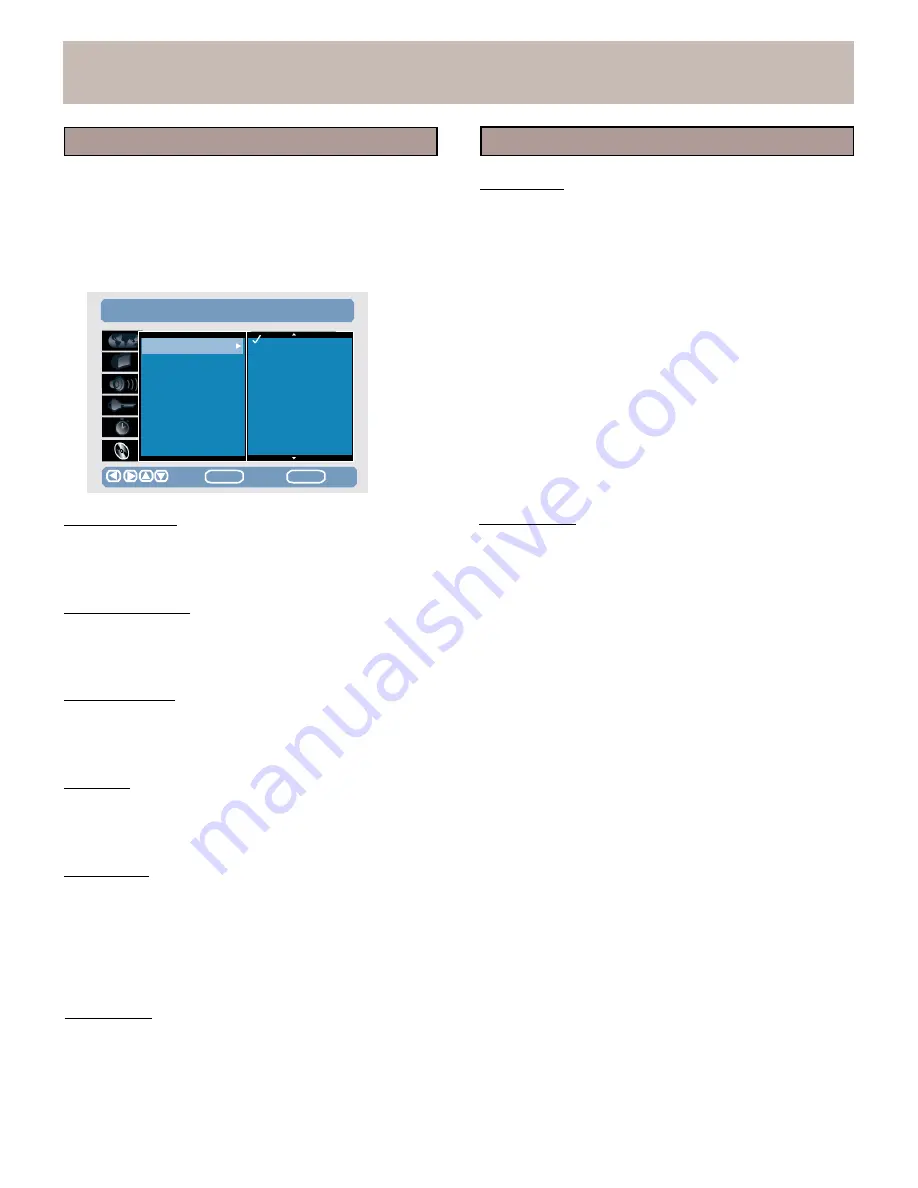
The Setup
Disc allows you to set language preferences
(Audio, Subtitle, Menu), edit your
DVD+RW disc (Initialize
and Finalize),and edit your HDD (format and scandisk).
1.
Press SETUP.
2.
Use the arrow keys to select SETUP >
DISC.
3.
Use the arrow keys to select and set the following:
SETUP
>
DISC
Format HDD
Initializes the HDD (Hard
Disk
Drive). Everything recorded
on the HDD will be erased.
To format the HDD, follow the instructions below:
1.
Use the arrow keys to select Format HDD.
2.
Press the right arrow key to highlight the Start button.
3.
Press the ENTER button on the remote control to
activate your selection.
4.
A dialogue screen will appear with the text
“
Format
Audio
Language
Subtitle
Lang.
Menu
Language
Auto
Play
Format
DVD
Finalize
DVD
Format
HDD
Scandisk
HDD
Original
English
Spanish
French
German
Italian
Chinese
Polish
HDD?”
5.
Choose
YES to format the HDD.
Your unit will start
formatting you HDD, and a progress bar will be displayed.
6.
Choose
NO to cancel the formatting of the HDD.
Move
ENTER
Select
SETUP
Exit
Audio Language
Sets your preferred language for
DVD audio soundtracks.
Languages vary from disc to disc.
The disc itself may
over-ride your selection.
Subtitle Language
Sets your preferred language for Subtitles. Languages vary
from disc to disc. The disc itself may over-ride your
selection. Select OFF to always turn Subtitle off.
Menu Language
Sets your preferred language for
DVD disc menus.
Languages vary from disc to disc.
The disc itself may
over-ride your selection.
Auto Play
Select ON or OFF. If this function is set to ON, insert a
disc into the tray and
close it. The disc will automatically
playback without pressing PLAY.
Format
DVD
Select Start to format a DVD+RW disc.
The unit will
clear all
contents on the disc.
Scandisk HDD
A utility that checks the integrity of data stored on a hard
disk drive, identifies problems, and where possible puts
them right.
To scandisk the HDD, follow the instructions below:
1.
Use the arrow keys to select Scandisk HDD.
2.
Press the right arrow key to highlight the Start button.
3.
Press the ENTER button on the remote control to
activate your selection.
4.
A dialogue screen will display with the text
“
Scandisk
HDD?”
5.
Choose
YES to scan the HDD.
Your unit will start to
scan
your HDD, and a progress bar will be displayed.
6.
Choose
NO to cancel the scanning of the HDD.
Note:
l
Finalized
DVD:
With a
DVD+R, material is recorded onto the disc,
then in order to finish and playback your recording, you
must “Finalize”
it on your
DVD recorder. Once you
select
“Finalize”, a table of contents is automatically
written and the disc’s contents cannot be edited or
erased.
Finalize
DVD
Select Start to Finalize a DVD+R disc. Even if one or
more
titles have been edited, a
DVD player may still
show the
original title.
You can prepare your disc so that
a
DVD player
will be able to read the edited title. Once
the
DVD+R disc
has been finalized no further recordings
or changes can be
made.
24
WARNING:
Formatting a DVD+RW disc will remove all content
from the disc. This content cannot be recovered after
formatting.
WARNING:
Formatting the Hard Disc Drive will remove all content
from the HDD. This content cannot be recovered after
formatting.
Содержание DVD 160 HDD II
Страница 1: ...DVD 160 HDD II...
Страница 3: ...IMPORTANT SAFEGUARDS 0 1 1 2 3 1 1 4 5 6 6 7 6 8 6 9 1 0 3 4 5 6...


