30
SET WEEKLY PROGRAM (ONLY BY REMOTE CONTROL)
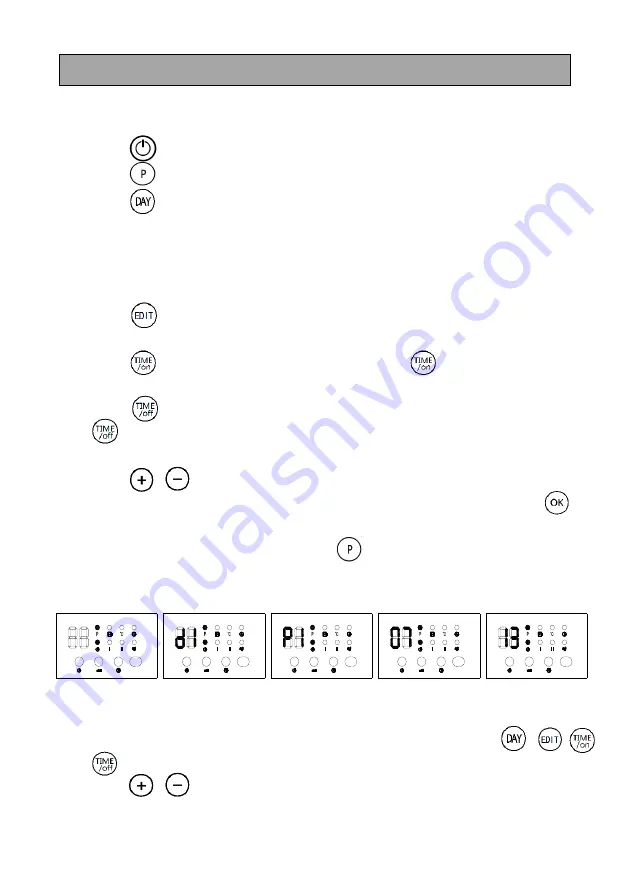
After complete setting of current TIME/DAY, below is the steps to set weekly program:
1)
Press
“ ”
, the product enter into working status.
2)
Press
“ ”,the display shows ”P“, it enter into weekly program setting.
3)
Press
“ ”
,the display shows d1~d7, set to working day(Monday-Sunday: d1~d7).
Such as set Monday:
Note:
For both current day & set working day:
Monday-Sunday: d1~d7
4)
Press
“ ”
, the display shows P1~P6(for each day, it can be set maximum 6 time
periods).Such as setting P1:
5)
Press
“ ”
,
the display shows 00”as default. Press
“ ”
continuously to set the
turn-on time. Such as set the turn-on time 7:00am (As figure);
6)
Press
“ ”
, the display shows the previous step turn-on time by default. Press
“ ”
continuously to set the turn-off time. Such as set the shutdown time at
13:00pm:
7)
Press
“
/
”
to setting the target temperature(Temperature range 10-49° C);
8)
Repeat steps 2-7 above, you can set the whole weekly program. Then press
“ ”
to confirmed;
9)
To cancel the weekly function, press the
“ ”
again, the light "P" will go off. The
weekly program is off. The product will revert to the previous function working status.
A B C D E
Note:
After the above setting are completed and P program is working, press
“
/ /
/
”
to check the setting time of each day and time periods,
Press
“
/
”
,set working temperature under different time periods.
The turn-on time periods 0~24hours, cannot set to minutes;
RECEIVER
RECEIVER
RECEIVER
RECEIVER
RECEIVER


