32
MENU, KEY OPTIONS
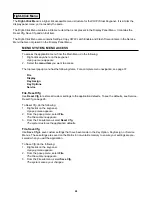
Use the Key Options menu to set announcement chimes for incoming calls, to assign key groups to
keypanel keys, and to assign the solo option to keys.
Key Option Menu, Chime
Use the Chime setting to add a chime tone to any key for an incoming call announcement. The chime tone
will activate for 5 seconds after a call is received.
To add a chime tone, do the following:
1.
Right-click anywhere on the keypanel.
The Main menu appears.
2.
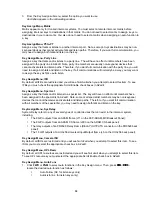
From the Main menu, select Key Option.
The Key Option submenu appears.
3.
From the Key Option submenu, select Chime.
Tap Key appears
4.
Click the key where you want to add the Chime tone.
Both red LEDs are lit. The Chime is enabled.
4.
Run File, Save Cfg. to save the chime setting.
NOTE: The chime option will continue on a key even if you change the key assignment. To remove the
chime tone from a key, repeat the procedure to add a chime, but click any keys where the LEDs are lit red
to turn them off. Run File, Save Cfg to store the changes.
Key Option Menu, Key Groups
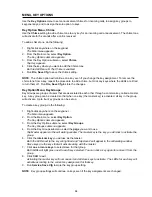
Key Groups are groups of users that are associated to each other through a common key, called a master
key. A key group can be created so that when one key (the master key) is activated, all key in the group
will activate. Up to four key groups can be set up.
To create a key group, do the following:
1.
Right-click anywhere on the keypanel.
The Main menu appears.
2.
From the Main menu, select Key Option.
The Key Option submenu appears.
3.
From the Key Option submenu, select Key Groups.
The Key Groups submenu appears.
4.
From the Key Groups submenu, select the page you want to use.
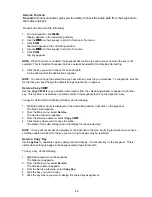
Tap Master appears in the call waiting window. The master key is the key you will click to activate the
group.
6.
Click the intercom key you will use as the master.
Both the LEDs next to the key will light red and “tap slaves” will appear in the call waiting window.
Slave keys are the keys that will activate along with the master.
7.
Click one or more keys to select slave for that group.
Both LEDs will light green next to each key selected. You can click a key again to remove it from the
group.
8.
Click CLR to exit.
Activating the master key will now cause it and all slave keys to activate. The LEDs for each key will
activate according to the current key assignment for that key.
9.
Run Service, Save Cfg to store the key group setting.
NOTE: Key group settings will continue on keys even if the key assignments are changed.
Содержание VOIP
Страница 2: ...2 ...
Страница 6: ...6 ...
Страница 17: ...17 This page intentionally left blank ...
Страница 18: ...18 This page intentionally left blank ...
Страница 38: ......


