WWAN Setting
APN:
‘Auto’ – Uses automatic APN profile settings for
network; this is the default APN setting
‘Manual’ – Allows the manual choice of APN Profile
Settings for network.
Profile
Selection:
This item appears when APN is set to ‘Manual’.
Auto APN Information
This section displays automatic Access Point Name information.
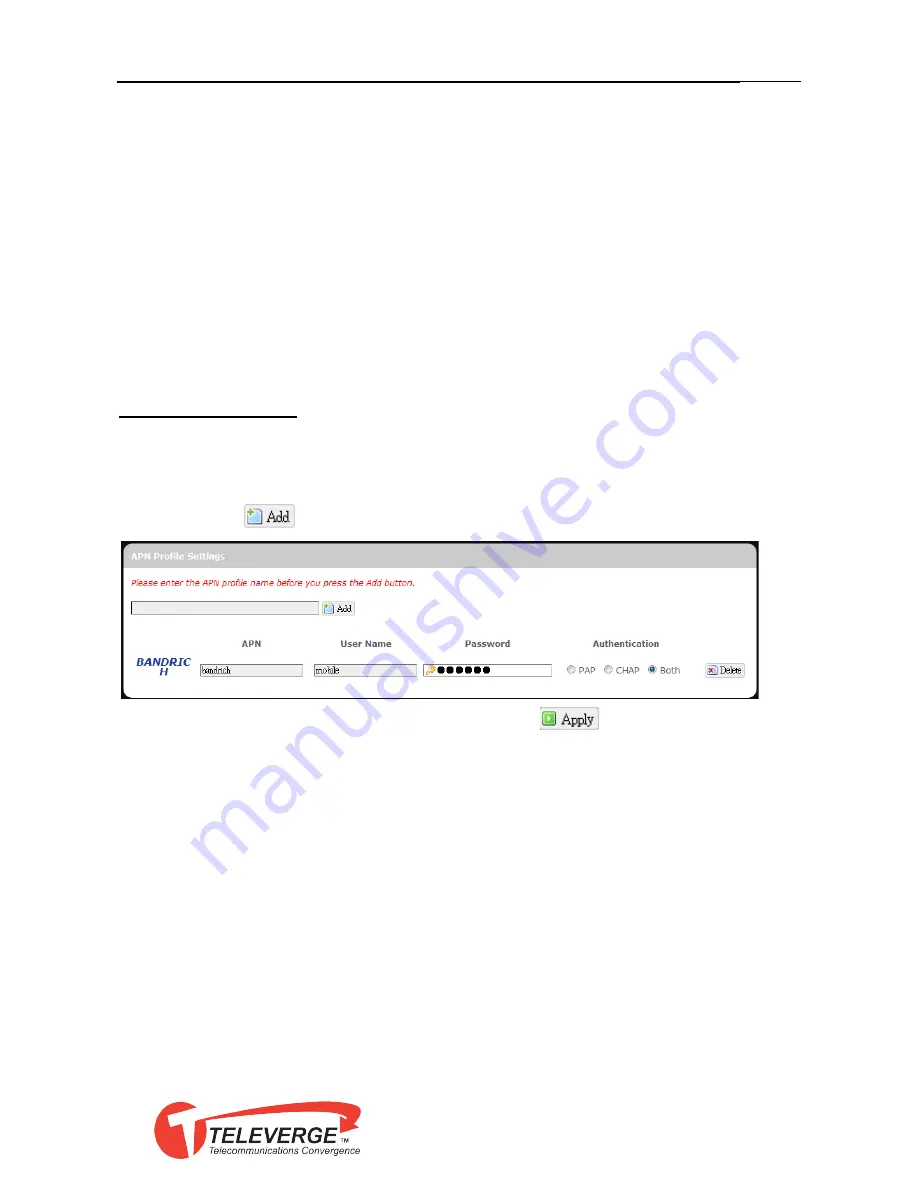
APN Profile Settings
For Advanced Users
This section allows you to establish your own Access Point Name profile
settings.
To establish a new APN profile, type in a new APN profile name in the text
box and click
.
Enter the APN, username, and password. Click
.
Reset Modem
Click
Perform reset
to reset this router to its factory default settings.
3